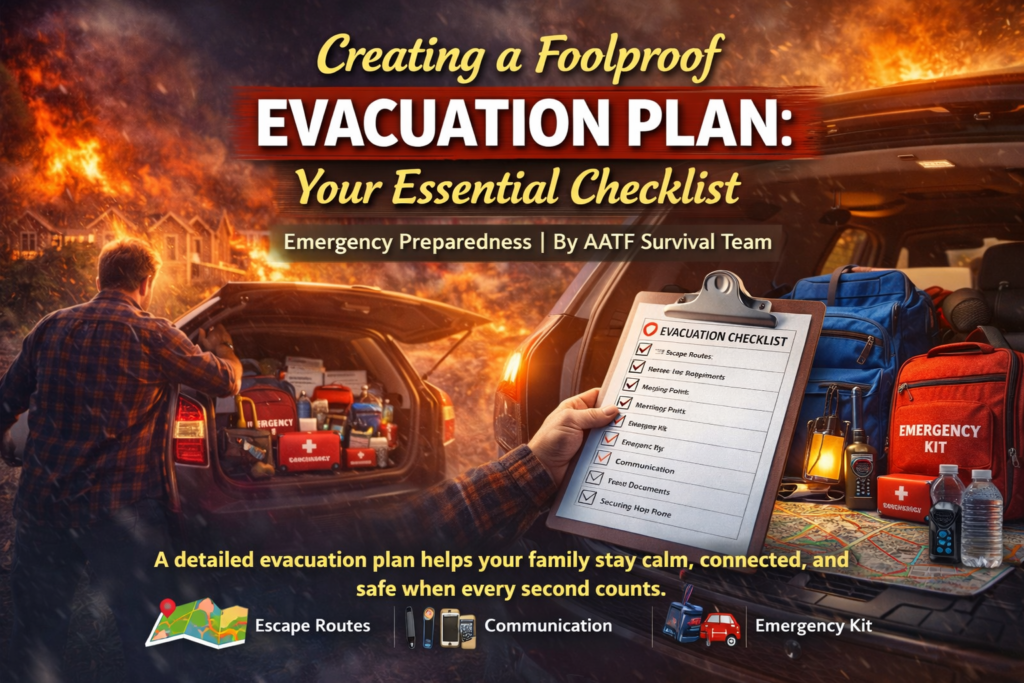
When disaster strikes, every second counts. Whether it’s a wildfire, hurricane, flood, or industrial accident, having a clear evacuation plan can make the difference between chaos and calm. A well-designed plan ensures that you and your family can leave safely, communicate effectively, and reunite if separated.
In this comprehensive guide, you’ll find a step-by-step checklist for creating your foolproof evacuation plan — including critical supplies, communication strategies, and home safety measures that can save lives.

Why an Evacuation Plan Matters
Emergencies often strike without warning. Roads may become impassable, communication lines may fail, and panic can lead to dangerous mistakes. A pre-established evacuation plan prevents confusion by giving everyone in your household a clear structure for what to do and where to go.
A solid evacuation plan helps you:
- Get to safety quickly without hesitation.
- Ensure family members know their roles and routes.
- Reduce panic by following a predetermined checklist.
- Adapt to different emergencies like fires, storms, or earthquakes.
If you’ve already started building your Emergency Preparedness Kit, the next logical step is ensuring you know how to use it under pressure — and that begins with a foolproof evacuation strategy.
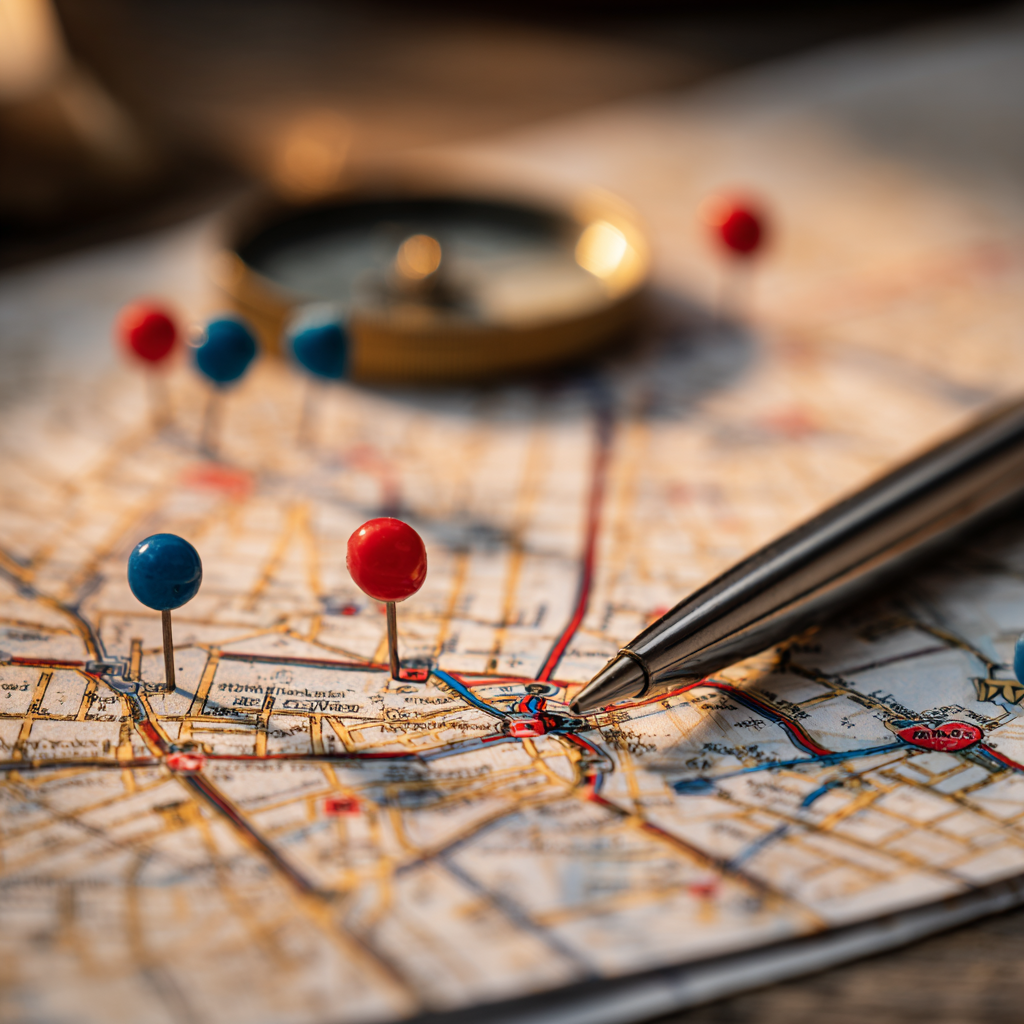
1. Identify Escape Routes and Safe Destinations
Your first task is mapping out multiple escape routes from your home and neighborhood. Having only one path can leave you trapped if roads are blocked or unsafe.
Key Steps:
- Primary Route: The fastest path to safety under normal conditions.
- Alternate Route: A secondary path if your main route is inaccessible.
- Meeting Points: Designate two — one close to home and one outside your neighborhood.
Pro Tip: Print maps of your neighborhood and mark safe zones like shelters, hospitals, and gas stations. Keep one map in your home, another in your vehicle, and a copy in your Car Emergency Kit for Winter.
Recommended Tool:
- Emergency Evacuation Dry Erase Board Kit – Allows you to draw, update, and review escape routes with your family.
For extended planning, explore route prioritization tips in Building a 72-Hour Survival Kit: A Step-by-Step Guide — it’s designed to complement your evacuation essentials.
2. Establish a Family Communication Plan
Communication can break down quickly in disasters. Cell towers overload, and power outages can disable internet access. A good evacuation plan includes multiple ways to stay in touch and a clear communication hierarchy.
Plan Components:
- Emergency Contacts: List local and out-of-town relatives who can relay messages.
- Primary Method: Text messages are more reliable than calls during overloads.
- Backup Devices: Keep a whistle, walkie-talkies, and written contact cards.
Recommended Gear:
- Midland X-TALKER T71VP3 Two-Way Radio Set – Long-range radios with NOAA alerts for maintaining contact when phones fail.
- Ready America Emergency Communication Cards – Durable cards for writing emergency numbers and meeting points.
Learn additional signaling strategies in Emergency Signaling Devices: How to Call for Help When You Need It Most to enhance your communication toolkit.
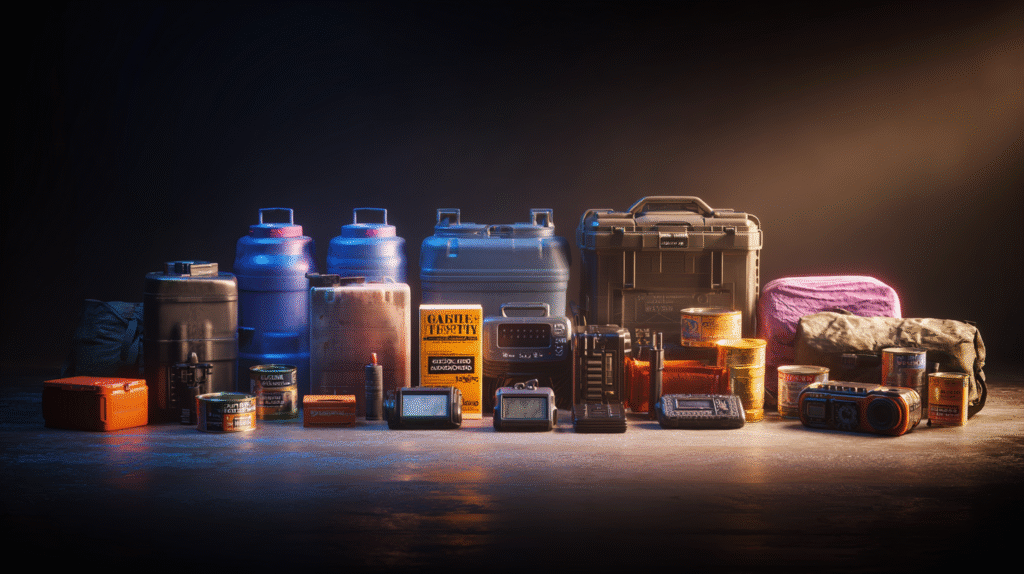
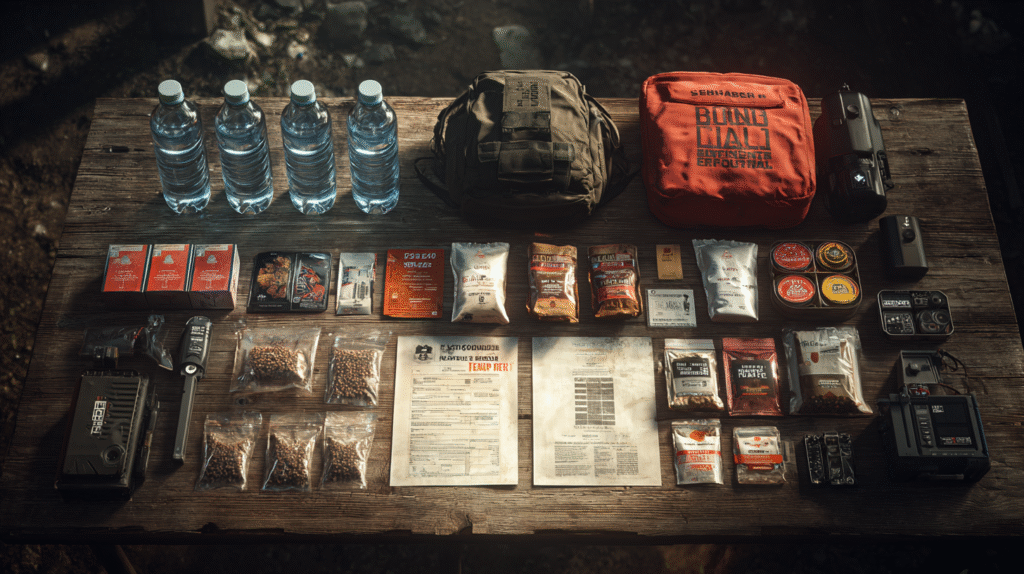
3. Assemble and Maintain Your Evacuation Kit
An evacuation plan is only as effective as the supplies that support it. Your go-bag should contain everything needed for 72 hours of independent survival.
Essentials Include:
- Water: One gallon per person per day.
- Food: Non-perishable, ready-to-eat items.
- First Aid Kit: Includes bandages, medications, and antiseptics.
- Lighting: Flashlights and spare batteries.
- Documents: IDs, insurance, and emergency contact lists.
Top Recommended Products:
- LifeStraw Personal Water Filter – Converts unsafe water into safe drinking water instantly.
- Adventure Medical Kits Mountain Series – Compact medical kit for quick-response care.
- Goal Zero Lighthouse 600 Lantern – Rechargeable lantern with solar and hand-crank options.
For further details on prepping your kit, refer to Top 10 Must-Have Items in Your Disaster Supply Kit — an excellent companion post for this section.
4. Secure and Prepare Your Home Before Evacuation
When time allows, secure your property before leaving. This step protects your home from secondary disasters and preserves valuables.
Checklist Before You Leave:
- Turn off gas, electricity, and water if instructed.
- Unplug appliances to prevent surges.
- Close and lock all doors and windows.
- Move flammable materials away from structures.
- Leave a visible note or tag for emergency responders if pets remain inside.
Recommended Tools:
- First Alert Carbon Monoxide and Smoke Detector Combo – Alerts you early to home hazards.
- Master Lock Portable Lock Box – Protects keys and important small documents for return access.
For more comprehensive home-readiness guidance, see Organizing Your Emergency Documents for Peace of Mind — it outlines how to secure critical paperwork during an evacuation.
5. Plan for Special Circumstances
Not every family has the same needs. Tailor your plan to include considerations for pets, medical conditions, and mobility challenges.
Include:
- Pet Evacuation Kit: Food, water, leash, and carrier.
- Medical Supplies: Extra prescriptions and mobility aids.
- Transportation Arrangements: Backup drivers or carpool plans for non-drivers.
Essential Product:
- Pet Evacuation Kit Backpack – Pre-packed with essentials for dogs or cats.
Explore detailed pet preparedness steps in Building a Comprehensive Emergency Kit for Your Pets.
6. Practice Your Evacuation Plan
Creating a plan is only half the work — practicing it ensures everyone knows what to do when panic sets in.
How to Conduct a Family Drill:
- Practice different scenarios: fire, earthquake, or flood.
- Time your evacuation to simulate urgency.
- Assign roles (driver, document retriever, pet handler).
- Debrief afterward to fix weaknesses.
Helpful Tools:
- Family Emergency Drill App – Tracks evacuation routes and completion times.
- Whistles for Life Emergency Signal Whistle – Durable and audible over long distances during drills or real emergencies.
Practicing builds confidence and teamwork — vital for handling high-stress evacuations efficiently.

7. Keep Your Plan Updated and Accessible
Life changes — and so should your plan. Review it twice a year, especially after moving, changing jobs, or adding new family members.
Maintenance Checklist:
- Replace expired food, medicine, and batteries.
- Update contact lists and meeting locations.
- Test all communication devices.
- Reprint evacuation maps if routes change.
Store your written plan in waterproof sleeves and digital copies on USB drives like the SanDisk Cruzer 64GB Flash Drive for off-site backups.
To align this process with your broader preparation, revisit Essential Items for Your Emergency Preparedness Kit — it includes rotation and maintenance principles that apply here.
8. Consider Long-Term Shelter and Food Readiness
While an evacuation plan gets you to safety, long-term survival depends on sustainable food and shelter. Store essential items in secure, climate-controlled areas.
Recommended Resources:
- Best Survival Food Kits for Preppers: Top Picks for 2025 – Detailed breakdown of top-rated food storage solutions.
- Emergency Shelter Options: From Tents to DIY Solutions – Explore fast-setup shelters for extended displacements.
Combining these ensures you’re not just evacuated — you’re sustained for the long haul.
9. Review and Reinforce with Family Members
A plan only works if everyone understands it. Review routes, emergency contacts, and responsibilities with every household member, including children.
Tips:
- Use visual aids and printed checklists.
- Practice by flashlight to simulate power loss.
- Involve children by assigning them easy, meaningful tasks (e.g., pet leash handler or supply bag carrier).
These small efforts empower every family member to act calmly and confidently under pressure.
Final Thoughts
A foolproof evacuation plan isn’t complicated — it’s consistent. By mapping routes, preparing supplies, practicing regularly, and keeping your plan updated, you ensure your family can act with speed and clarity when danger strikes.
Preparation is protection. Don’t wait until chaos to plan your escape — start today, review your routes, and secure your supplies. The time you invest now will buy you peace of mind when it matters most.