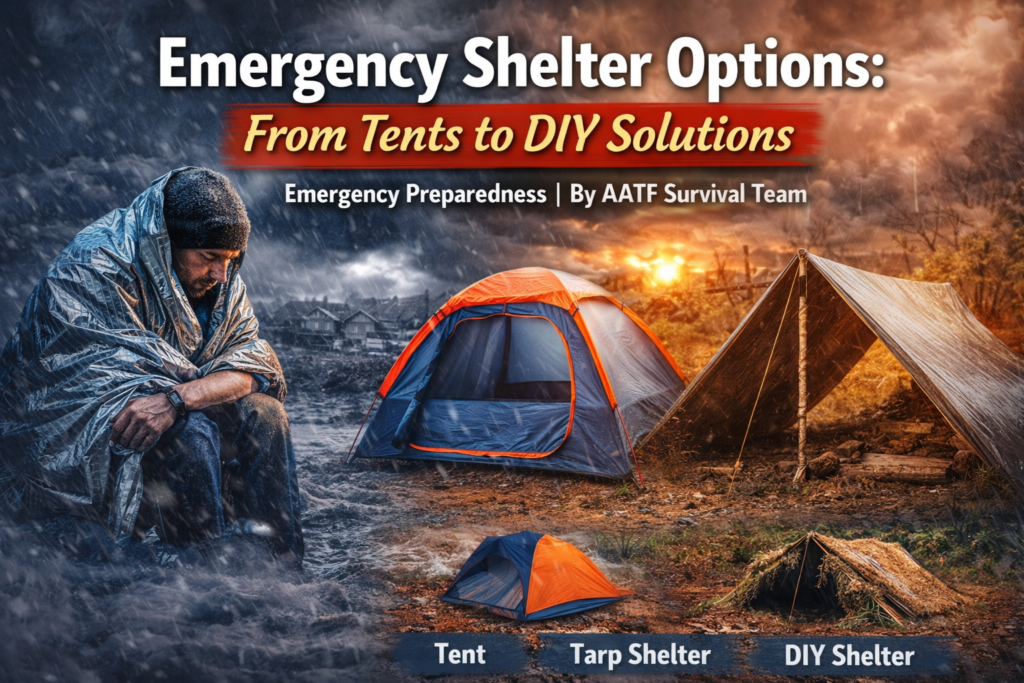
When disaster strikes, shelter is one of your most immediate needs. Exposure to extreme weather can become dangerous within hours, whether you’re facing a hurricane, a flood, a wildfire evacuation, or simply an unexpected power outage in freezing temperatures. Having reliable emergency shelter options ensures you and your family remain safe, dry, and comfortable until conditions improve.
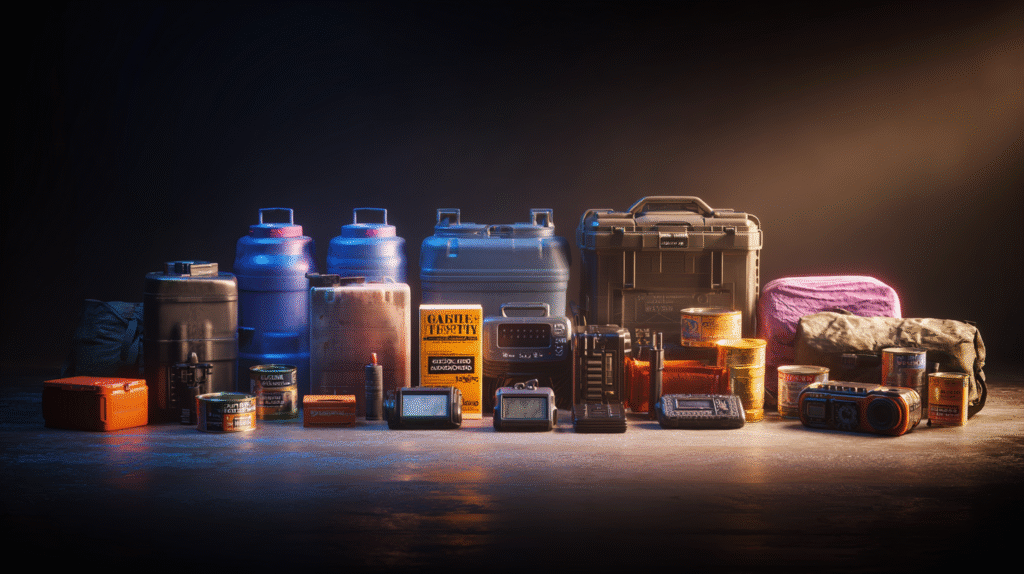
Preparedness isn’t just about stockpiling supplies—it’s about equipping yourself with the knowledge and tools to protect against nature’s unpredictability. For a broader foundation on emergency planning, start with our cornerstone guide on essential items for your emergency preparedness kit.
1. Traditional Tents
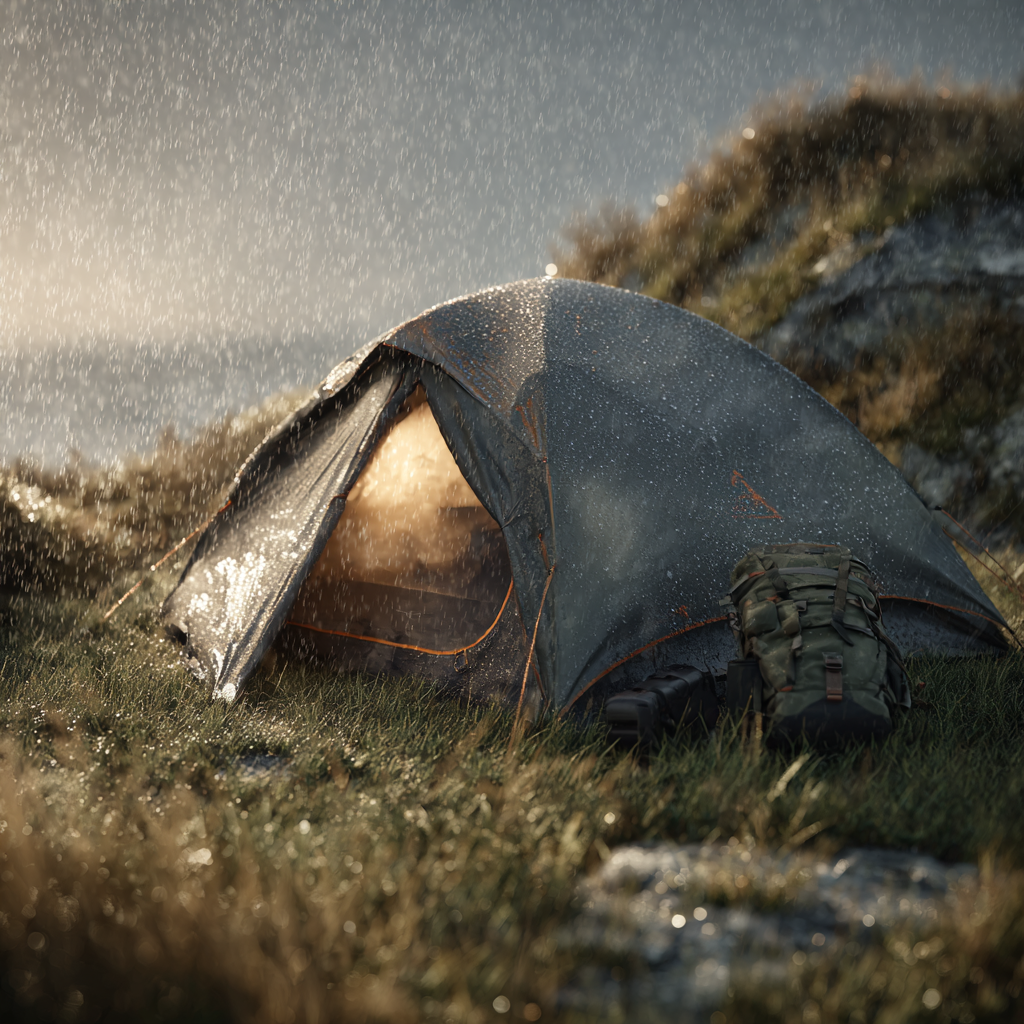
A tent remains one of the most practical and reliable forms of emergency shelter. It provides protection from rain, wind, and cold while being compact enough to store in your car, garage, or emergency kit.
Choosing the Right Tent
When selecting a tent for emergencies, prioritize:
- Weather Resistance: Look for waterproof materials, taped seams, and sturdy poles.
- Ease of Setup: You don’t want to spend valuable minutes fumbling during a storm.
- Portability: Choose a tent that’s light enough to carry but strong enough to handle wind.
- Capacity: Match the tent size to your family or group to ensure everyone fits comfortably.
Top Tent Recommendations
- Co-op Half Dome SL 2+ Tent – Spacious, weather-resistant, and lightweight, ideal for both preppers and campers.
- Coleman 4-Person Dome Tent – Affordable, easy to set up, and designed to keep you dry during heavy rain.
- Alps Mountaineering Lynx 2-Person Tent – Lightweight, durable, and a dependable choice for a grab-and-go kit.
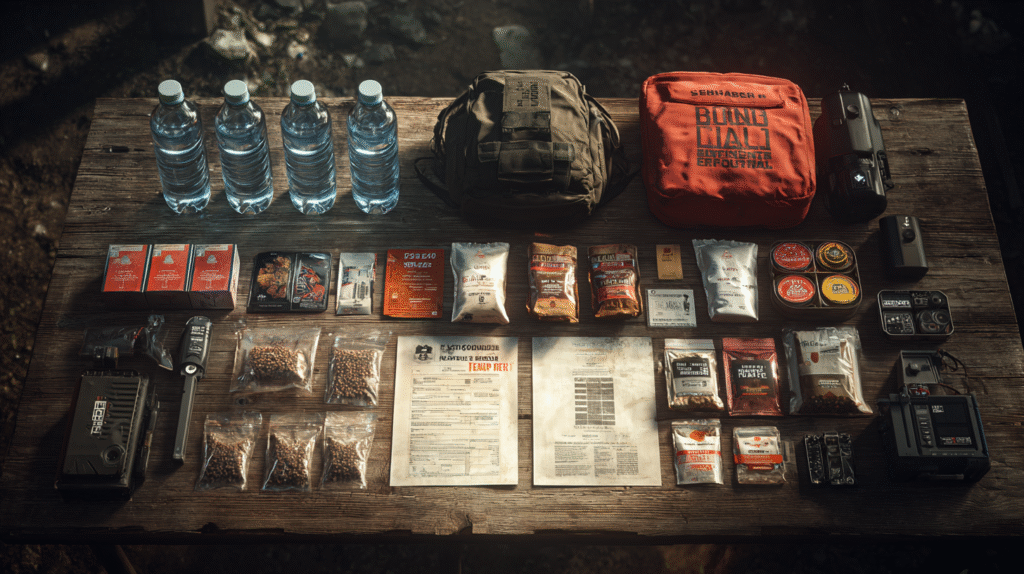
Tents fit perfectly within a short-term survival strategy such as your 72-hour emergency kit, where portability and quick setup are critical.
2. Pop-Up and Instant Shelters
If you need speed, convenience, and simplicity, pop-up shelters are game-changers. These shelters deploy in seconds and can provide coverage during evacuations, roadside emergencies, or even temporary triage stations.
Why Pop-Ups Work
Pop-up shelters are perfect for those who want quick protection from rain or sun without dealing with tent poles and stakes. Their lightweight design makes them easy to store in a trunk or garage, ready for immediate use.
Recommended Pop-Up Options
- CORE Instant Shelter – Spacious and simple to set up, perfect for emergency use or outdoor operations.
- Lightspeed Outdoors Beach Tent – Provides excellent UV protection and doubles as a quick basecamp or shade canopy.
If your car breaks down during a storm or a highway closure strands you, these shelters offer immediate relief. For vehicle-specific setups, read our guide on creating a car emergency kit to ensure you’re equipped for roadside crises.
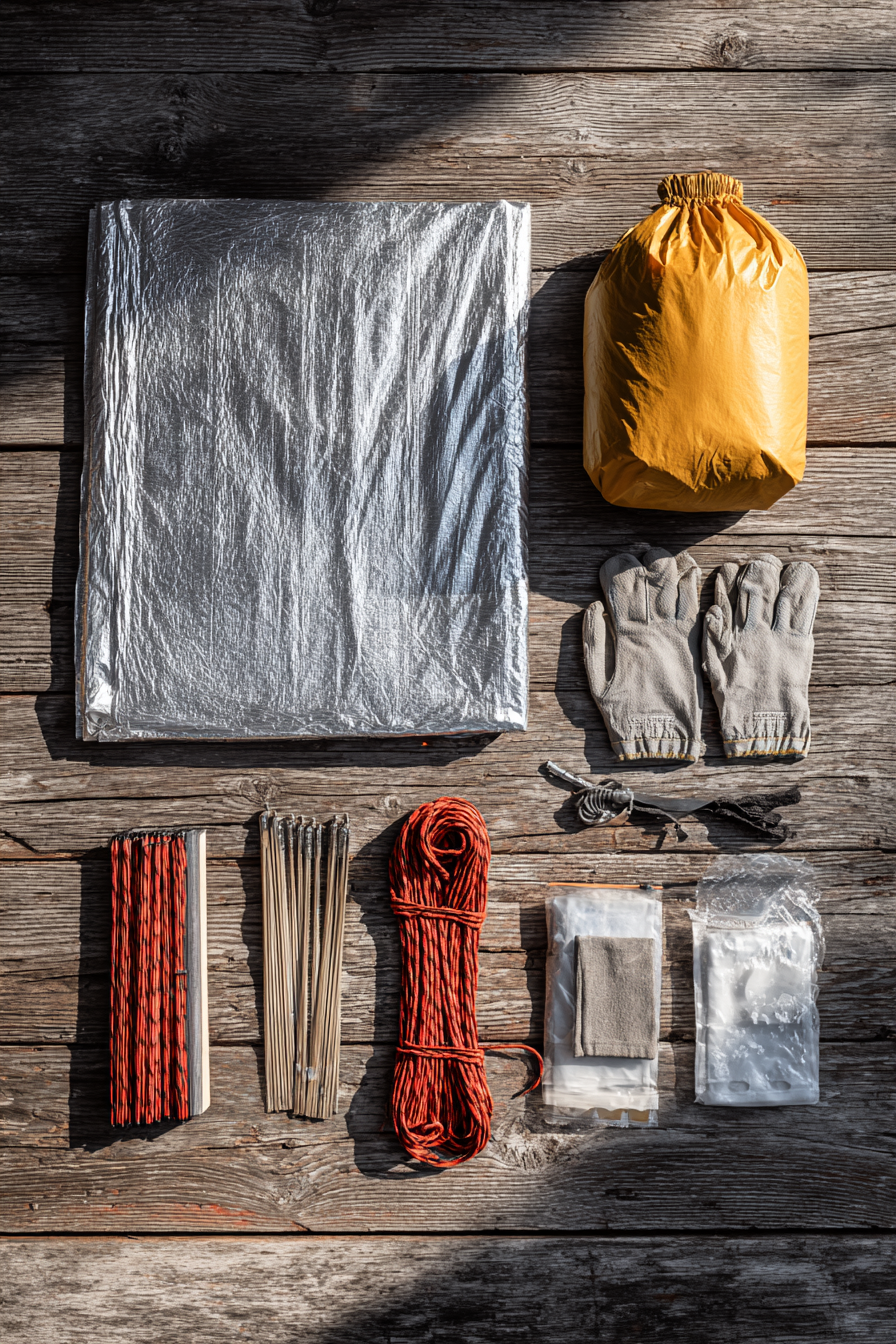
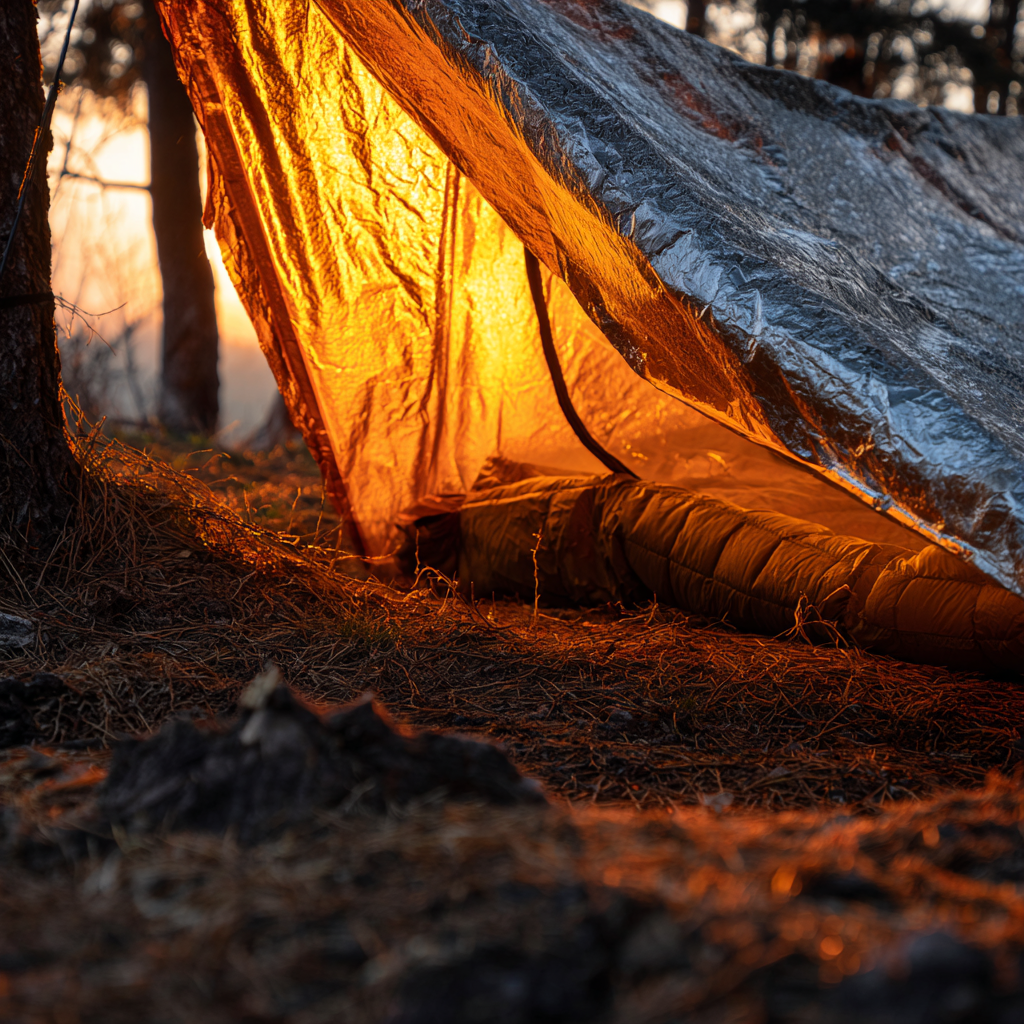
3. Tarps and Emergency Blankets
For ultimate versatility, few tools beat the humble tarp. A durable tarp can serve as a roof, wall, groundsheet, or even a rainwater collection system. Paired with paracord or bungee cords, it’s a lightweight solution that adapts to countless scenarios.
Why Tarps Belong in Every Kit
- Multi-use for covering supplies, creating windbreaks, or constructing lean-tos.
- Affordable, waterproof, and long-lasting.
- Works well for both home preppers and wilderness survivalists.
Recommended Gear
- Amazon Basics Waterproof Tarp – A durable, heavy-duty tarp that doubles as ground cover or roofing.
- SOL Mylar Emergency Blanket – Reflects body heat and adds insulation when paired with tarps.
If you want to explore how reflective insulation and layering work, see our detailed comparison of emergency blanket types.
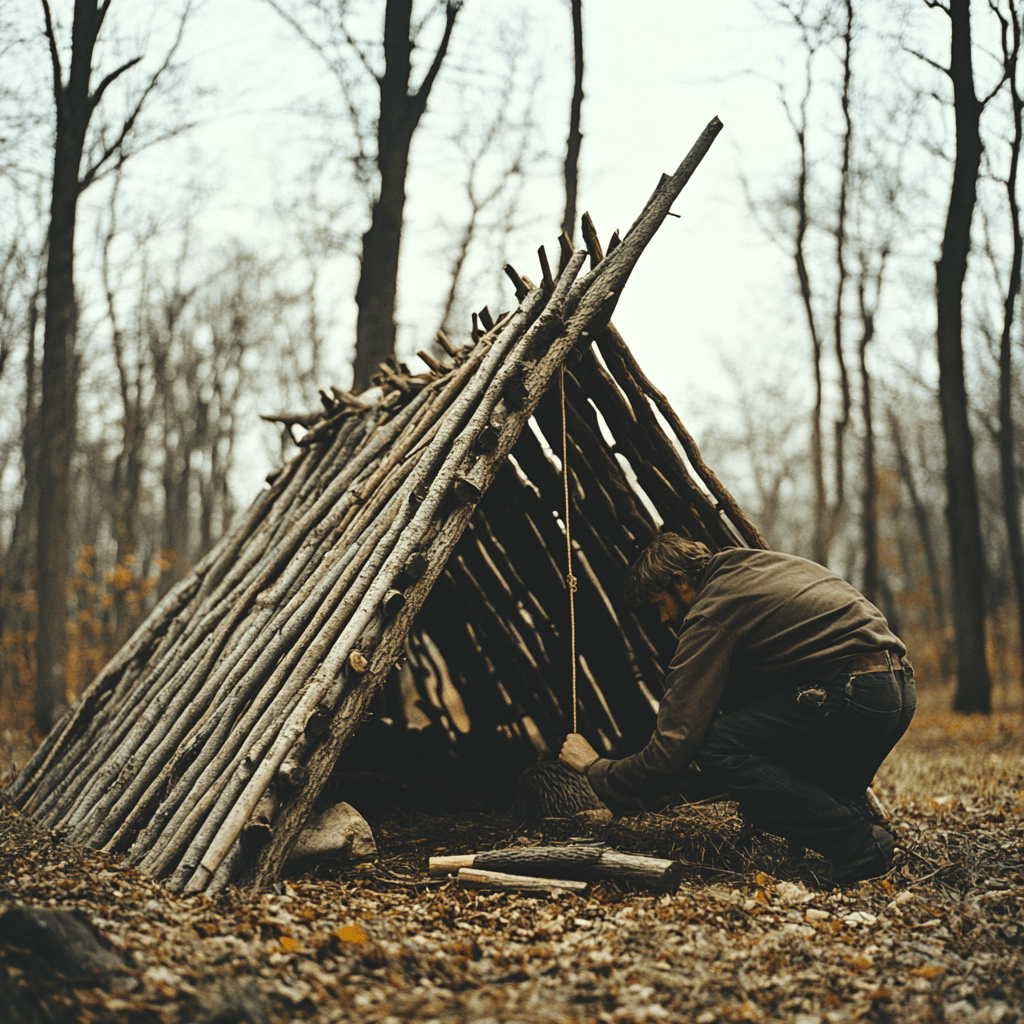
4. DIY Shelter Techniques
Even without store-bought materials, you can build survival shelters using natural resources and simple tools. These techniques are invaluable if you find yourself in the wild or lose access to manufactured gear.
Lean-To Shelter
A lean-to is one of the easiest and fastest shelters to construct. Rest a long branch horizontally against a standing tree or support, then angle smaller branches against it to create a sloped wall. Cover with leaves, debris, or a tarp for insulation and rain protection.
Debris Hut
A debris hut uses natural materials—leaves, sticks, and grass—to insulate and shield you from the elements. Start with a sturdy ridgepole supported at one end, then stack smaller branches and pile debris until it’s thick enough to trap warmth.
A-Frame Shelter
Drive two sturdy poles into the ground in an “A” shape and drape a tarp or poncho over the top. This design offers excellent protection from rain and can be quickly modified with available materials.
For the tools you’ll need to build these shelters efficiently—like knives, saws, and paracord—check our post on bug out bag essentials.
5. Specialty and Compact Shelters
For advanced preppers or those in extreme environments, specialty shelters combine durability with convenience. They’re engineered for insulation, protection, and fast deployment.
Recommended Specialty Options
- SOL Emergency Bivvy – Compact and reflective, this bivvy traps body heat and is reusable for long-term scenarios.
- MoonShade Portable Canopy – A versatile canopy for groups, offering UV and rain protection that sets up in minutes.
- Survival Pod (Various Brands) – A durable, insulated mini-shelter capable of withstanding wind and extreme temperatures.
Pairing shelters with lighting increases safety and comfort—see our guide on emergency lighting options for solar lanterns and portable power systems.
6. Shelter Setup and Maintenance Tips
Building or maintaining a shelter requires practice. The best time to prepare is before an emergency, not during one.
Testing and Training
- Practice assembling your tent or tarp shelter in advance.
- Learn how to anchor ropes and tie survival knots.
- Test setups in your yard or local park before relying on them in a real crisis.
Storage and Care
- Always dry your tents or tarps before packing to prevent mold.
- Inspect zippers, seams, and poles every few months.
- Store your shelter gear with your main preparedness kit so you can grab everything quickly.
For broader maintenance habits across all survival supplies, review our detailed article on emergency kit maintenance.
Conclusion
Shelter is your first defense against the elements, and having multiple options ensures resilience in every situation. From durable tents and quick pop-ups to flexible tarps and DIY structures, each shelter type serves a vital role in your emergency strategy.
Investing in the right gear—and learning how to use it—gives you confidence and security when the unexpected happens. Keep your equipment accessible, practice your setup skills, and revisit your shelter plan regularly as seasons and family needs change.
To complete your emergency preparedness foundation, see our cornerstone post on the top 10 must-have items in your disaster supply kit. It ties together everything you need—from food and lighting to the very shelters that protect your life.