When it all goes sideways, water becomes your most immediate problem. Forget food, forget shelter for a moment—you’ve only got about three days without water. In a crisis, the tap running with clean, safe water is one of the first luxuries to disappear, making dehydration and nasty waterborne diseases a bigger threat than anything else.
Why Mastering Water Purification Is Non-Negotiable
We all know the survival “rule of threes,” and it’s famous for a reason: three minutes without air, three days without water, three weeks without food. Water is right up there at the top of the list, a brutal reminder of a vulnerability most of us never think about. We’re conditioned to trust our infrastructure, but that trust becomes a massive liability when the system fails.
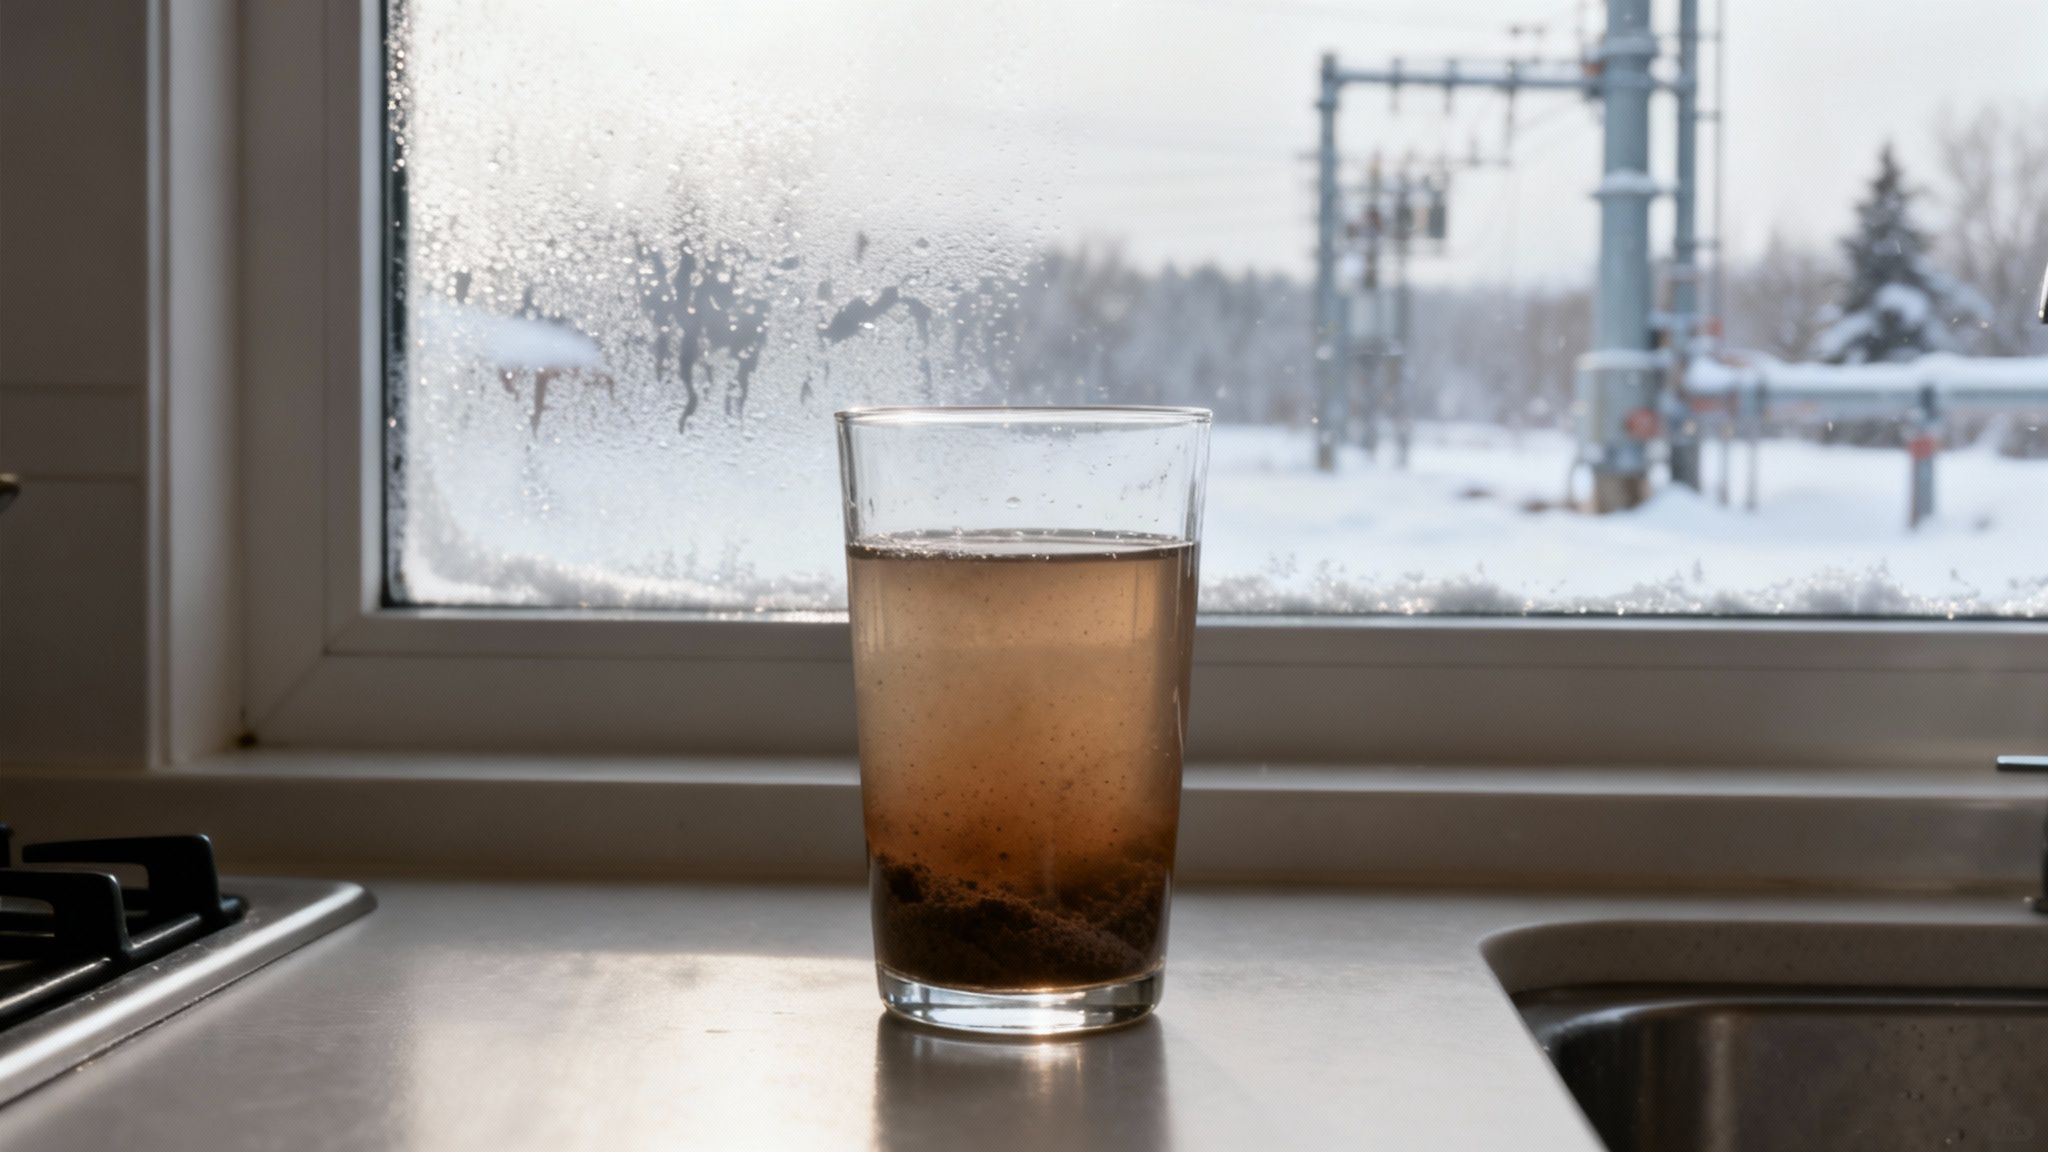
Think back to the Texas winter storms in 2021. Millions of people in a modern, first-world country suddenly had no power. That meant no water pressure and no treatment plants. Boil water notices went out, but how do you boil water with no electricity? It wasn’t some hypothetical scenario; it was a wake-up call showing just how thin the veneer of civilization really is.
The Invisible Dangers in Untreated Water
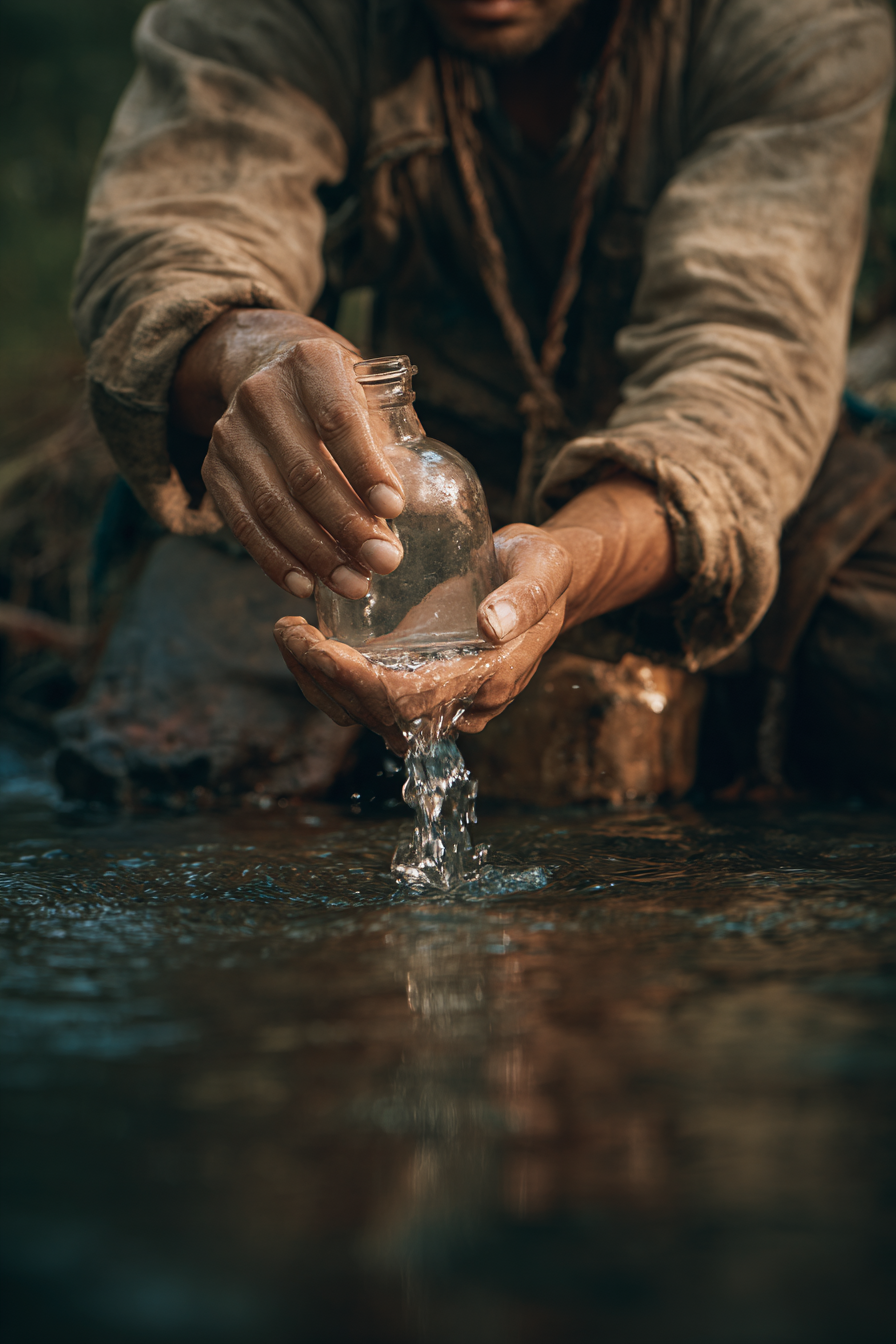
The real problem isn’t the mud or leaves you can see floating in the water. It’s the microscopic army of pathogens you can’t see. A crystal-clear mountain stream or a bucket of rainwater might look pure, but it can be teeming with invisible threats ready to take you down when you’re most vulnerable.
Before we dive into the how, it’s crucial to understand the what. Knowing what you’re up against helps you choose the right tool for the job.
Common Waterborne Threats and Effective Countermeasures
| Pathogen Type | Common Examples | Potential Health Impact | Most Effective Purification Methods |
|---|---|---|---|
| Bacteria | E. coli, Salmonella, Cholera | Severe gastrointestinal distress, fever, vomiting, life-threatening dehydration. | Boiling, filtration, chemical treatment (chlorine/iodine), UV light. |
| Protozoa | Giardia, Cryptosporidium | Prolonged diarrhea, stomach cramps, nausea (“Beaver Fever”). Resilient cysts. | Boiling, filtration (<1 micron), UV light. Some chemical treatments are less effective. |
| Viruses | Hepatitis A, Norovirus, Rotavirus | Liver inflammation, severe vomiting and diarrhea. Extremely small. | Boiling, chemical treatment (chlorine/iodine), UV light. Most filters won’t catch them. |
A single gulp from the wrong source can lead to vomiting and diarrhea, a combination that drains your body of fluids and electrolytes with terrifying speed. In a survival situation, that’s not just an inconvenience; it’s a death sentence.
That’s why knowing water purification for survival isn’t just a neat skill. It’s the bedrock of any real preparedness plan and a critical part of our ultimate emergency preparedness checklist.
In a crisis, the ability to make water safe to drink is the skill that separates those who endure from those who fall victim to the first and most preventable threat.
It’s a Global Problem—With Local Consequences
The weakness of our water systems isn’t just a “somewhere else” problem. Globally, the numbers are staggering. As of 2022, 2.2 billion people didn’t have access to safely managed drinking water. Contaminated water is responsible for 485,000 diarrheal deaths every single year.
And it happens here, too. The 1993 Milwaukee cryptosporidium outbreak sickened over 400,000 people from tainted city water. These aren’t just statistics; they’re a blueprint for what happens when your local water source is compromised. Understanding these risks isn’t about fear—it’s about being ready.
Putting the Core Purification Methods to the Test
Knowing what’s lurking in the water is one thing, but actually neutralizing those threats under pressure is what counts. When a crisis hits, you need proven, reliable methods that you can execute without a second thought. This is where we get our hands dirty and move from theory to action.
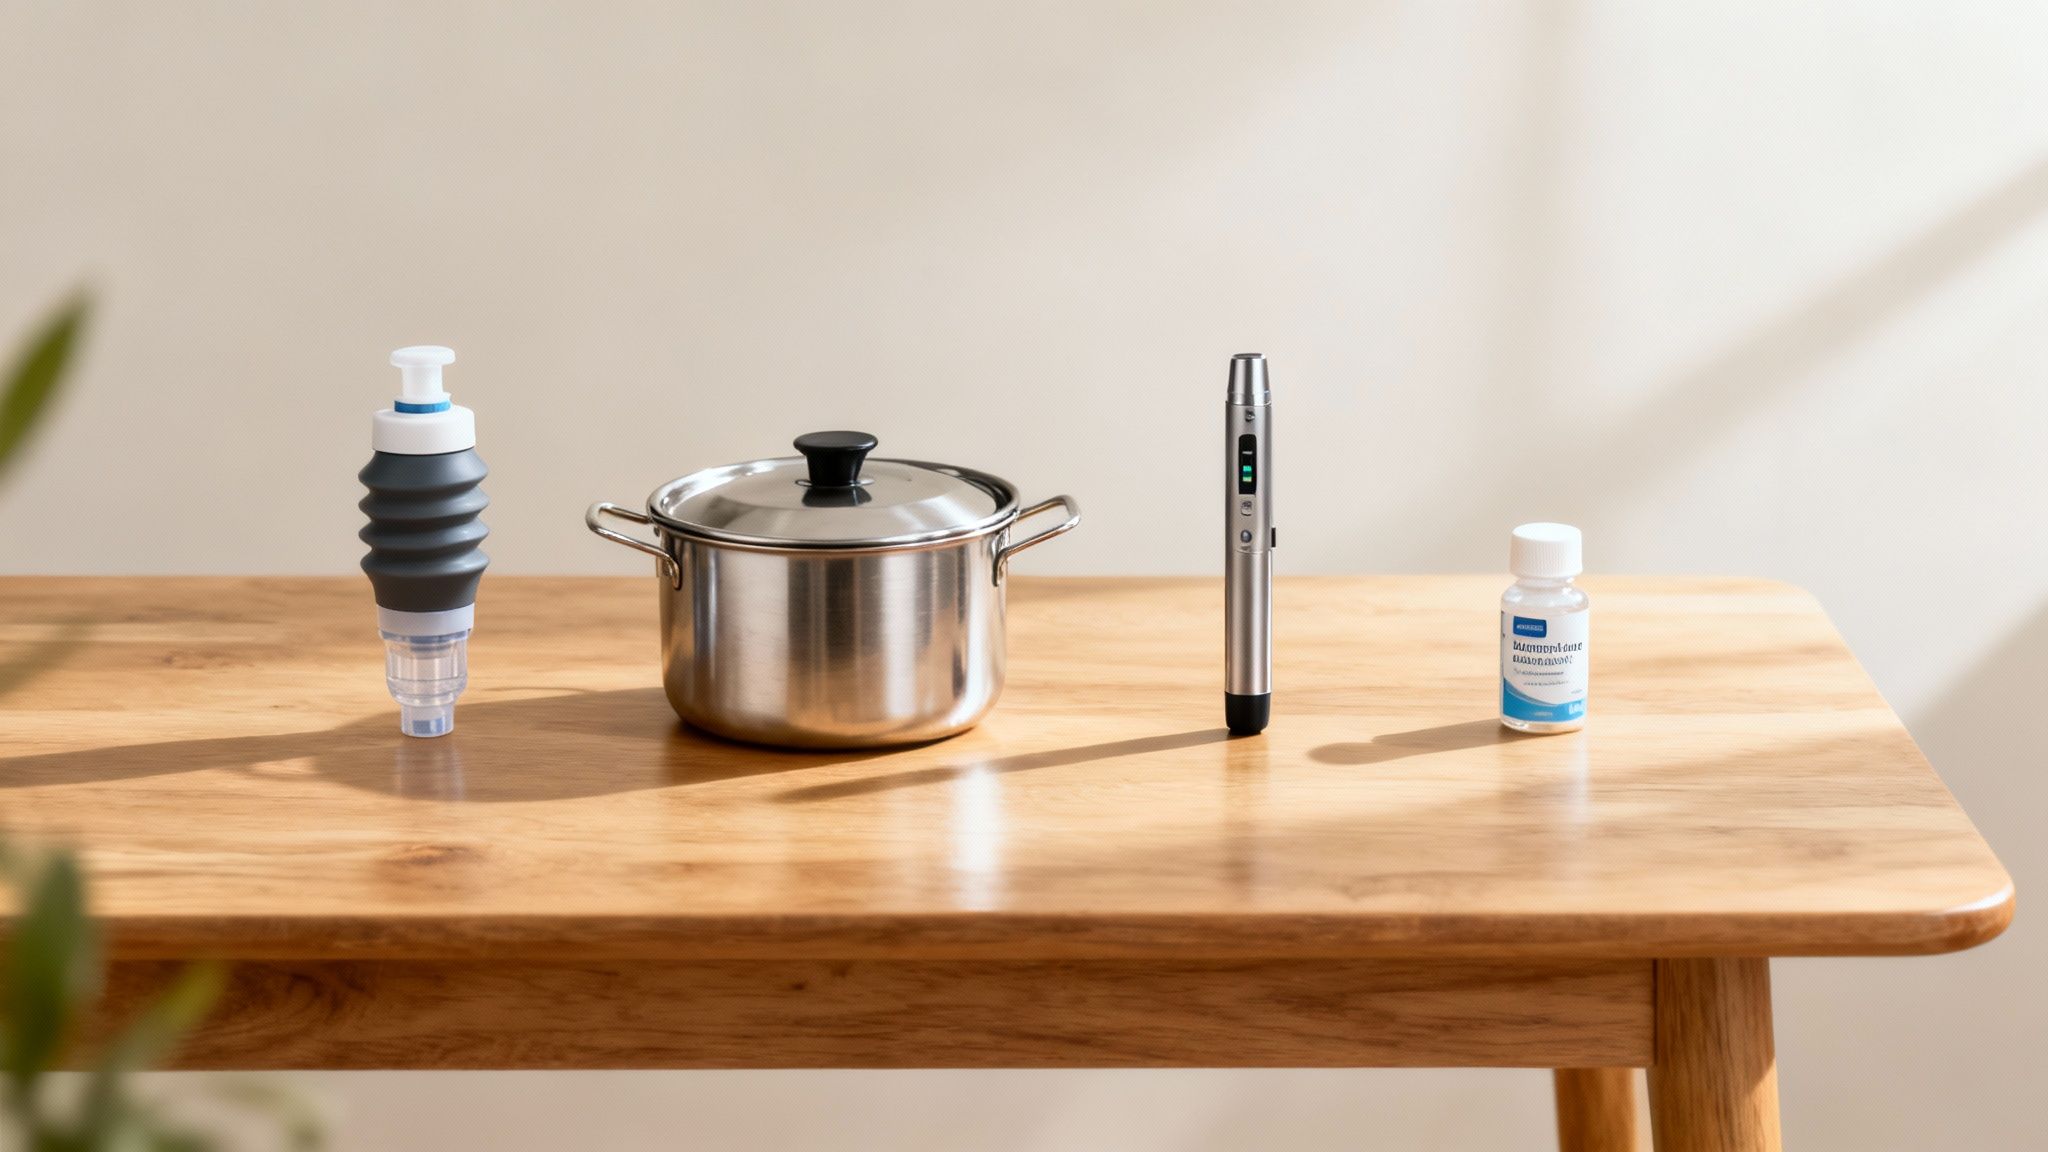
Let’s break down the four pillars of survival water purification: boiling, filtration, chemical treatment, and ultraviolet (UV) light. Each has a time and a place, and the real skill is knowing which one to reach for, whether you’re bugging out with a light pack or hunkering down at home.
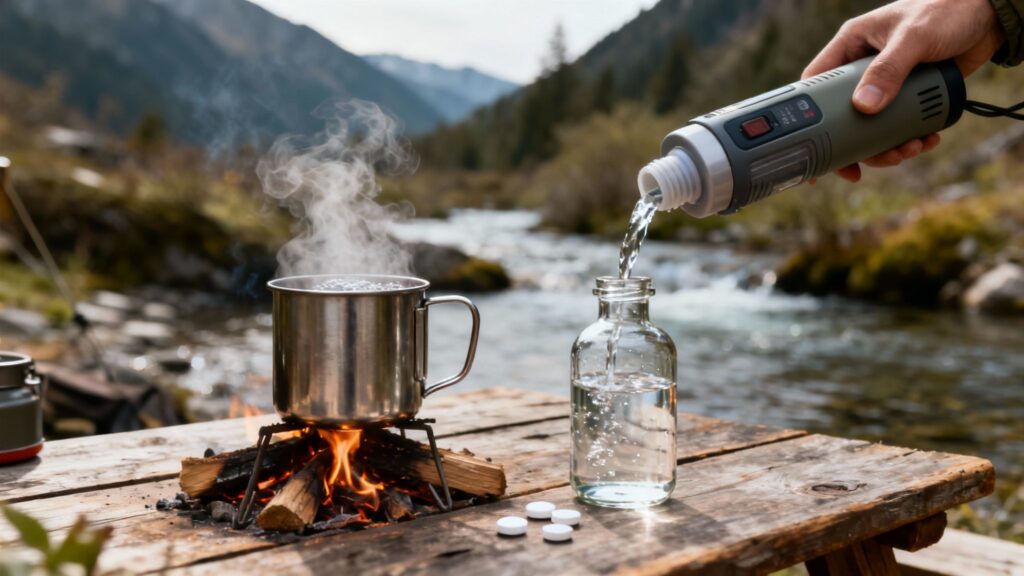
Boiling: The Oldest and Most Reliable Method
There’s a reason boiling is the gold standard—it’s brutally effective. It requires no special gear beyond a fire and a metal pot, and it kills everything: bacteria, protozoa, and viruses. No questions asked.
The process is dead simple. Just bring the water to a rolling boil, which means you see large, continuous bubbles breaking the surface. The Centers for Disease Control and Prevention (CDC) says to keep that rolling boil going for one minute to wipe out any harmful pathogens.
But here’s a critical detail many people miss: altitude changes the game. Water boils at a lower temperature the higher you go, so you need more time to ensure everything is dead.
For every 1,000 feet (300 meters) of elevation, add another minute to your boiling time. If you’re above 6,500 feet (2,000 meters), you need to maintain a rolling boil for at least three minutes.
This is non-negotiable for anyone bugging out to the mountains. The biggest downsides? Boiling takes time and chews through fuel, which could be a precious resource in a long-term emergency.
Filtration: Straining Out the Bad Guys
Think of a water filter as a microscopic bouncer. It’s a porous material that lets water molecules pass through but physically blocks larger contaminants like bacteria, protozoa, sediment, and even microplastics. The magic is in the pore size, which is measured in microns.
For survival, you want a filter with a pore size of 0.2 microns or smaller. This is small enough to stop nasty bacteria like E. coli and protozoa like Giardia and Cryptosporidium.
- Portable Squeeze Filters: For a bug-out bag, something like the Sawyer Squeeze is tough to beat. It’s incredibly light, lasts for a very long time, and screws right onto a standard water bottle.
- Gravity-Fed Systems: If you’re setting up a base camp or securing your home, a larger gravity system like a Berkey is the way to go. It purifies gallons of water at a time using nothing but gravity, making it perfect for serving a family during a grid-down event.
The best part about filtration is the instant gratification—you get clean water immediately without using any fuel. The main weakness? Most portable filters won’t remove viruses, which are tiny enough to slip through the pores. Filters also eventually clog and need to be backflushed to keep them working properly.
Chemical Treatment: Simple and Lightweight Backup
Chemical purification is your lightweight, compact, no-fuss backup plan. It uses chemicals like iodine or chlorine dioxide to kill off bacteria, viruses, and some protozoa, making it perfect for an ultralight kit or as a secondary method.
You’ll usually find these as tablets or drops. Brands like Potable Aqua (iodine) or Katadyn Micropur (chlorine dioxide) are common and easy to use. Just add the right dose to your water, give it a good shake, and wait.
Patience is key here. The wait time depends on the chemical, water temperature, and how cloudy the water is.
- Iodine Tablets: Usually require a 30-minute wait.
- Chlorine Dioxide: Can take much longer—up to four hours—to fully neutralize tough cysts like Cryptosporidium.
In a real pinch, you can even use plain, unscented household bleach (5-9% sodium hypochlorite). The recipe is two drops per liter of clear water, then wait 30 minutes. The water should smell faintly of chlorine. If it doesn’t, add one more drop and wait again.
The biggest complaints are the chemical taste and the long wait times. Also, iodine isn’t recommended for pregnant women or anyone with thyroid problems.
UV Purifiers: Using Light to Destroy Threats
This is the high-tech approach. Ultraviolet (UV) purifiers use a specific wavelength of light to scramble the DNA of microorganisms, making it impossible for them to reproduce and make you sick. It’s incredibly effective against bacteria, viruses, and protozoa.
Handheld wands like the SteriPEN are popular choices. You stick the battery-powered device into your water bottle and stir for about 90 seconds. The water is safe, with no chemical aftertaste.
The obvious weakness is its reliance on electricity. Once the batteries die, your purifier is a paperweight unless you have a way to recharge it. This is why you should always pair a UV purifier with one of the many portable power sources for off-grid living.
Another critical flaw: UV light only works in clear water. If the water is murky, the little critters can “hide” from the light in the shadows of sediment, rendering the treatment useless. You absolutely must pre-filter cloudy water before zapping it with UV.
How to Assess and Prepare a Water Source
You can have the best water filter on the planet, but it won’t do you much good if you start with the worst possible water source. Your first job isn’t purification; it’s selection. Learning to read the environment to find the safest available water is a critical skill that saves time, conserves gear, and cuts down your risk from the very start.
Think of it like this: purification is about removing threats, while source selection is about avoiding them altogether. You wouldn’t walk into a known ambush, so don’t willingly scoop up obviously contaminated water if a better option is just a short walk away. Your own senses are your first line of defense.
Reading the Water Source
Not all water is created equal. Your primary goal is to find the source with the fewest potential contaminants. In a survival scenario, this often means choosing the lesser of two evils, but some clear guidelines can steer you toward a much safer choice.
A fast-moving river or stream is almost always a better bet than a stagnant pond or puddle. Flowing water is more oxygenated and far less likely to harbor nasty concentrations of mosquito larvae and anaerobic bacteria. Standing water is a breeding ground for trouble.
Keep an eye out for these immediate red flags:
- Oily Sheen: A rainbow-like film on the surface is a dead giveaway of petroleum or chemical contamination. This water is dangerous even after you boil or filter it. Leave it.
- Strange Smells: If the water smells like chemicals, sulfur (rotten eggs), or anything else unnatural, move on. Your nose can pick up threats that many filters will miss.
- Unusual Color or Foam: Green, cloudy water often points to an algal bloom, which can produce dangerous toxins. Lots of foam, especially downstream from industrial or agricultural areas, suggests chemical runoff.
- Proximity to Contaminants: Pay attention to what’s upstream. Is there a farm nearby? A dead animal in the water? An old mining operation? Any of these can leach pesticides, bacteria, or heavy metals right into your potential drinking source.
The most pristine-looking mountain stream can still be contaminated with Giardia from a deer carcass just a few hundred yards upstream. Never trust your eyes alone—always assume every natural water source needs purification.
The Importance of Pre-Filtering
Once you’ve picked the best available source, the next step is preparation. Pre-filtering is just a fancy way of saying you need to get the big stuff out—silt, sand, leaves, and other junk—before you use your main purification method. Skipping this step is one of the biggest and most common mistakes you can make.
Trying to push silty water through a high-quality filter like a Lifestraw can clog and permanently damage its delicate hollow-fiber membrane. This will wreck its flow rate and shorten its lifespan in a hurry. Pre-filtering protects your gear and makes the final purification much more effective, whether you’re boiling, using chemicals, or zapping pathogens with UV light.
You don’t need fancy equipment to do this, either. A simple piece of cloth can work wonders.
Improvised Pre-Filtering Techniques
Here are a few field-expedient ways to get the grit out:
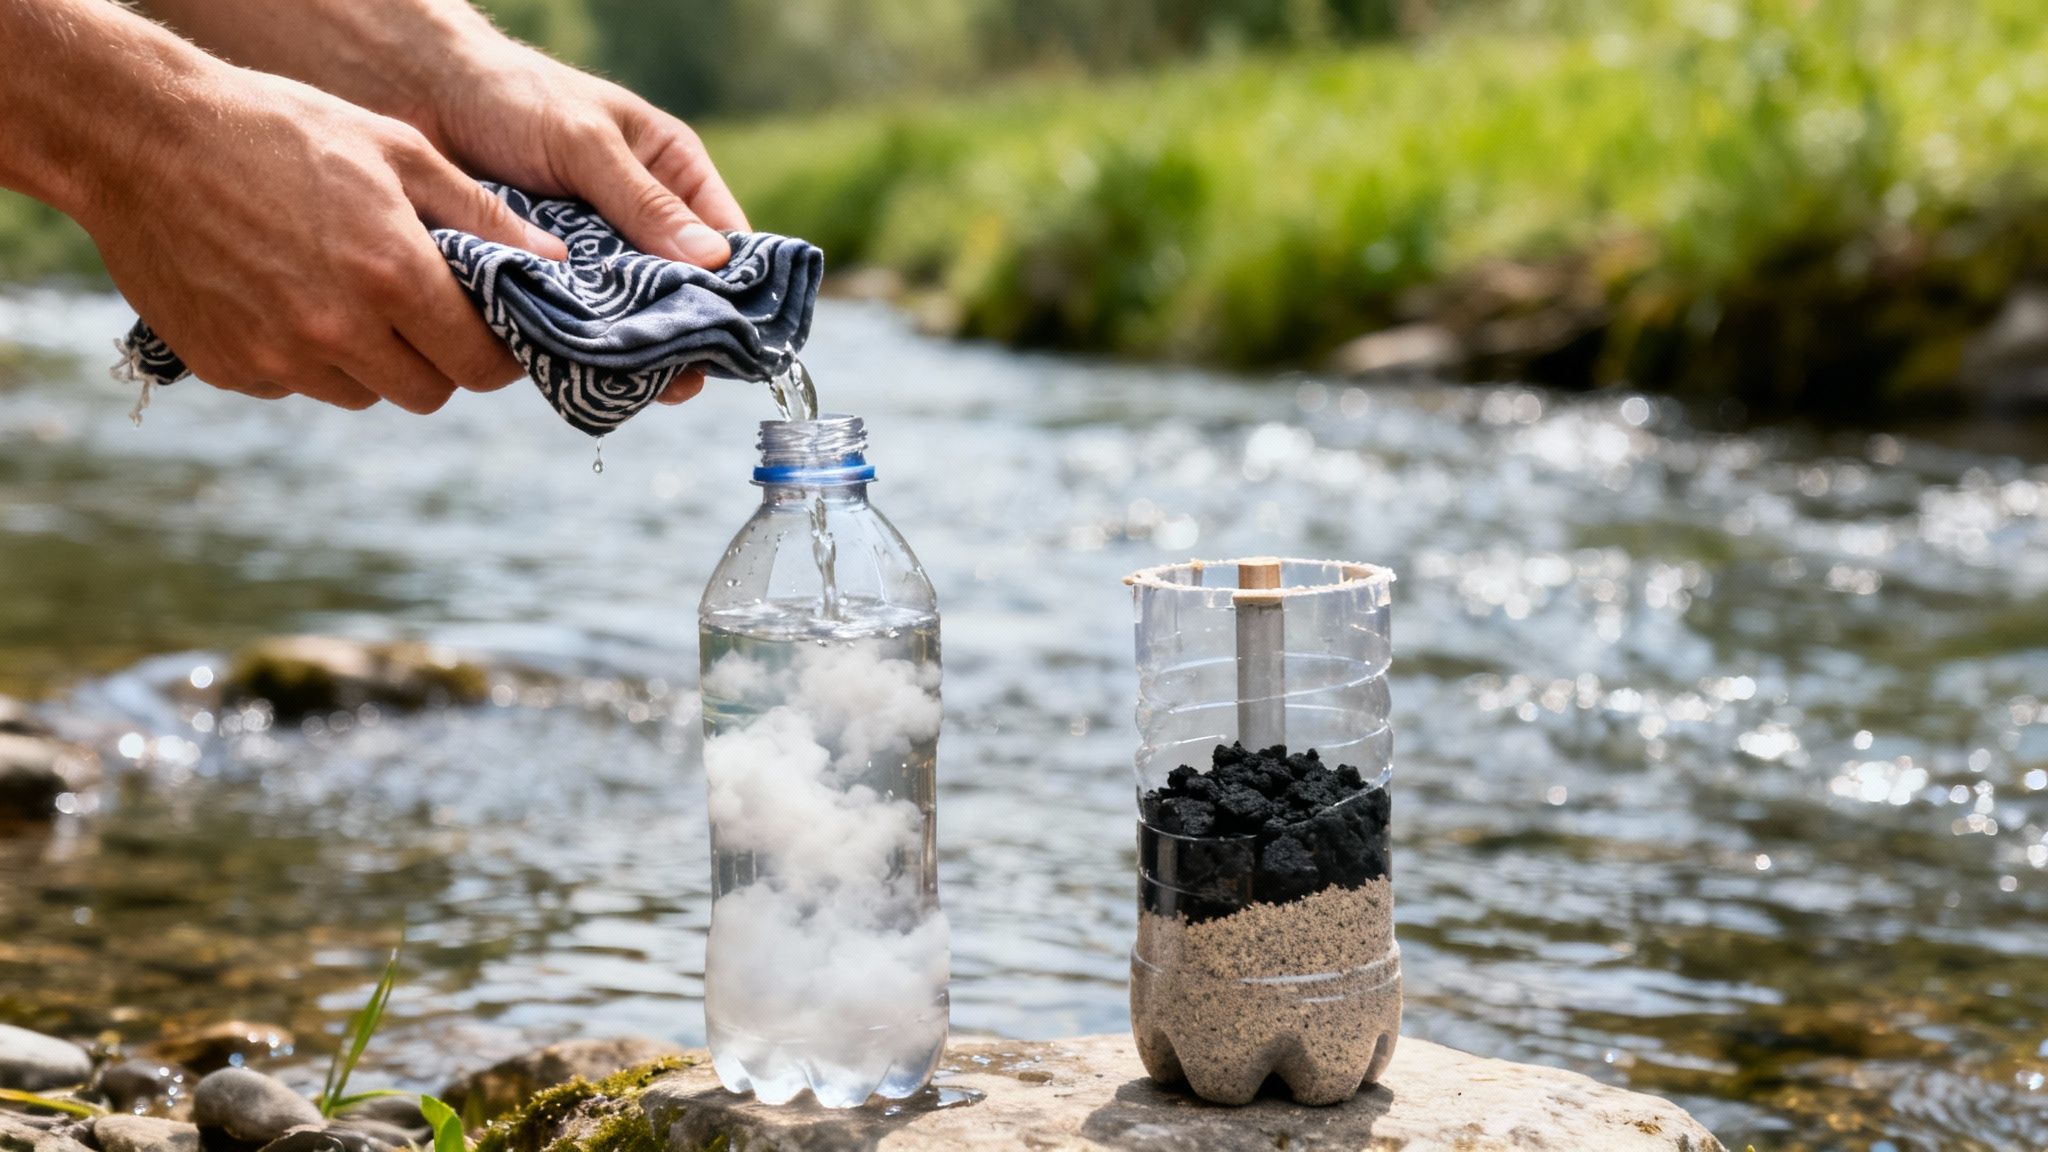
- Using a Bandana or Shirt: Just stretch a bandana, t-shirt, or any tightly woven cloth over the mouth of your water bottle. Pour the water slowly through the fabric, letting it catch all the larger sediment. You can even fold the cloth over a few times for better results.
- Building a Tripod Filter: Find three sturdy sticks and lash them together at the top to form a simple tripod. Hang your bandana or shirt from the center to create a cone shape. Pour water into the cone and let it drip cleanly into your container placed below.
- Constructing a Debris Column: If you have a bit more time, you can build a more advanced filter. Cut the bottom off a plastic bottle and flip it upside down. Now, layer it with different materials, starting from the bottom: a piece of cloth, then a layer of charcoal from your fire (crushed into small pieces), followed by a layer of sand, and finally a layer of small gravel on top. This multi-stage filter does a fantastic job of removing turbidity before you move on to the real purification.
This initial clean-up is a non-negotiable part of the process. It protects your gear and lets your final purification method focus on its real job: killing the invisible pathogens. If you’re looking for more ways to find water in the first place, check out our in-depth guide on collecting water in survival situations.
Assembling Your Home and Bug-Out Water Kits
Having the right tools is half the battle. Having them organized and ready before a crisis hits? That’s what separates the prepared from everyone else.
When it comes to water purification, your strategy can’t be one-size-fits-all. The gear you need when you’re hunkered down at home is a world away from what you can realistically carry if you have to evacuate on foot. This is why we build two completely distinct kits: a high-capacity system for home and a lightweight, redundant kit for the bug-out bag. For more details on building a comprehensive bug-out bag, check out our guide on What’s a Bug-Out Bag? One is built for volume, the other is built for mobility and survival.
Building Your At-Home Water Fortress
When you’re sheltering in place, you have two huge advantages: space and stability. You aren’t crippled by weight limits, which means you can—and should—plan for high-volume purification and storage to get your entire family through a long-term grid-down event.
High-Volume Water Filtration
The cornerstone of any serious home water system is a large-scale gravity filter. To learn more about creating a self-sufficient off-grid lifestyle, explore our guide on off-grid living essentials. For a truly self-sufficient solution, consider an atmospheric water generator (AWG) that pulls water from the air. The Smart Water Box offers a digital guide to build a DIY AWG, enabling you to produce clean water from humidity. This approach eliminates reliance on external sources and is ideal for long-term emergencies. With the ability to generate up to 40 gallons per day, it’s a powerful addition to any home water strategy. Systems like the Alexapure Pro are incredibly popular for a reason—they can purify gallons of water at a time using nothing but gravity. You just fill the top chamber with whatever water you have, and it slowly trickles through powerful filters into a clean reservoir below, ready to drink. It’s the perfect off-grid solution for handling the daily water needs of a family.
Bulk Water Storage Solutions
Of course, filtration is only part of the equation. Bulk water storage is absolutely non-negotiable. You’ve probably heard the rule of one gallon per person, per day, but treat that as the bare minimum. A family of four should be aiming for at least a 30-day supply, which comes out to a whopping 120 gallons.
Here are the best ways to store that much water:
- 55-Gallon Barrels: These food-grade giants are the gold standard for bulk storage. Filled with tap water and kept sealed in a cool, dark place like a basement or garage, the water can stay safe to drink for years.
- WaterBricks: These are tough, stackable containers that hold about 3.5 gallons each. Their block-like design makes them way easier to store in closets or move around than a massive barrel.
A robust home kit isn’t just about having one tool; it’s about creating a layered system. A gravity filter handles daily purification, while your stored water provides an immediate, no-effort buffer for the first several weeks of a crisis.
Another layer of preparedness involves generating water from the air. The Smart Water Box provides a digital guide to build a DIY atmospheric water generator (AWG), allowing you to produce clean water from humidity. This solution is particularly valuable in extended emergencies where water sources may be depleted. With the ability to generate up to 40 gallons per day, it offers a proactive approach to water security.
The Bug-Out Bag Water Kit: Redundancy is Key
When you’re forced to leave home, every single ounce counts. A bug-out bag water kit has to be lightweight, compact, and—this is the most important part—redundant. If your main filter fails, you need a backup. And a backup for that backup. A battle-tested setup always involves multiple ways to make water safe.
Bug-Out Bag Kit: Lightweight & Redundant
Your primary tool should be a fast, effective, and nearly weightless filter. The Sawyer Squeeze is a legend in the survival community because it’s so light, versatile, and lasts practically forever. You can use it on a squeeze pouch, screw it directly onto a standard water bottle, or even splice it into the line of a hydration pack.
But what if your filter clogs, freezes and cracks, or gets lost in the chaos? That’s where chemical treatment becomes your best friend. A tiny vial of purification tablets, like Potable Aqua, weighs next to nothing and provides a completely different method for neutralizing pathogens. It’s the perfect backup.
Finally, you need a way to boil. This is the oldest and most reliable method of all. A single-wall stainless steel or titanium bottle is a non-negotiable piece of gear. It works as your everyday drinking container, but you can also place it directly over a fire to boil water, giving you a foolproof last resort.
Essential Gear for Home vs. Bug-Out Water Kits
Thinking about your water plan in terms of “home” versus “bug-out” is critical. The missions are different, so the gear has to be, too. Here’s a side-by-side look at how to equip each kit for maximum effectiveness.
| Gear Category | Home Kit (High Capacity) | Bug-Out Bag (Lightweight & Redundant) |
|---|---|---|
| Primary Filtration | Large Gravity Filter (Alexapure Pro, Berkey) | Squeeze Filter (Sawyer Squeeze, Lifestraw) |
| Bulk Storage | 55-Gallon Water Barrels, WaterBricks | N/A (Focus is on purification, not storage) |
| Water Containers | 5-Gallon Jugs, Pitchers | 1L Stainless Steel Bottle, Hydration Bladder |
| Backup Method | Boiling on a stove, purification tablets | Purification Tablets (Potable Aqua), Iodine |
| Tertiary Method | Bleach (with proper ratios) | Boiling in a metal bottle/cup over fire |
| Transport | Buckets for collecting questionable water | Collapsible water bladder, squeeze pouches |
This table makes it clear: at home, you’re building a fortress with high-volume tools. On the move, you’re an adaptable survivor with multiple, lightweight fail-safes. Plan for both scenarios, and you’ll be ready for anything.
Key Gear for Each Scenario
The key is layering these options in the field. For those looking to go beyond traditional purification, consider generating water from the air. The Smart Water Box offers a digital guide to build a DIY atmospheric water generator (AWG), enabling you to produce clean water from humidity. This approach is ideal for prolonged emergencies, providing a continuous water supply. With the ability to generate up to 40 gallons per day, it’s a proactive solution for water scarcity. Your go-to strategy might be to filter water for immediate drinking while using tablets to purify a larger batch in a bladder overnight. If everything else fails, you can always build a fire and boil. This multi-layered approach guarantees you can produce safe drinking water no matter what goes wrong.
To see how this fits into a more immediate crisis plan, check out our guide on how to build a 72-hour emergency water plan.
Improvised Purification When Your Gear Is Gone
It’s the scenario every prepper dreads: your gear is gone, your filter is broken, and your purification tablets were lost crossing a river. This is where true self-reliance is forged. Commercial tools are excellent force multipliers, but the ultimate backup plan is always the knowledge you carry in your head.
When you have nothing but what you can find, you can still produce safe drinking water. These improvised methods are your last line of defense, turning basic environmental principles into life-saving techniques. They may not be fast, but they are incredibly effective when everything else has failed.
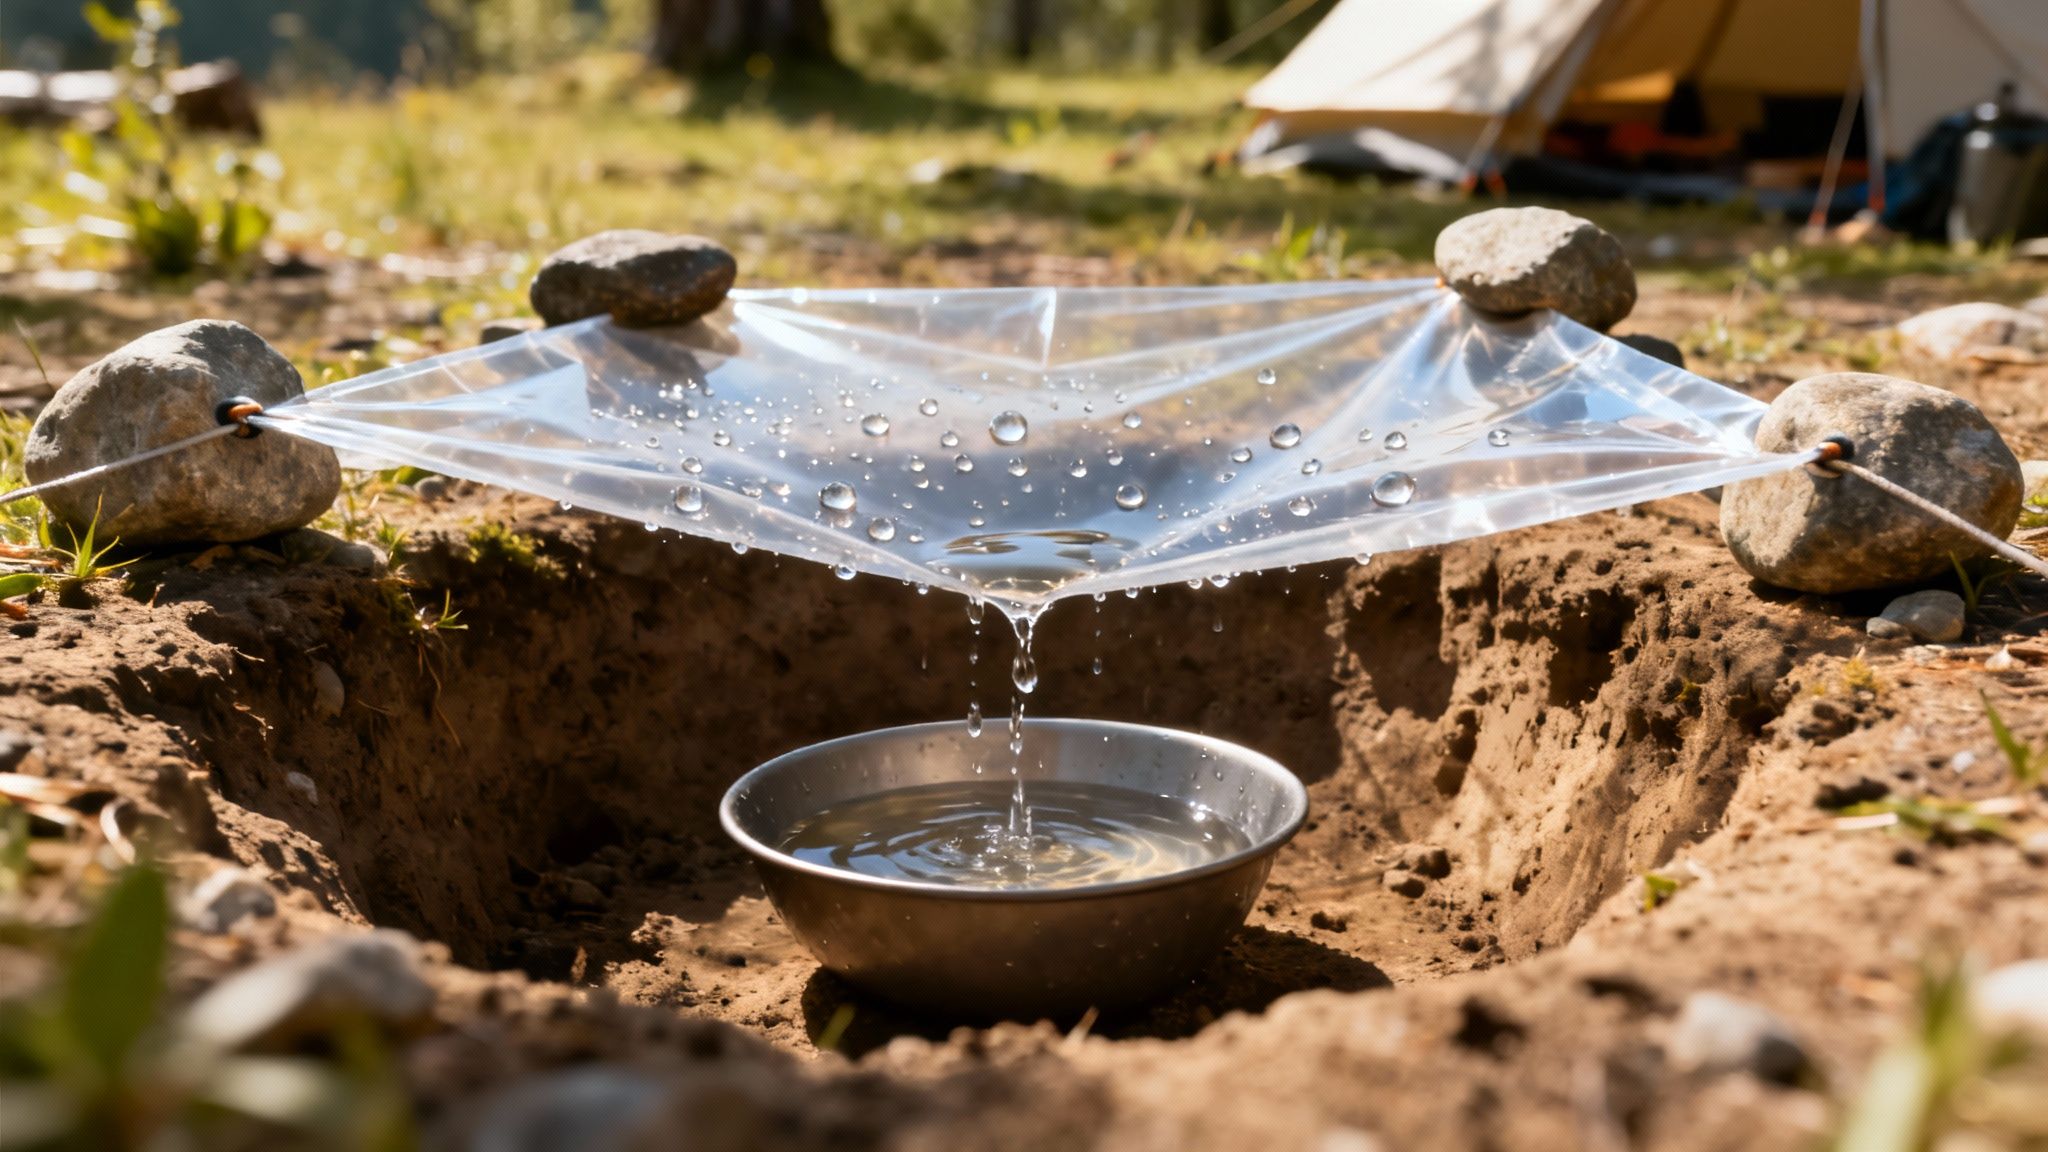
Harnessing the Sun with a Solar Still
One of the most powerful improvised techniques is the solar still. This method uses the sun’s energy to evaporate and collect pure water, leaving behind salts, heavy metals, chemicals, and pathogens. It’s a slow process, but it’s one of the few ways you can purify even the most questionable sources, like seawater or urine.
To build a solar still, you’ll just need a few items:
- A sheet of plastic (a tarp or poncho works perfectly)
- A container to catch the clean water (a cup, bottle, or even a cupped leaf)
- Something to dig with (your hands, a stick, or a flat rock)
First, dig a hole in the ground about three feet wide and two feet deep in a spot that gets plenty of sun. Place your collection cup right in the center. Next, lay the plastic sheet over the hole, securing the edges with rocks or dirt. Finally, place a small rock in the middle of the plastic, directly above your cup. This creates a low point for the condensed water to drip from. Sunlight heats the ground, causing moisture to evaporate, condense on the underside of the plastic, and drip clean water into your container.
A well-constructed solar still can produce around one to two liters of pure water per day in direct sunlight. It’s not a high-volume solution, but it’s a consistent, passive source of safe drinking water when you have no other options.
Campfire Distillation for Ultimate Purity
If you can get a fire going and have a couple of metal containers, you can use distillation to achieve the highest level of purification possible. Distillation is simply the process of boiling water to create steam and then collecting that condensed steam, which is pure H₂O. This method removes virtually everything—bacteria, viruses, salts, heavy metals, and most chemicals.
The setup can be a little tricky but is based on a simple concept. You need one container to boil the contaminated water and a way to channel the steam to a second, cooler container where it can condense back into liquid. A piece of tubing or even a cleverly angled piece of bark can work to direct the steam. It requires constant attention and fuel, but the result is medically sterile water. This is the only improvised method that can reliably remove chemical contaminants.
Using UV Rays with the SODIS Method
The SODIS (Solar Water Disinfection) method is a remarkably simple technique endorsed by the World Health Organization (WHO). It uses the sun’s ultraviolet (UV) radiation to destroy pathogens in water. All you need is a clear plastic bottle—preferably a PET bottle (look for recycling symbol #1)—and strong sunlight.
Here’s the process:
- Fill a clear PET bottle about three-quarters full.
- Shake the bottle vigorously for 20-30 seconds. This oxygenates the water, which helps the UV rays do their work.
- Top off the bottle and seal it tightly.
- Place the bottle on its side in direct, intense sunlight for at least six hours. If it’s cloudy, you’ll need to leave it out for two full days.
SODIS Method: Harnessing Sunlight for Water Purification
The UV-A rays in sunlight penetrate the water and kill bacteria, viruses, and protozoa. It’s a completely free and effective form of water purification for survival, provided you have clear bottles and sunshine. For those seeking a long-term solution, consider generating water from the air. For a deeper dive into sustainable living practices, refer to our guide on off-grid living for beginners.
The Smart Water Box provides a digital guide to build a DIY atmospheric water generator (AWG), allowing you to produce clean water from humidity. This approach is particularly valuable in extended emergencies, offering a continuous water supply. With the ability to generate up to 40 gallons per day, it’s a proactive approach to water security. The growing awareness of such simple yet effective methods is reflected in broader trends; a 2023 survey showed that 91% of Americans now filter their tap water, a significant increase that mirrors global concerns over water safety. For those looking to prepare for long-term societal disruptions, our guide on how to prepare for martial law offers essential insights. For a method that uses household chemicals instead of sunlight, our guide on using bleach for water purification offers another crucial backup skill.
Your Top Water Purification Questions Answered
When you’re sorting out your water strategy for an emergency, a handful of questions always seem to pop up. Getting straight answers is the only way to move from just thinking about preparedness to actually being ready. Let’s cut through the noise and tackle the big ones so you can build a plan that works.
How Much Water Should I Really Store Per Person?
The classic advice is one gallon per person, per day. That breaks down to about a half-gallon for drinking and the rest for basic hygiene. But you should think of that as the absolute floor, not the goal.
Real life gets messy. If you’re in a hot climate, dealing with an illness, pregnant, or doing any kind of physical work, your needs can easily jump to two gallons a day. For a family of four, a two-week supply means storing at least 56 gallons. A much safer bet is a 30-day supply, which is 120 gallons, giving you a solid buffer for longer-term disruptions.
Can I Just Use My Fridge Filter in a Crisis?
No. Absolutely not. This is one of the most dangerous assumptions people make. Your refrigerator filter or a standard pitcher filter like a Brita is only designed to make clean tap water taste better. They’re great at reducing chlorine and some minerals.
But those filters do nothing to stop the threats you’d face in a real emergency: bacteria, viruses, and protozoa. Relying on one is a critical mistake that provides a false sense of security when you can least afford it.
What’s the Best All-Around Filter for a Bug-Out Bag?
If I had to recommend one filter for a bug-out bag, it would be the Sawyer Squeeze. It’s become a gold standard for a reason—it hits that perfect sweet spot of effectiveness, weight, and sheer durability.
It’s a hollow-fiber filter that removes 99.99999% of bacteria and protozoa, weighs a mere three ounces, and is rated for an incredible 1 million gallons. Its best feature is its adaptability; you can screw it onto a regular water bottle, use the included pouch, or hook it into your hydration pack’s line. For anyone serious about being prepared on the move, it’s pretty much a non-negotiable piece of gear.
How Long Can I Store Water Before It Goes Bad?
Here’s the good news: water itself doesn’t expire. If you have commercially bottled water, it’s safe to drink pretty much forever, no matter what the date on the bottle says. Just keep it stored in a cool, dark place, away from any chemicals.
If you’re storing your own tap water in food-grade containers, the common wisdom is to rotate it every 6 to 12 months. This isn’t a safety issue—the water won’t become dangerous. It’s purely for taste, as stored water can start to taste a bit flat or stale. A quick fix is to just aerate it by pouring it back and forth between two clean containers. That’ll freshen it right up.