Introduction
Are you tired of throwing away spoiled food? Do you want to save money and reduce waste? If so, learning how to vacuum seal food for long-term storage is a game-changer! Vacuum sealing not only extends the shelf life of your food but also maintains its flavor and nutritional value. In this guide, we’ll explore the benefits of vacuum sealing, the best methods, and some fantastic products to help you get started.
Vacuum sealing adds decades to your long-term food storage.
Why Vacuum Seal Food?
Vacuum sealing removes air from food packaging, which slows down spoilage and helps prevent freezer burn. Here are some key reasons why vacuum sealing is essential:
- Extended Shelf Life: Vacuum-sealed food can last 3-5 times longer than food stored in regular bags.
- Space Saving: Vacuum-sealed bags take up less space, making it easier to organize your pantry or freezer.
- Protection Against Freezer Burn: Removing air keeps moisture in and prevents freezer burn, keeping your food tasting fresh.
- Meal Prep Made Easy: Prepare meals in advance and vacuum seal them for quick, easy access during busy weeks.
How to Vacuum Seal Food
Getting started with vacuum sealing is simple! Here’s a step-by-step guide:
Step 1: Gather Your Supplies
Before you begin, gather the necessary supplies:
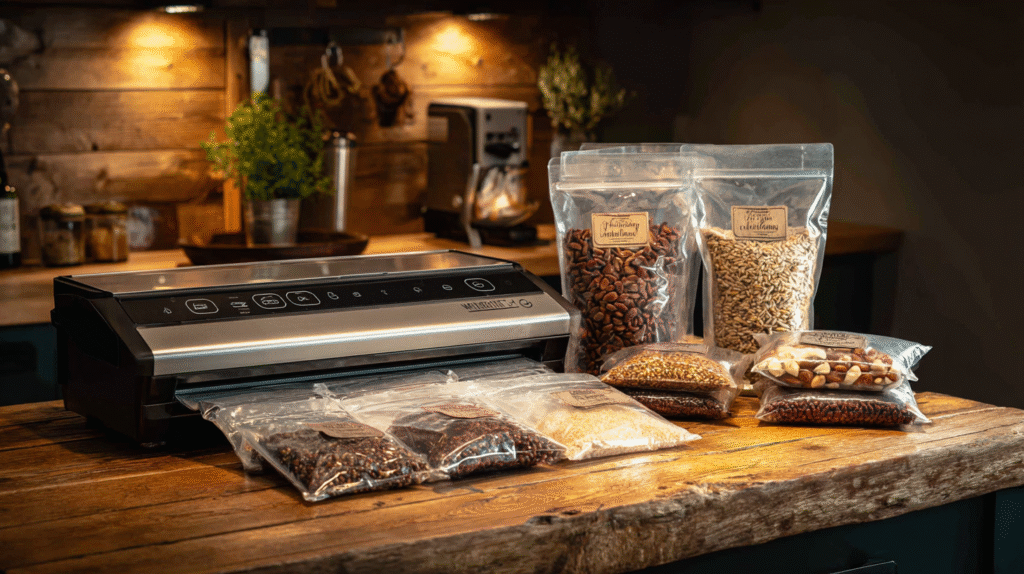
- Vacuum Sealer: A reliable vacuum sealer is crucial. The FoodSaver V4840 2-in-1 Vacuum Sealer Machine is highly rated for its ease of use and efficiency.
- Vacuum Seal Bags: Choose high-quality bags designed for vacuum sealing. The FoodSaver Vacuum Seal Bags are durable and perfect for various food types.
- Scissors: You may need these to cut bags to the desired length.
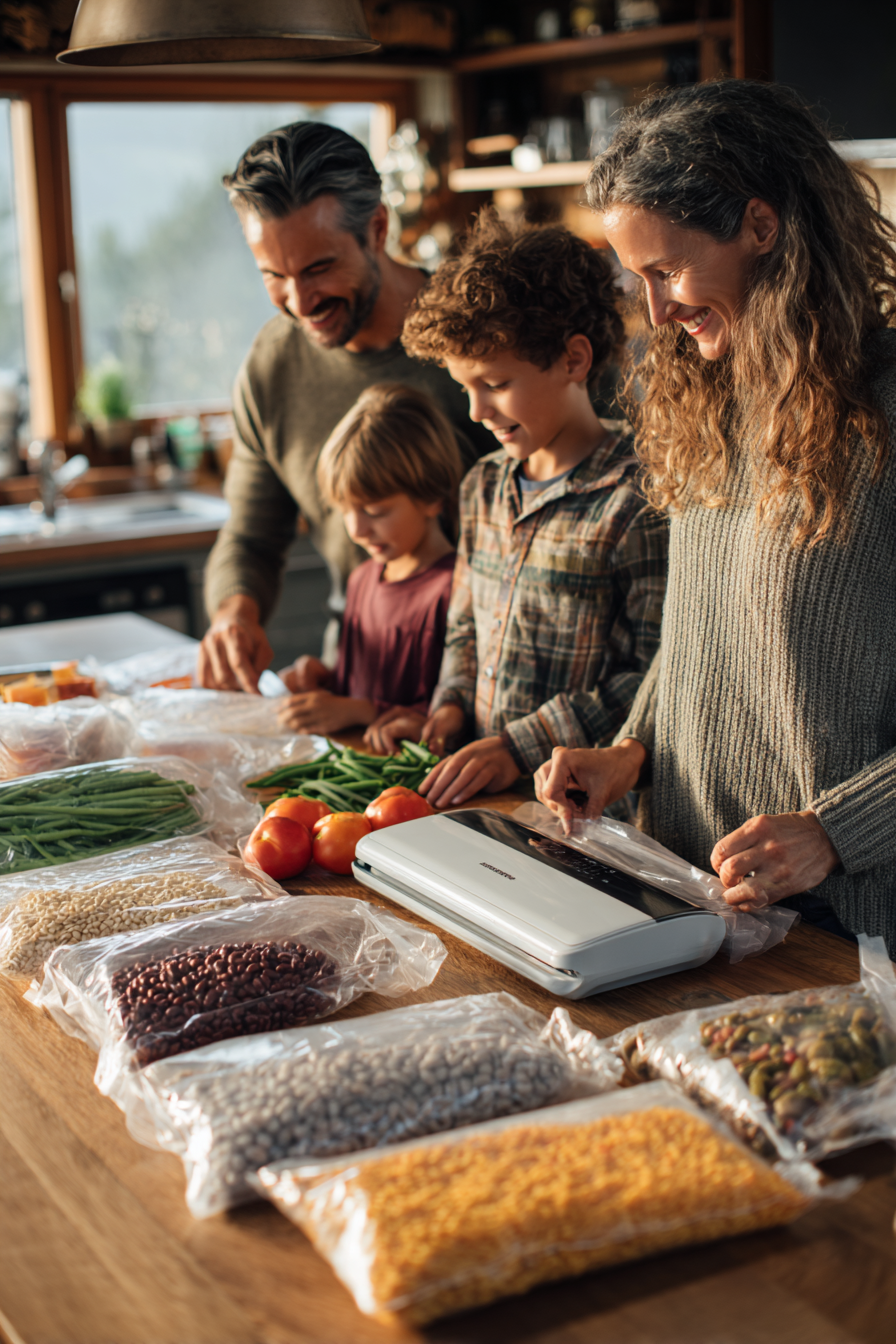
Step 2: Prepare Your Food
Make sure your food is clean and dry. For fruits and vegetables, wash and cut them into portions. For meats, trim off any excess fat to prevent spoilage. Staples like rice and beans benefit greatly from sealing—see our guide on how to store rice and beans long term for decades of freshness.
Step 3: Fill the Bag
Place your food in the vacuum seal bag, leaving enough space at the top for sealing. Avoid overfilling the bag to ensure a proper vacuum seal.
Step 4: Vacuum Seal the Bag
Using your vacuum sealer, follow the manufacturer’s instructions to vacuum seal the bag. Make sure the bag is properly aligned with the sealer for an airtight seal.
Step 5: Label and Store
Don’t forget to label your bags with the contents and the date. This will help you keep track of what you have stored. Store vacuum-sealed bags in the freezer, pantry, or refrigerator based on the type of food. For added protection, pair sealing with the best food storage containers to block moisture and pests.
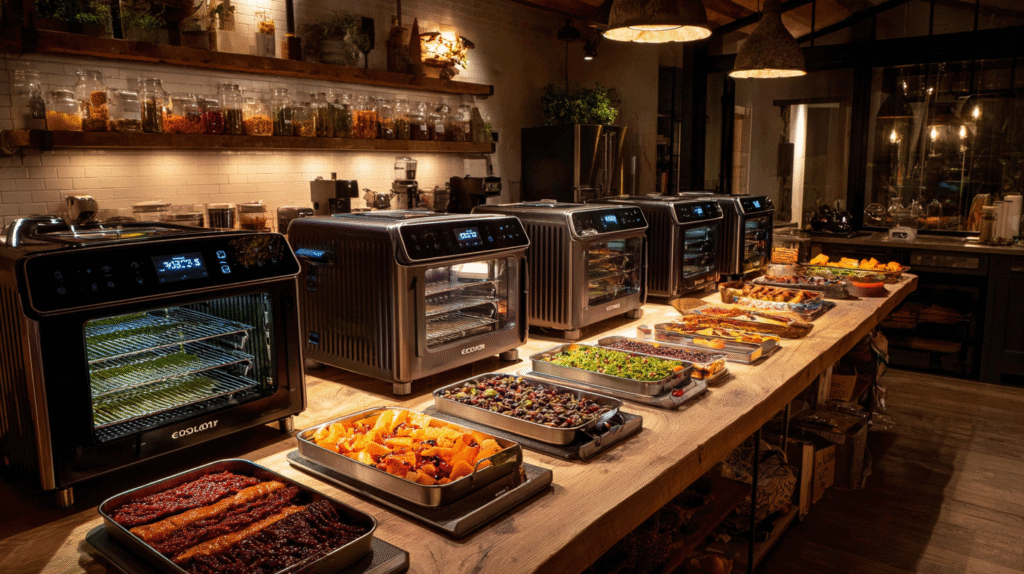
Alongside sealing techniques, many preppers also rely on the best food dehydrators to preserve bulk foods for long-term use.
Best Vacuum Sealers for Your Kitchen
Choosing the right vacuum sealer can make a big difference. Here are some top recommendations:
- FoodSaver V4840 2-in-1 Vacuum Sealer Machine: This versatile machine offers both automatic and manual sealing options, making it perfect for all types of food.
- NESCO VS-12 Vacuum Sealer: This affordable option is great for those just starting. It’s simple to use and has a strong seal.
- Geryon E2900-MS Vacuum Sealer: Compact and user-friendly, this model is ideal for small kitchens and offers great performance.
Storing Different Types of Food
Different foods require different sealing techniques. Here’s how to vacuum seal various items:
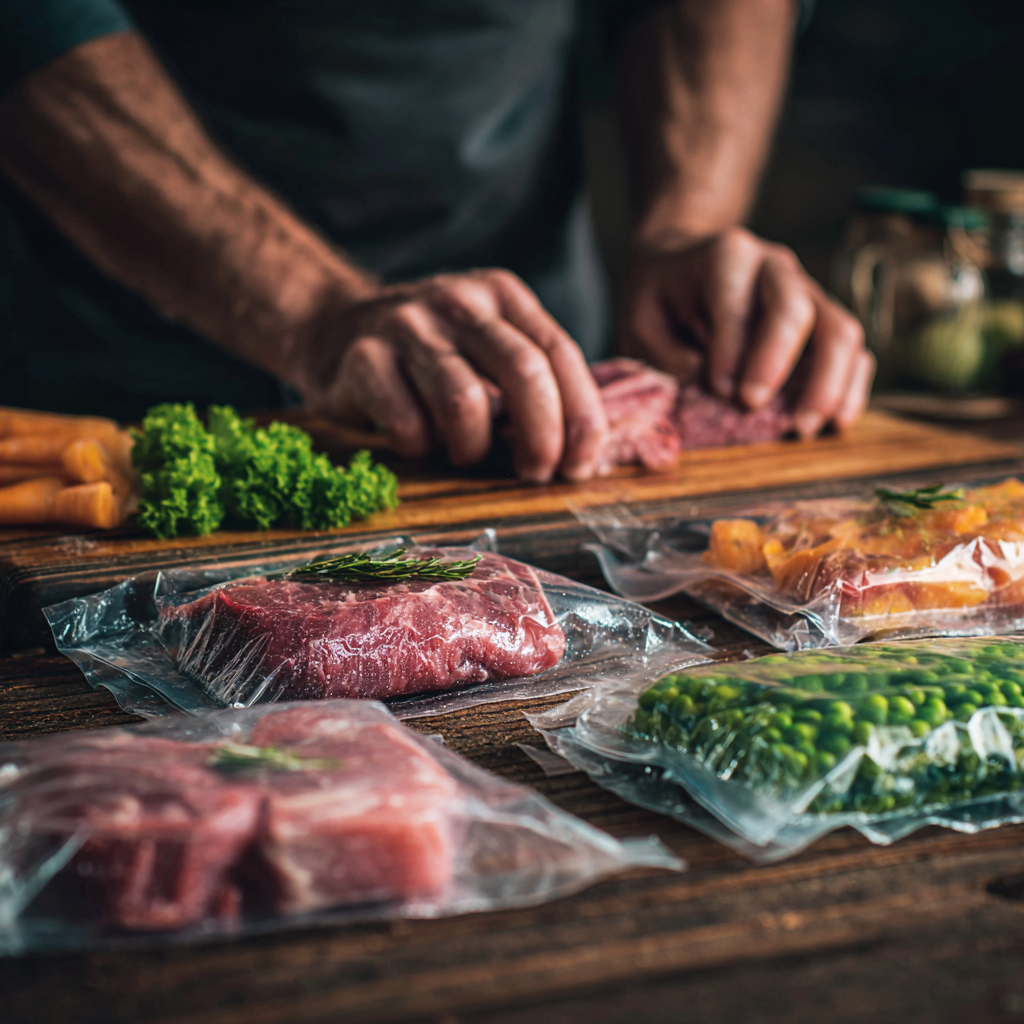
Meats and Fish
Meat and fish can be vacuum sealed raw or cooked. Ensure they are properly trimmed and cooled before sealing. For added freshness, consider using a marinade before sealing.
Fruits and Vegetables
Blanching vegetables before sealing can preserve color and texture. Fruits can be sealed fresh or frozen for later use in smoothies or desserts.
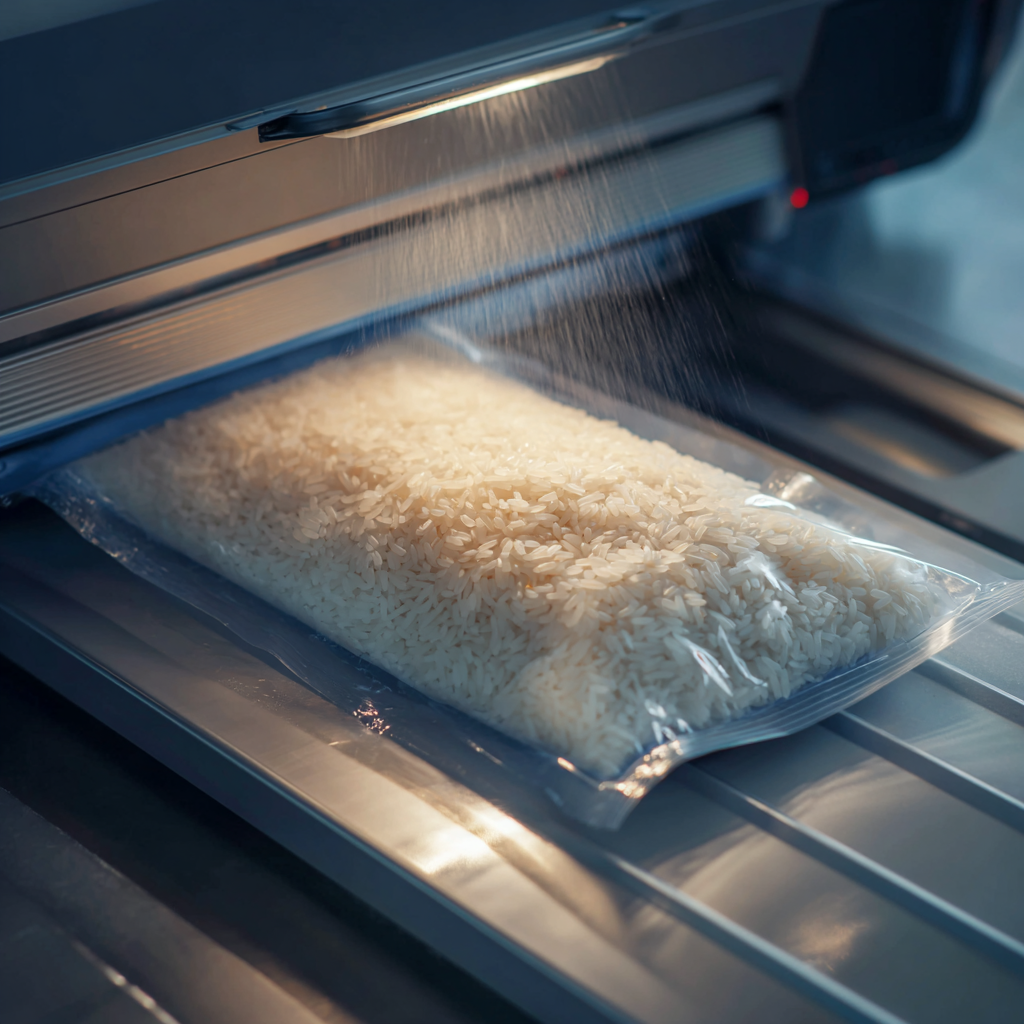
Dry Goods
Grains, nuts, and snacks can also be vacuum sealed. Make sure they are completely dry to prevent moisture buildup. Understanding survival food shelf life ensures you know exactly how long sealed dry goods will remain safe.
Conclusion
Vacuum sealing food for long-term storage is a smart way to save money and reduce waste. With the right tools and techniques, you can keep your food fresh and delicious for months. Remember to invest in a quality vacuum sealer, use proper sealing methods, and label your bags for easy access. Start vacuum sealing today and enjoy the benefits of long-lasting, preserved food! Just be sure to avoid common food storage mistakes that can shorten the lifespan of your vacuum-sealed supplies.
Ready to get started? Check out the FoodSaver V4840 on Amazon and see the difference vacuum sealing can make in your kitchen!