
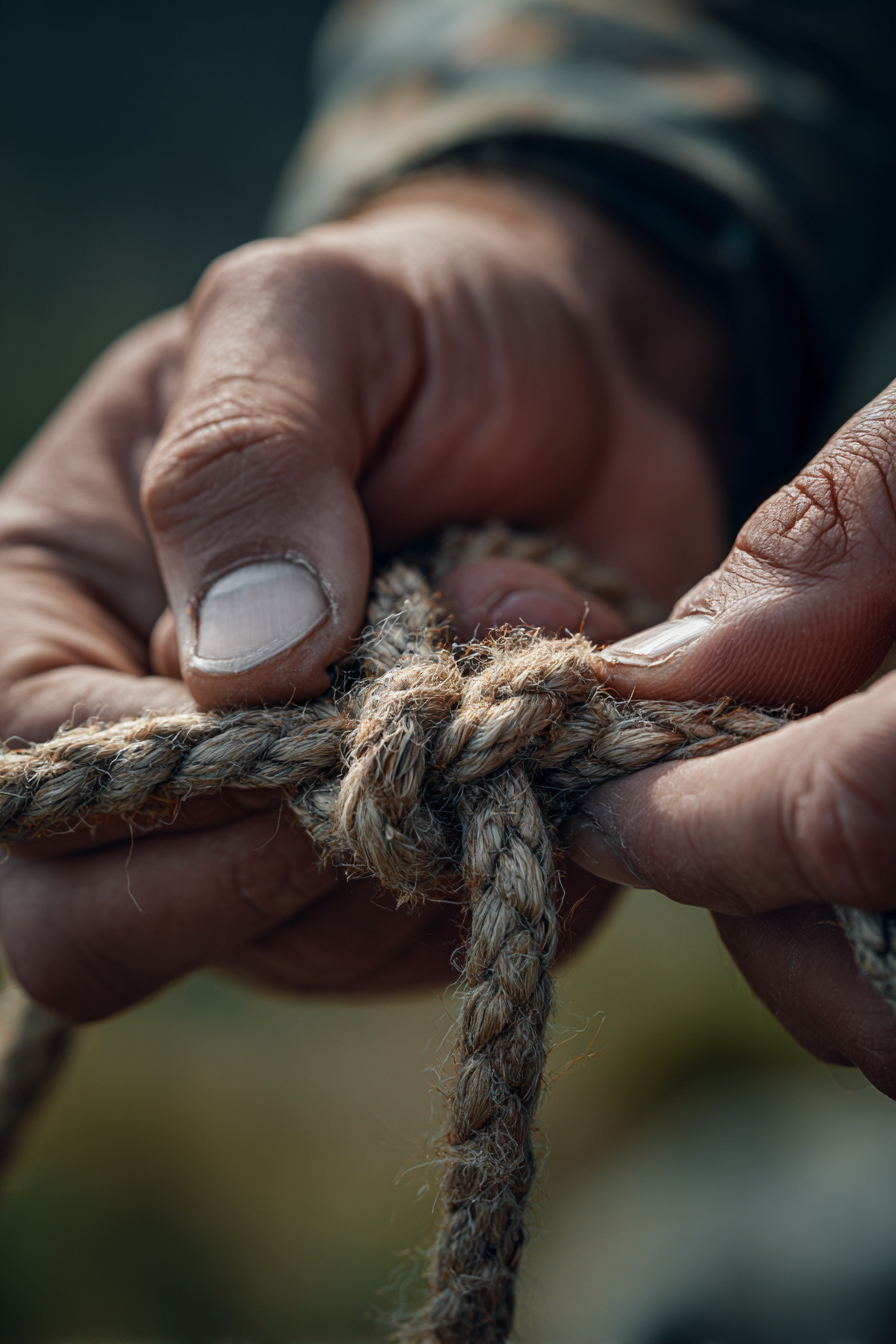
To tie a square knot, you’re just making two simple, opposite motions. Start by passing the right rope end over the left and tucking it under. Then, do the reverse: pass the left end over the right and tuck it under. That classic “right over left, left over right” sequence locks in to create a flat, secure knot that’s been trusted for thousands of years.
Why Mastering The Square Knot Matters
The square knot is so much more than just a way to tie two ends of a rope together; it’s a core skill for anyone who takes preparedness seriously. Knowing how to tie it is one thing, but understanding why it has been a cornerstone of survival for centuries is what really matters. This one knot is a direct link to a long legacy of human ingenuity and resilience.
If you’re just learning how to start prepping, mastering fundamental skills like the square knot should be at the top of your priority list—it costs nothing but time and works in virtually any scenario.
Learning how to prepare for disasters means building a foundation of practical skills like knot-tying that work regardless of the specific emergency you face.
From ancient sailors securing rigging against a storm to modern preppers lashing down essential gear, the square knot has proven itself time and time again. Its strength is in its simplicity, making it a powerful tool when things go sideways.
A Time-Tested Survival Tool
Also known as the reef knot, the square knot is one of the oldest and most reliable binding methods ever devised. Its staying power is a testament to just how effective it is. In fact, archaeological finds in places like Peru’s Guitarrero Cave show it’s been in use for at least 4,000 years, with some evidence suggesting it’s even older.
For a prepper, that history isn’t just an interesting fact—it’s a powerful endorsement. This knot has worked for thousands of years across countless cultures because it solves fundamental survival problems. It’s a non-negotiable skill.
The real power of the square knot lies in its elegant simplicity. It solves complex problems with a few easy-to-remember moves, making it one of the most practical survival skills you must master.
For a quick overview, here’s a table summarizing the knot’s key features.
Square Knot Quick Reference
| Attribute | Description |
|---|---|
| Primary Use | Binding two ends of the same rope or two ropes of the same diameter. |
| Key Strengths | Lays flat, secure under tension, easy to untie (when not under load). |
| Common Scenarios | First aid (bandages, slings), securing bundles, lashing non-critical gear. |
| Major Weakness | Can capsize or fail if used on ropes of different sizes or when jerked inconsistently. |
| CRITICAL WARNING | Never use for life-safety applications like climbing or supporting human weight. |
This quick-reference guide should help you remember where the square knot shines and, more importantly, where it should never be used.
Versatility in Preparedness Scenarios
In any survival situation, versatility is your best friend. The square knot truly excels here, handling a wide range of critical jobs that can make a huge difference when your options are limited.
You’ll find yourself reaching for it to:
- Secure Gear: It’s perfect for lashing a sleeping bag to your pack or tying down a tarp to create a quick, effective shelter from the elements. A sturdy MSR Groundhog Stake can anchor your lines, but the square knot connects them.
- Administer First Aid: Use it to tie a bandage or secure a sling. Because it lies flat, it won’t create a painful pressure point against an injury.
- Extend a Lifeline: Need a longer rope? The square knot can join two separate ropes of the same thickness, giving you the length you need to bundle firewood or set up a camp perimeter.
Beyond securing gear and building shelter, these skills complement other essential preparedness knowledge like how to preserve food for long-term storage.
Mastering this one knot gives you a powerful, multi-purpose tool. It’s a small investment of time for a massive payoff when you really need it.
Tying The Perfect Square Knot Every Time
Learning to tie a square knot isn’t about studying diagrams for hours. It’s about building pure muscle memory. The real goal is to get the motions so ingrained that you can do it right every time—fast, without thinking, even when your hands are cold or you’re under pressure.
The easiest way I’ve found to drill this into memory is a simple phrase: “Right over left and under, then left over right and under.” This little mantra is your best defense against the most common mistakes and will guide your hands through the motions until it becomes second nature.
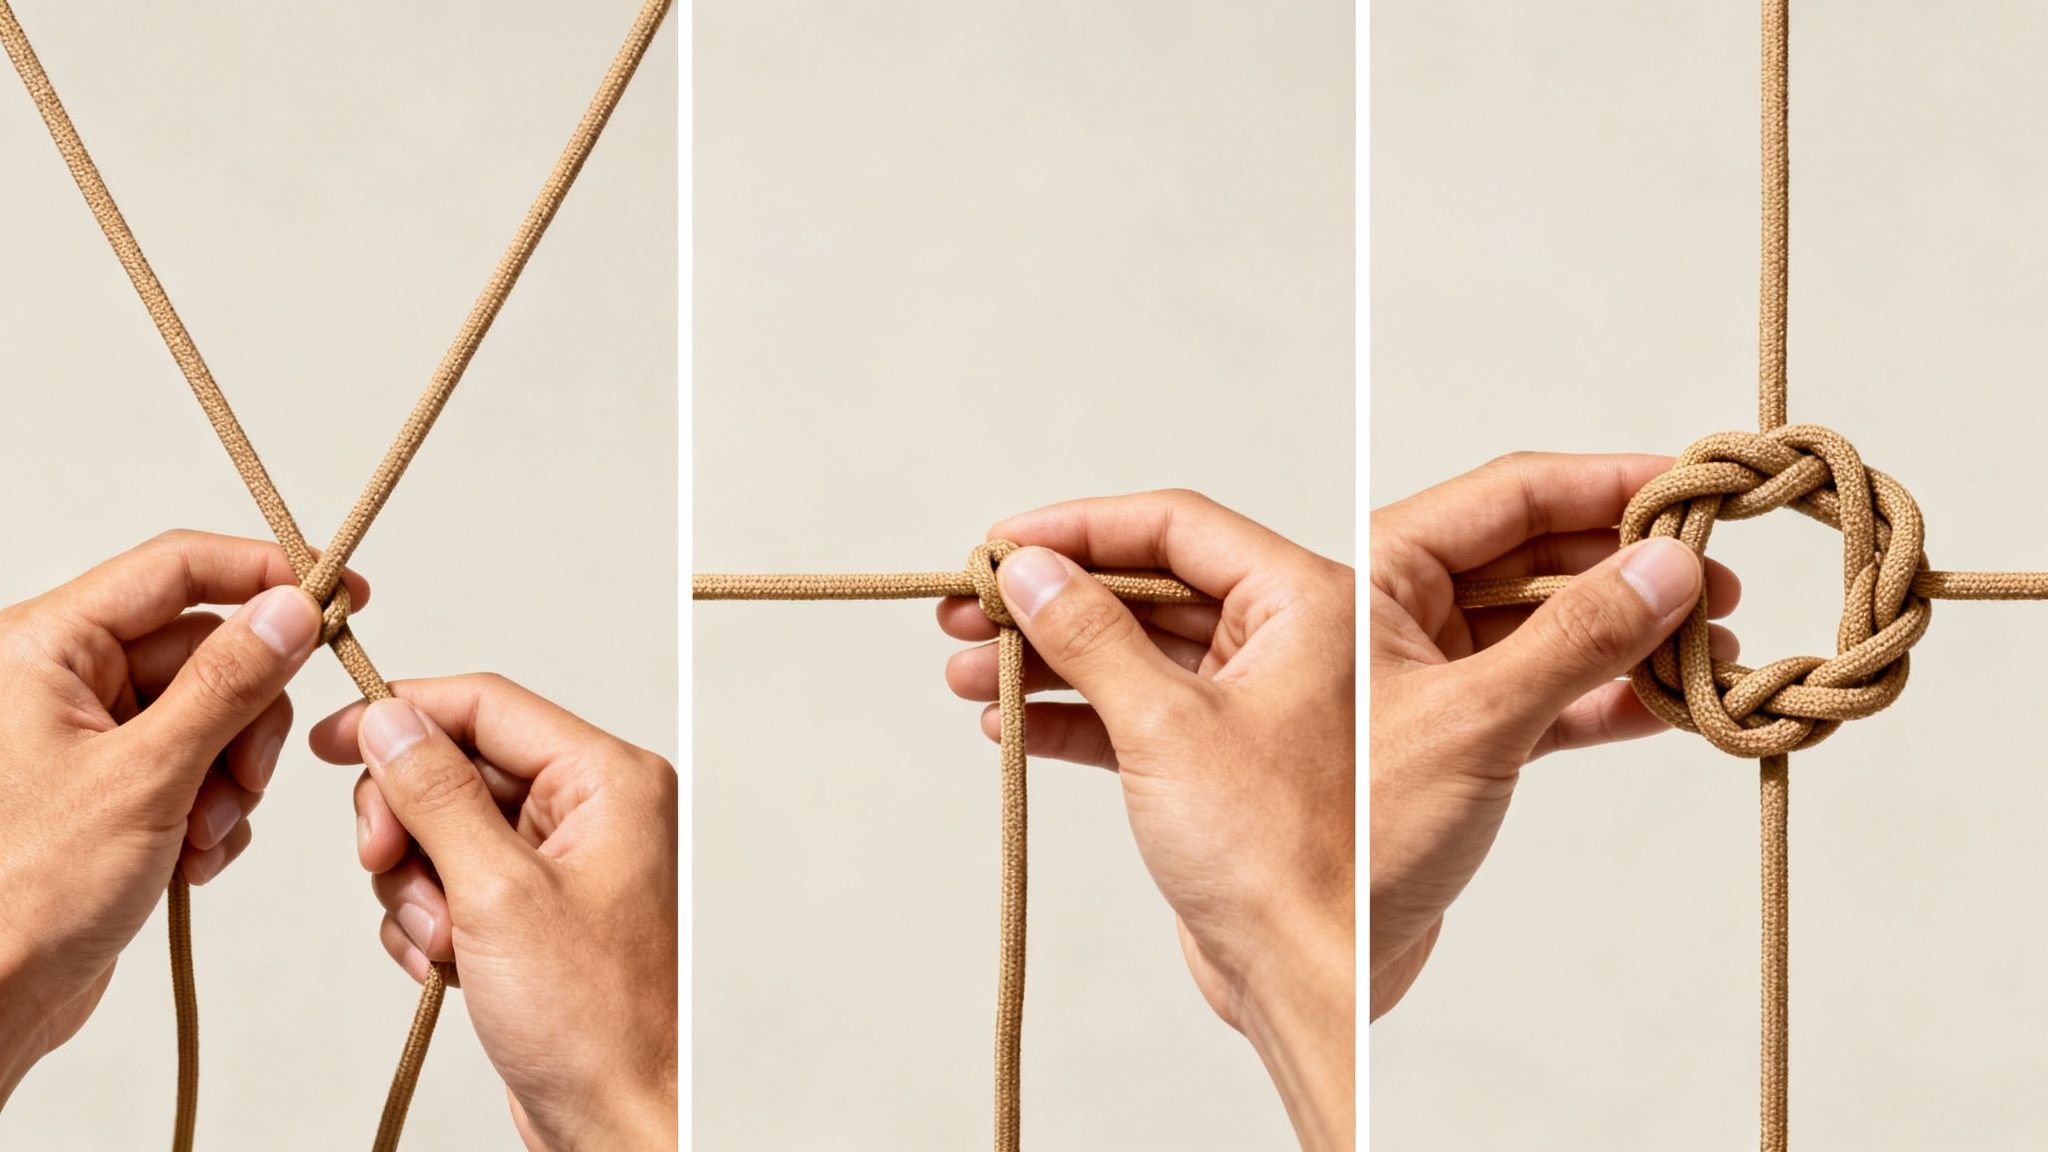
The First Half: Right Over Left
Start with the two rope ends, one in each hand. To keep things clear, let’s just call them the right end and the left end. The first move is exactly what the phrase says.
- Take the working end in your right hand.
- Cross it over the end in your left hand.
- Loop it under the left rope to complete the first half-knot.
This initial twist should feel familiar, almost like the first step of tying your shoes. Don’t yank it tight just yet; just snug it up enough to hold its shape. You’ve just set the foundation for a secure knot.
The Second Half: Left Over Right
This is the critical step where most beginners go wrong by simply repeating the first motion. Instead, you need to reverse the sequence to properly lock the knot. This is the “left over right” part of our mantra.
Now, take the end that’s currently in your left hand (which was originally the right one). Cross it over the rope in your right hand, and then bring it under. This creates the second half-knot, a mirror image of the first.
It’s this opposing turn that gives the square knot its distinct, symmetrical shape and all of its binding power.
A correctly tied square knot will have two loops lying flat against each other, with both ends on each side exiting together. If it looks twisted or the ends come out diagonally from the main lines, you’ve accidentally tied a granny knot.
Inspecting Your Work
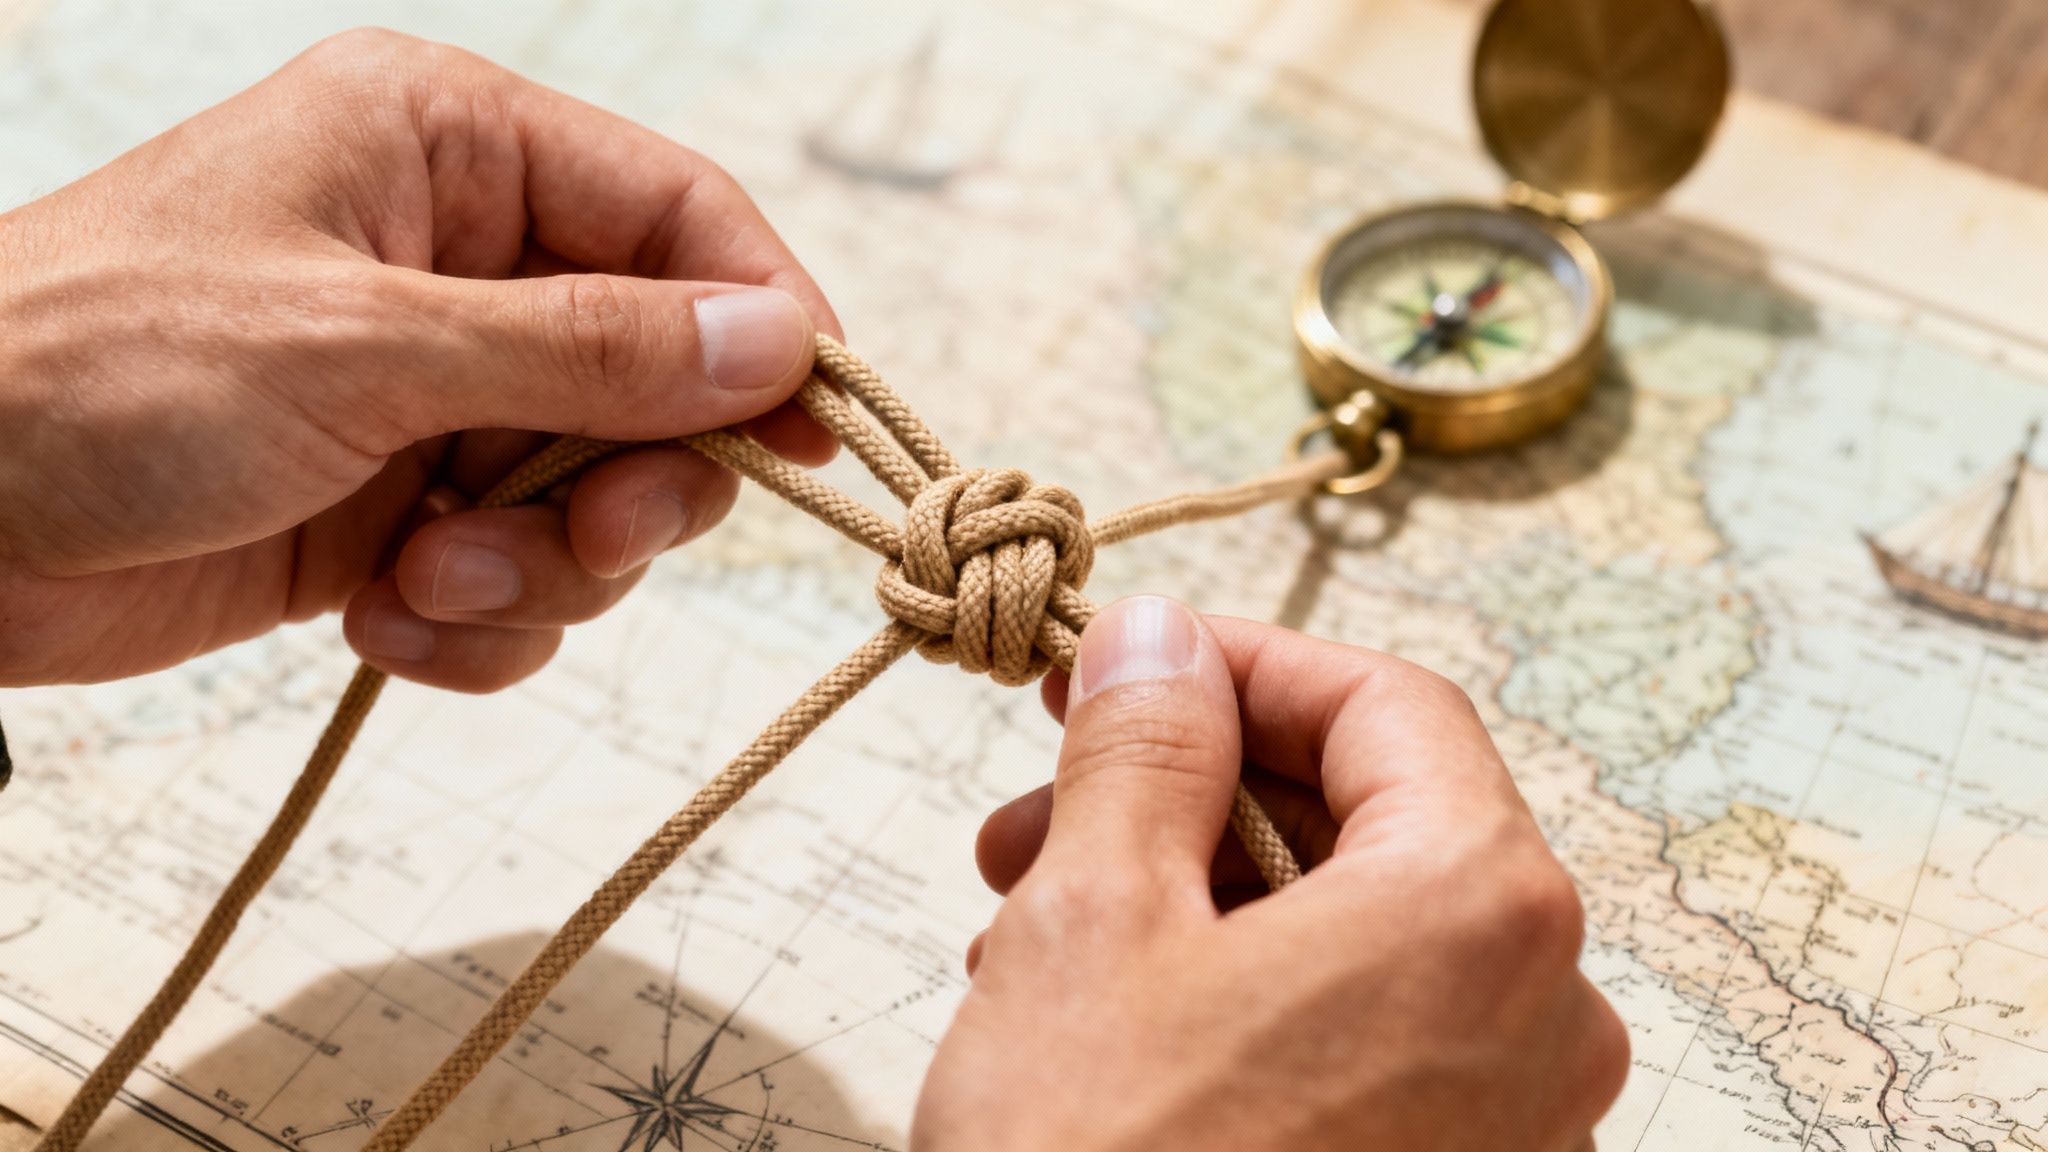
Once the second half is complete, pull on both standing ends and both working ends to cinch the knot down. We call this “dressing” the knot. A perfect square knot has a look you can’t mistake.
Here’s what to check for:
- Symmetry: The knot should look like two clean, interlocking loops lying flat.
- Parallel Ends: The two ends on the left should exit parallel to each other, and the same for the right side.
- Flat Profile: The knot should lie relatively flat, which is essential for things like first aid bandages where you don’t want a bulky lump.
Using the right cordage for practice makes a huge difference. Something like Paracord Planet 550 Paracord has the perfect thickness and feel, making it easy to grip and see the knot’s structure as you go. Plus, its durability means you can tie and untie it hundreds of times without it fraying. You can find Paracord Planet 550 Paracord on Amazon.
The more you practice, the more you’ll develop a feel for the right tension and flow. Mastering this simple knot is a cornerstone for building your wider bushcraft skills. It’s the repetition that turns this piece of knowledge into a reliable tool you can count on.
Practical Survival Uses For The Square Knot
Alright, you’ve put in the reps and can now tie a square knot in your sleep. It’s time to move beyond simple practice and see where this knot really shines in the field. A knot is only as good as your ability to apply it, and the square knot is a genuine workhorse for solving common problems you’ll face when things get real.
Its most basic job is a critical one: joining two ropes of the same diameter. Need to stretch a ridgeline for a bigger tarp shelter? The square knot lets you safely connect two shorter cords into one long, usable line. It’s also perfect for bundling up an armload of firewood or cinching down a bedroll to keep it tight.
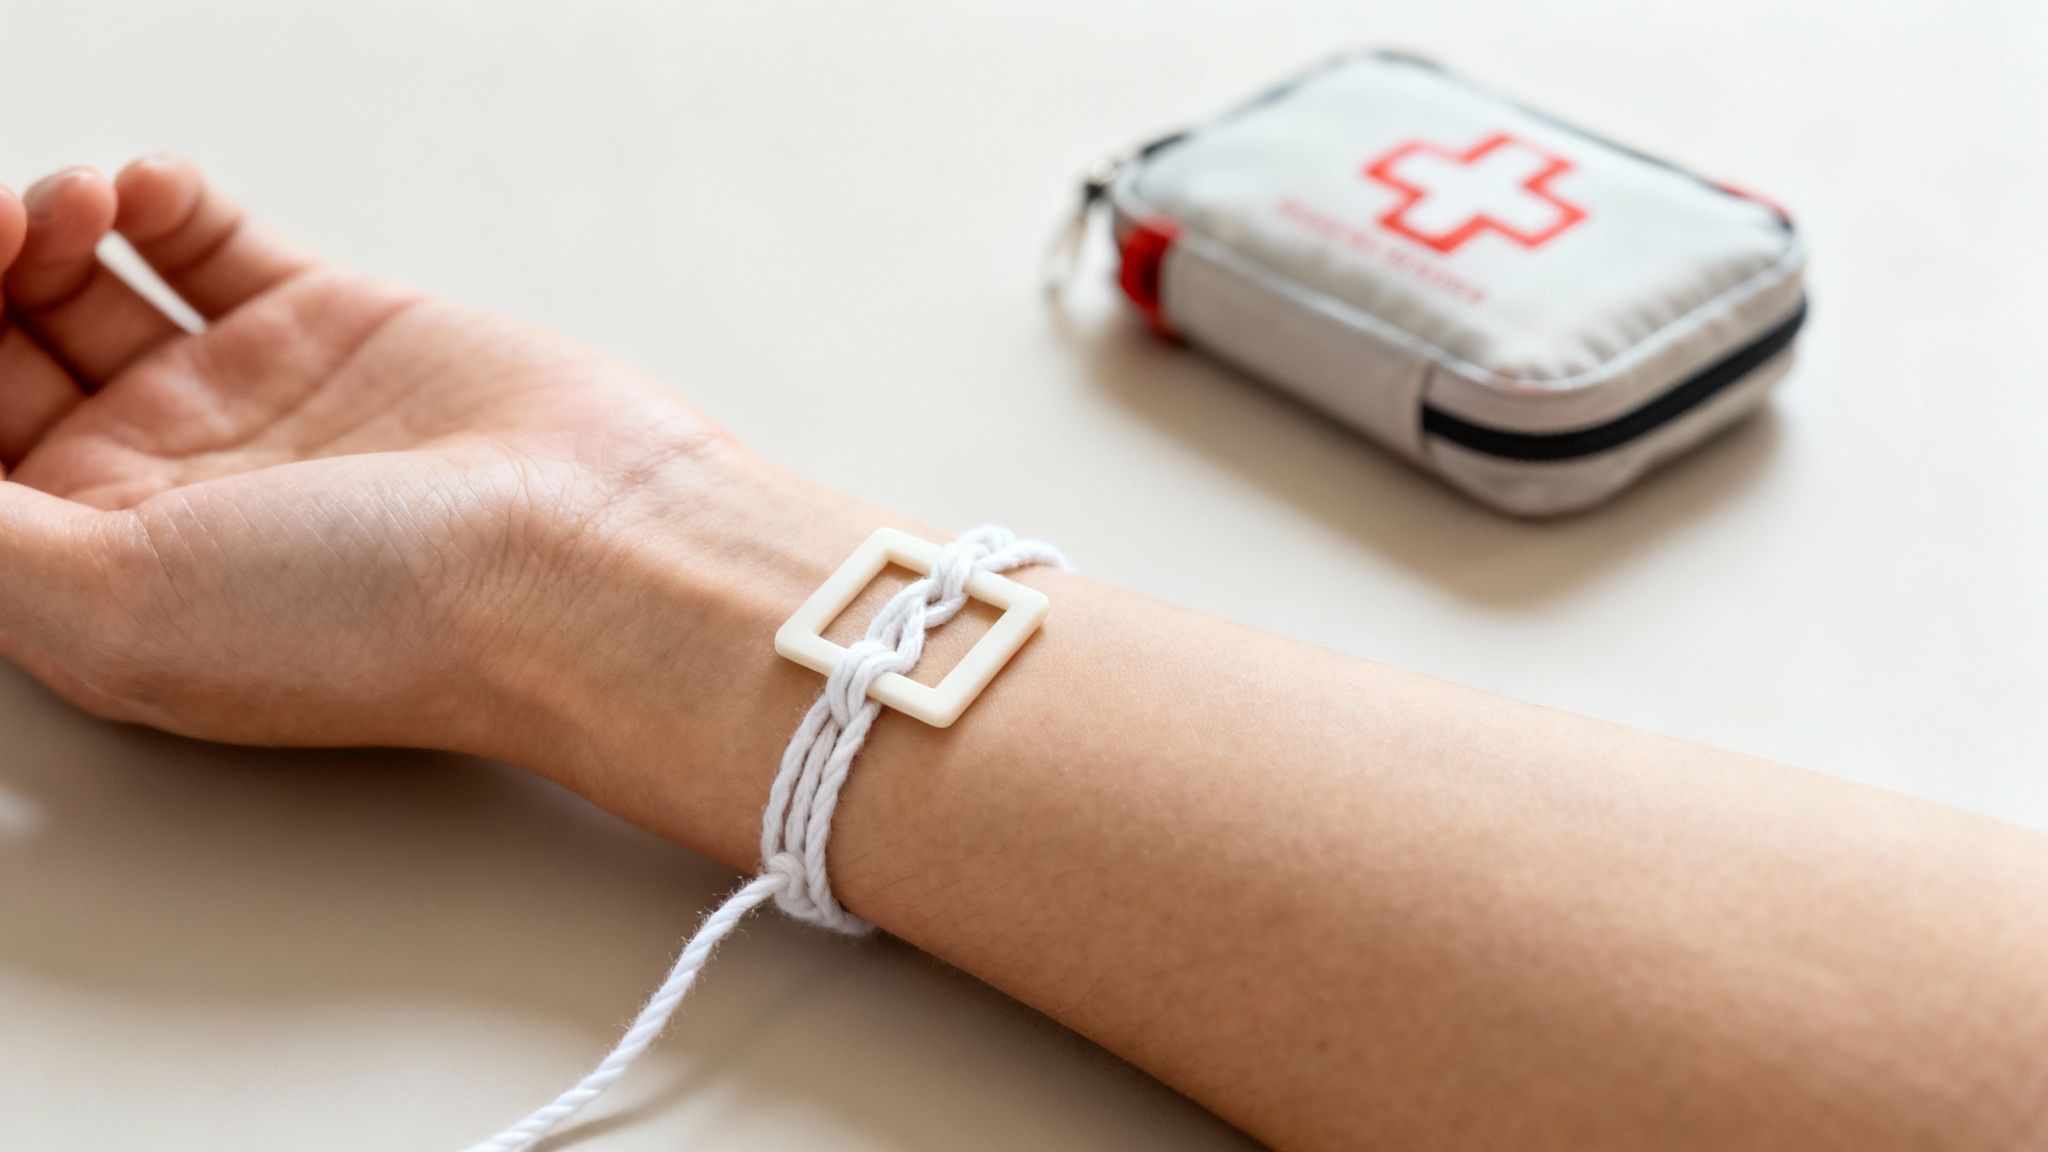
The Go-To Knot for First Aid
Where the square knot truly earns its keep is in first aid. If you need to secure a bandage or improvise a sling for an injured arm, this is the knot you want in your muscle memory. Its biggest advantage is its flat profile.
A proper square knot lies flush against the body, which means no painful pressure points. That might seem like a small detail, but it’s huge. A lumpy, round knot can dig into a wound, chafe the skin, or even cut off circulation over time. The flat, symmetrical shape of the square knot avoids all of that, making it the superior choice for any medical wrap.
Knowing how to tie a square knot instantly elevates the usefulness of any first aid kit. It turns simple gauze rolls and triangular bandages into effective, secure dressings.
This is the kind of skill that makes a good trauma kit great. A pre-built kit from a company like MyMedic gives you the supplies, but it’s your know-how that turns that gear into a life-saving tool. MyMedic first aid kits are available on Amazon.
Building and Securing Your Shelter
When you’re out in the elements, shelter is life. While you wouldn’t trust a square knot for critical load-bearing tasks (like hanging your hammock), it’s fantastic for dozens of other shelter-related jobs.
Think about these common scenarios:
- Tarp Tie-Outs: Use it to attach guylines to the grommets of your tarp for a taut, weatherproof pitch. Pairing this skill with a durable tarp, like one from Aqua-Quest, creates a reliable shelter system.
- Bundling Materials: Building a debris hut means gathering tons of branches. A square knot is perfect for tying them into manageable bundles to haul back to your site.
- Securing Flaps: It’s the ideal knot for tying down loose tarp flaps or securing a makeshift door against wind and rain.
Mastering this one simple knot gives you fast, reliable options for creating protection. For a deeper dive into what you can build, check out our guide on emergency shelter options.
A Connection to Our Ancestors
When you tie a square knot, you’re doing more than just joining two ropes—you’re taking part in one of humanity’s oldest skills. Anthropologists believe knot-tying is an ancient form of problem-solving, with evidence dating back as far as 70,000 years.
In extreme scenarios where you need to know how to prepare for martial law, having reliable field skills like knot-tying becomes even more critical for maintaining independence and security.
Every knot you learn connects you to a deep heritage of survival and ingenuity passed down through generations. You can read more about these early sparks of human cognition and the role knots played.
Avoiding The Dangerous Granny Knot
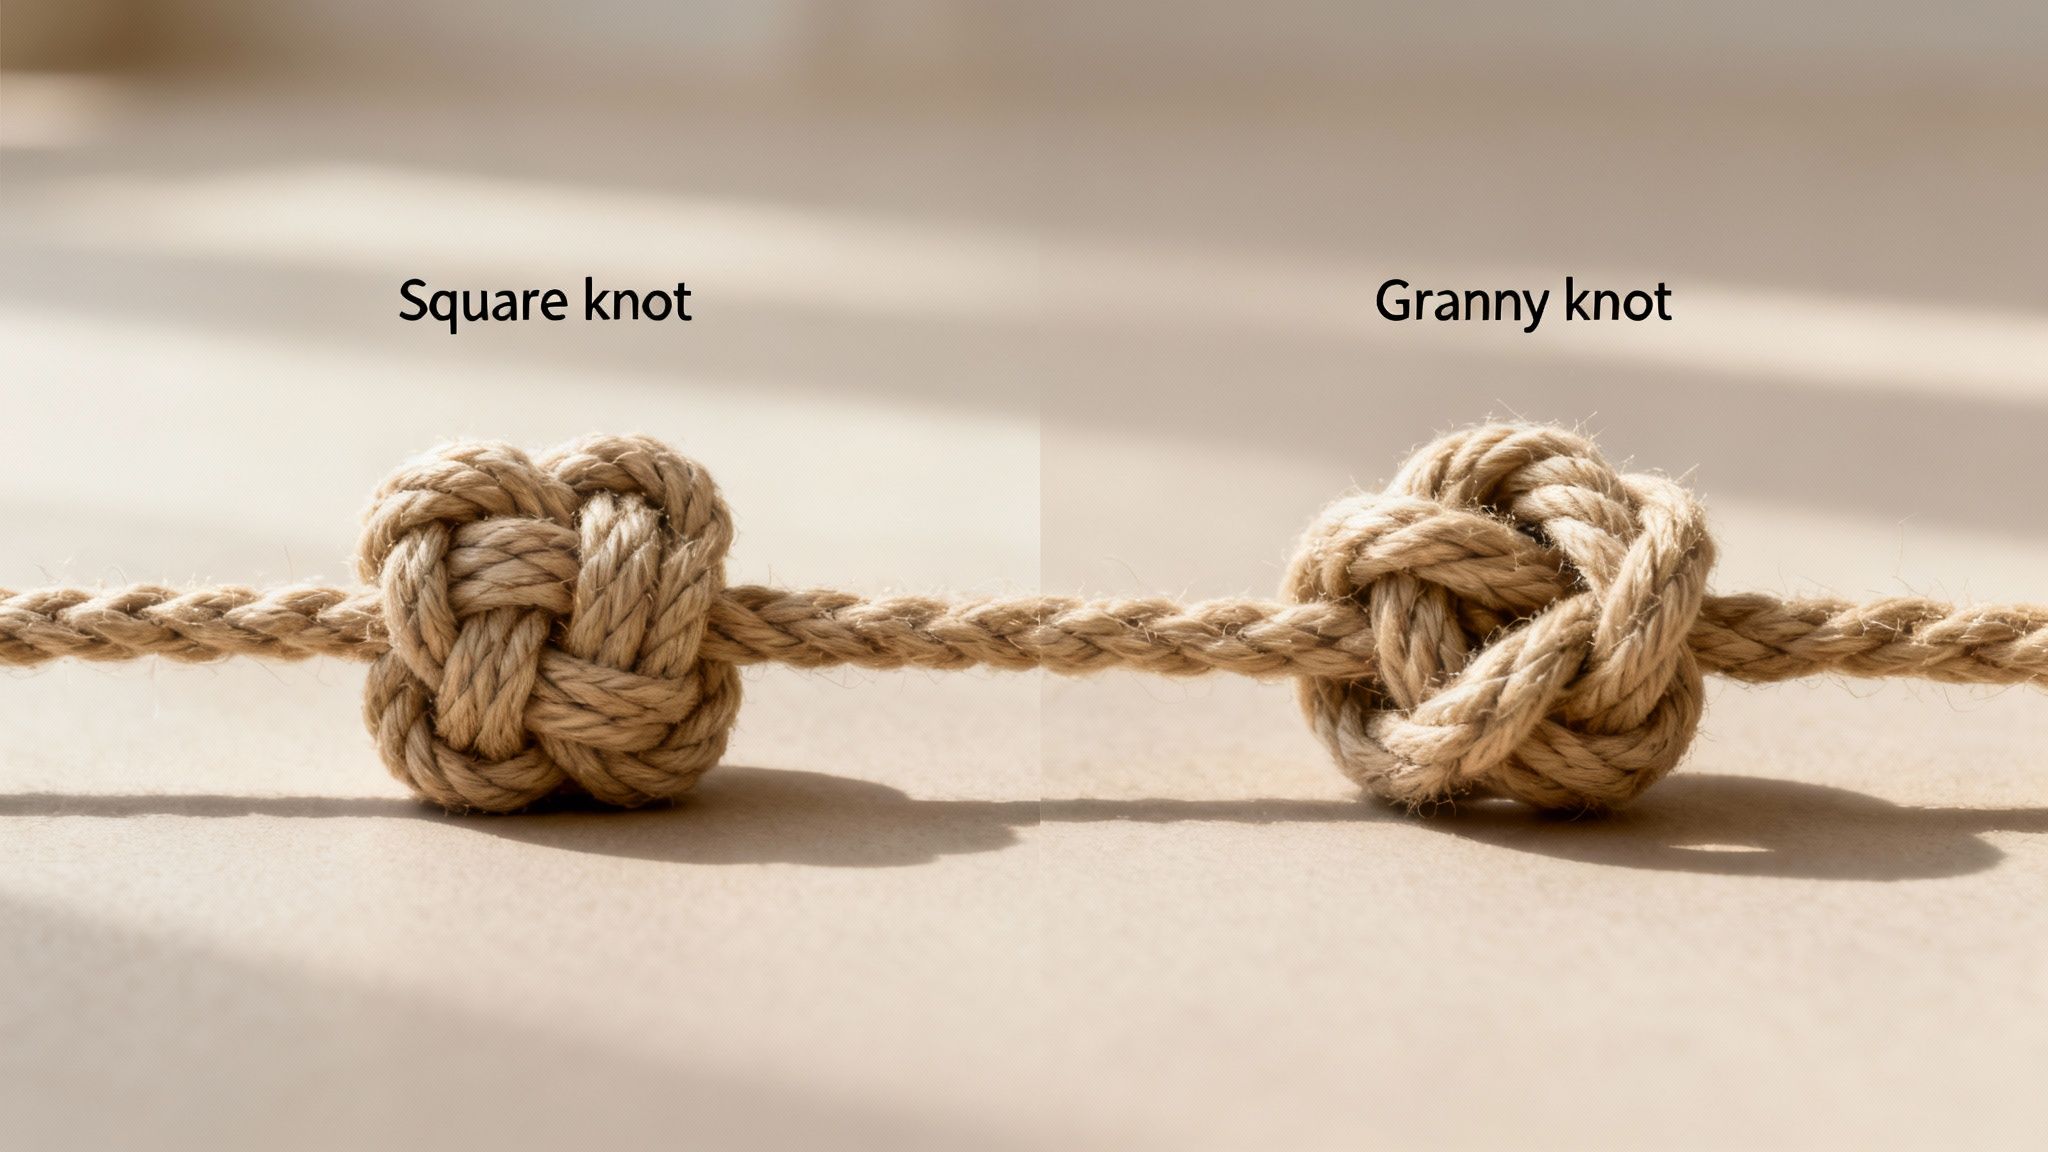
Knowing how to tie a knot is only half the battle. What truly makes the skill reliable is understanding its failure points, and the square knot has a dangerously deceptive cousin: the granny knot.
Mistaking one for the other isn’t a small error—it can lead to catastrophic failure. A properly tied square knot is secure, but a granny knot turns a reliable binding into a major liability. It’s infamous for two things: slipping apart under load or jamming so tight it’s impossible to untie.
Imagine securing a bundle of firewood to your pack with what you think is a solid knot, only to have it come loose miles down the trail. Or worse, using it for a first-aid bandage that slips off, leaving a wound exposed.
Spotting The Imposter
The visual difference is stark once you know what to look for. A proper square knot lies flat and symmetrical, with the rope ends on each side exiting together, parallel to the standing part. It looks clean and balanced.
The granny knot, in contrast, is twisted and awkward. Its loops cross each other at a strange angle, and the ends exit diagonally—one poking out the top, the other from the bottom.
So, what causes this critical mistake? It’s painfully simple: repeating the same motion twice. If you tie “right over left” and then repeat “right over left” again, you’ve just made a granny knot. To get a true square knot, you have to reverse the sequence for the second half: “right over left, then left over right.”
The core principle is opposition. The second half of the knot must be a mirror image of the first. This is the only way to achieve the flat, stable structure that defines a true square knot.
Other Critical Safety Failures
Beyond the granny knot, a few other mistakes can make your square knot completely unreliable. Misusing the knot is just as dangerous as tying it incorrectly. These rules are non-negotiable for safety.
- Never Join Different Ropes: The square knot is only reliable for joining two ropes of the same thickness and material. If you try to join a thick rope to a thin one, or a stiff rope to a flexible one, the thinner rope will almost certainly slip out under tension.
- Avoid Life-Support Applications: This is the big one. Never, ever use a square knot for climbing, rappelling, or suspending any load that could cause injury if it fell. This is a binding knot, not a life-support knot. Situations like that demand specialized knots designed to handle dynamic loads safely. This is one of the many forgotten survival skills where cutting corners can have dire consequences.
- Slippery Materials Are a No-Go: Using slick, synthetic ropes like polypropylene or certain types of nylon can cause the square knot to work itself loose. It grips best on ropes with some texture, like natural fibers or quality paracord.
Think of these rules as a safety briefing. Following them ensures that every time you tie a square knot, you’re creating an asset, not an accident waiting to happen.
Advancing Your Knot Tying Skills
True preparedness isn’t about learning a skill just once. It’s about building such deep competence that you can perform flawlessly under pressure. Once you can tie a square knot without thinking, it’s time to move beyond simple repetition and into stress-inoculation drills. This is how a simple piece of knowledge becomes a life-saving reflex.
Start by practicing in less-than-ideal conditions. Try tying the knot with your eyes completely closed, forcing your fingers to feel the familiar “right over left, left over right” pattern.
Next, make it harder. Put on a pair of work gloves—something like the Mechanix Wear gloves you might keep in your go-bag—and try again. The reduced dexterity is a great way to simulate fumbling with cold hands or working in a high-stress environment where you lose fine motor skills. You can find Mechanix Wear gloves on Amazon.
Essential Companion Knots
The square knot is a fantastic, foundational tool, but it’s just one piece of a much larger puzzle. It works best as part of a versatile knot-tying toolkit. Once you have it down cold, the next logical step is to learn a few companion knots that handle different jobs.
- The Bowline: This one’s a game-changer. It creates a fixed, non-slipping loop at the end of a rope, making it invaluable for creating a secure anchor point or for rescue situations.
- The Taut-Line Hitch: An ingenious knot that lets you create an adjustable loop. It’s perfect for tensioning tent guylines or getting a tarp ridgeline perfectly tight.
- The Trucker’s Hitch: Need to really crank down on something? This knot gives you a powerful mechanical advantage, allowing you to cinch down loads with incredible force. It’s perfect for securing gear in a vehicle or on a sled.
The real mark of skill isn’t just knowing individual knots, but instinctively understanding which one to use for the job at hand. This mindset of selecting the right tool for the specific problem is a core principle of preparedness.
Cultivating a Preparedness Mindset
Learning knots like these does more than just give you a practical skill; it cultivates patience and resilience. There’s a reason they’re a cornerstone of modern Scouting organizations, where the square knot is a powerful symbol of achievement.
The Eagle Scout Award knot, for example, is one of the most recognized symbols in Scouting. In a single year, 20,175 of these were sold, which speaks volumes about the knot’s role in developing character. You can read more about how Scouting uses square knots for recognition and what it represents.
This cultural significance shows that mastering knots is about more than just rope—it’s about becoming a more capable and reliable person. Your growing skill set is a critical component of your overall readiness, complementing the tools you carry. To see how these skills fit into the bigger picture, check out our comprehensive survival gear list.
Just as you’re building practical skills, you should also be stocking foods that last 25 years to ensure your family’s long-term security.
Common Questions About The Square Knot
Even after you get the hang of tying a square knot, a few questions always seem to come up. Getting straight answers to these will solidify what you’ve learned and, more importantly, make sure you’re using this knot safely and correctly every time.
When Should I Absolutely Not Use A Square Knot?
This is the most critical question you can ask, and the answer couldn’t be simpler: never trust a square knot in any situation where its failure could cause injury or death. This isn’t just an opinion; it’s a hard-and-fast rule.
That means it has absolutely no place in life-safety applications like climbing, rappelling, rescue work, or hoisting heavy gear over people’s heads.
The square knot is a binding knot, designed to tie things together—like securing a bandage or tying up a bundle of firewood. For life support, you need specialized knots like the figure-eight follow-through, which are built to handle the dynamic, shifting weight of a person. Also, steer clear of using it to join ropes of different sizes or materials. The thinner or slicker line can easily work its way loose.
How Can I Tell If I Have Tied A Square Knot Or A Granny Knot?
Once you’ve tied your knot, you have to give it a quick visual check. It’s a crucial final step, and a proper square knot is unmistakable once you know what to look for.
- A Square Knot: It looks clean, flat, and perfectly symmetrical. The two loops will lie neatly against each other. Critically, both rope ends on one side will exit together, either both on top or both on the bottom.
- A Granny Knot: This is the impostor. It looks awkward, lopsided, and twisted. Its loops cross at a weird angle, and the ends come out diagonally—one pops out the top, the other out the bottom. It won’t lie flat and is notorious for either slipping apart or jamming up so tight you can’t undo it.
If it doesn’t look perfectly symmetrical and flat, take it apart and do it again. In a survival situation, “close enough” is a recipe for disaster. A few seconds spent re-tying a knot beats discovering it failed when you needed it most.
What Is The Best Type Of Rope For Practicing Knots?
When you’re just starting out, the material you use can make a world of difference. For practice, you can’t go wrong with a good quality 550 paracord. It’s cheap, you can find it everywhere, and its thickness and slightly textured sheath give your hands something to actually grip and control.
It’s also tough as nails, meaning you can tie and untie it thousands of times before it starts to fray. Grabbing some brightly colored cord can also be a big help, as it makes it much easier to see the structure of the knot as you’re forming it. Try to avoid super thin, slick, or stiff ropes at first—they’ll just lead to frustration.
Why Is It Also Called A Reef Knot?
The name “reef knot” is a direct nod to its history on the high seas. Back on old sailing ships, sailors had to “reef” the sails, which meant tying down a section of the huge canvas to shrink its size in high winds.
The square knot was the perfect tool for the job. It held tight against the violent flapping of the sail but could be untied in a flash when the storm passed and it was time to let the full sail out again.

