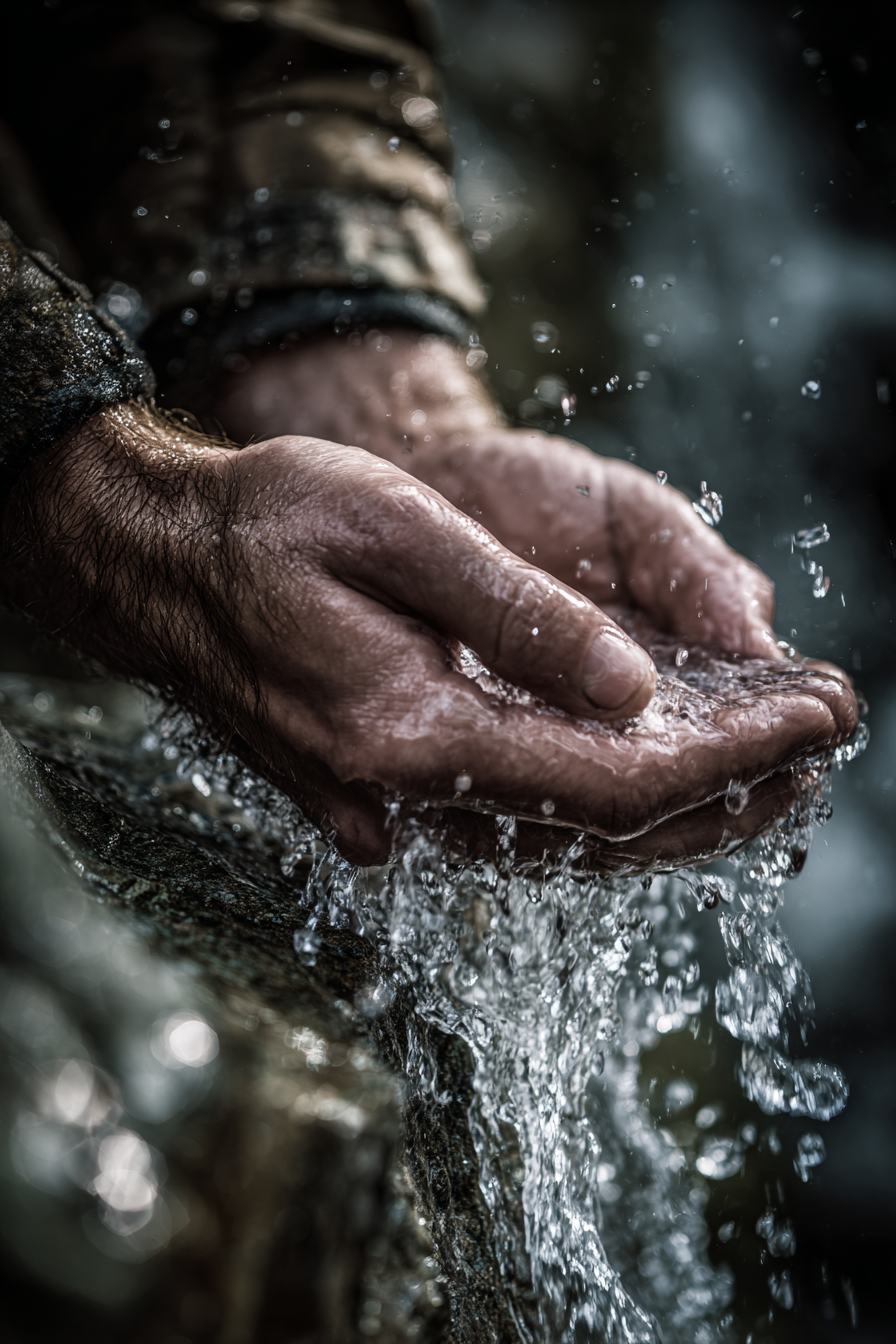
Survivalist water purification is all about one thing: making questionable water safe enough to drink when your life depends on it. Whether you’re looking at a river, a lake, or even a puddle, the core principle is simple: never drink untreated water, no matter how clean it looks. This skill involves removing or neutralizing the harmful pathogens—bacteria, protozoa, and viruses—that can take you out of the fight faster than almost anything else.
Why Water Purification Is Your Most Critical Survival Skill

Picture this: the grid goes down. Not for a few hours, but for days. Suddenly, the tap runs dry. That clear stream just a short walk away looks incredibly tempting, but it could be teeming with invisible threats. This isn’t some far-fetched movie plot; it’s a real-world scenario where knowing how to make water safe is more valuable than any other skill you possess.
Your body can go weeks without food, but you’ll only last a few days without water. In fact, without a reliable source of clean water, your ability to think clearly and perform essential tasks plummets within 72 hours. That makes hydration your absolute top priority in any crisis.
The Hidden Dangers in Untreated Water
The real threat in that beautiful mountain stream is what you can’t see. Even the most pristine-looking water can harbor microscopic dangers that will incapacitate you, turning a manageable situation into a life-threatening one. Mastering water purification is your first line of defense against these invisible enemies.
- Protozoa: Cysts like Giardia and Cryptosporidium are notorious in North American waterways. They’ll cause severe gastrointestinal distress, leading to the kind of dehydration you’re trying to avoid in the first place.
- Bacteria: Pathogens like E. coli and Salmonella are often present in water contaminated by animal waste. A single gulp can lead to fever, vomiting, and debilitating diarrhea.
- Viruses: While less common in remote wilderness, viruses such as Norovirus and Hepatitis A become a huge concern in populated areas when a disaster compromises municipal water supplies.
In a survival situation, getting sick from contaminated water is not just an inconvenience—it’s a critical failure that compromises your ability to secure shelter, find food, or defend yourself.
A Versatile Toolkit for Every Scenario
True preparedness isn’t about having one fancy gadget. It’s about understanding a range of methods and knowing which one to use for the situation you’re in. Of course, before you can purify water, you have to find it. You can learn more about collecting water in survival situations in our detailed guide.
This guide will move you from a mindset of worry to one of confident action. We’ll cover the core methods you need to know—from the timeless reliability of boiling and modern filtration to the practicality of chemical treatments and even using the sun when you have nothing else. Your life may very well depend on it.
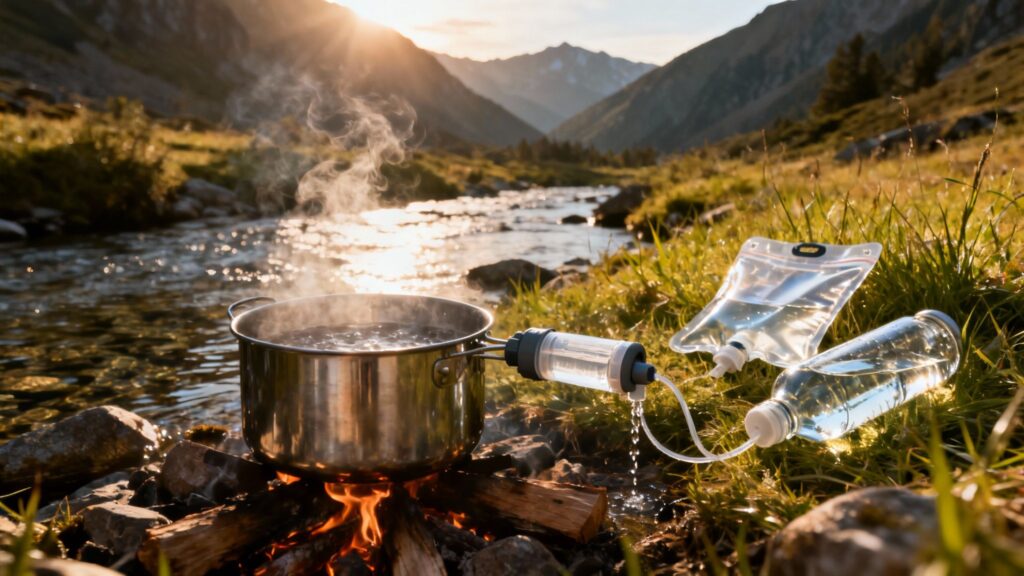
The Unbeatable Gold Standard: Boiling for Absolute Safety

When it comes to making water safe to drink, no method is more reliable or universally trusted than boiling. It’s the ultimate failsafe—the one technique that, when done right, guarantees you’ve neutralized just about every biological threat imaginable. There are no moving parts to break, no batteries to fail, and no chemicals to measure.
The science is simple. Heating water to a furious boil destroys the cellular structure of microorganisms. Bacteria, viruses, and stubborn protozoan cysts just can’t survive that kind of heat. It’s a method that has kept humans alive for millennia for one simple reason: it works. Every time.
Even ancient civilizations knew to heat their water, and modern science has only confirmed what they knew from experience. The Wilderness Medical Society’s guidelines recommend bringing water to a rolling boil at 100°C (212°F) to kill all pathogenic microorganisms. After the 2010 Haiti earthquake, organizations like the Red Cross distributed boiling kits that slashed waterborne illness rates by up to 90% in some camps. The evidence is clear. You can find more details in the official guidelines published on PMC.
Practical Steps for Boiling Water in the Field
The process is pretty straightforward, but a few key details will ensure you’re being both safe and efficient, especially when your resources are on the line.
Got murky, cloudy water? The first thing you need to do is pre-filter it. You don’t need anything fancy; a dense piece of cloth like a cotton t-shirt or a bandana is perfect. Pouring your water through the fabric will catch the larger gunk like silt, leaves, and tiny critters. This not only makes your water look and taste better but helps the heat do its job more effectively.
Once your water is reasonably clear, it’s time to boil. You’ll need a heat source and a container that can take the heat.
- Heat Source: This could be anything from a campfire to a portable stove like the MSR PocketRocket. If you’re home during a power outage, your gas stovetop will do the trick.
- Container: A single-walled stainless steel pot or metal canteen is your best bet. A word of caution: never put a double-walled insulated container over a direct flame. The pressure can build up between the layers and cause it to rupture.
Crucial Tip: Don’t settle for a simmer. You’re looking for a “rolling boil”—that means large, vigorous bubbles are constantly breaking the surface. Anything less isn’t a guarantee.
Addressing Altitude and Fuel Conservation
One of the most common questions I get is about boiling at high altitudes. It’s true that water boils at a lower temperature the higher you go—the boiling point drops about 1°F for every 500 feet you climb.
But here’s the thing: that lower temperature is still more than hot enough to kill pathogens almost instantly. The standard recommendation is to maintain that rolling boil for one solid minute. To be absolutely certain, especially above 1,000 meters (3,280 feet), just add an extra minute.
In any survival scenario, fuel is gold. Don’t waste it.
- Use a Lid: Always cover your pot. It traps heat, brings water to a boil much faster, and uses way less fuel.
- Let it Cool Naturally: Once it’s boiled, take it off the heat and just let it cool down on its own. The water is sterile; there’s no need to waste resources trying to speed up the cooling process.
- Find a Sheltered Spot: Build your fire or set up your stove out of the wind. Wind is a notorious heat thief and will make your pot take forever to boil.
Boiling is your go-to method when you’re at a base camp, bugging-in at home, or need to process a large batch of water for your group. Of course, this all hinges on your ability to make a fire. If you need a refresher, check out our guide on how to make fire without matches. Just remember, while boiling kills the living stuff, it won’t remove chemical pollutants or heavy metals. For those, you’ll need a different tool in your toolbox.
Mechanical Filtration Systems For Bug-Out And Bug-In Scenarios
While boiling is the undisputed champ for killing everything in your water, it’s not always the most practical option. When you’re on the move or need a drink fast, modern water filters are an absolute game-changer, putting incredible purifying power right in your pack.
These systems work by physically straining out the bad stuff. Think of them as microscopic gatekeepers, letting pure water flow through while blocking harmful microorganisms like bacteria and protozoa. It’s a simple, effective method that’s perfect for fast-paced bug-out situations and hunkering down at home. The secret to their effectiveness is pore size, measured in microns. For common threats like Giardia and E. coli, you need a filter with a pore size of 0.2 microns or smaller.
Lightweight Filters For Your Bug-Out Bag
When every ounce in your pack matters, a lightweight, portable filter is non-negotiable. These tools are built for life on the go, letting you drink straight from a creek or quickly fill a bottle without the hassle of stopping to build a fire. They are a core component of any serious survival kit.
A popular and trusted choice here is the Sawyer Squeeze. This style of filter uses hollow fiber membrane technology—basically, a bundle of tiny straws with microscopic holes. You can screw it onto a standard water bottle, use the squeeze pouch it comes with, or even rig it up as a gravity system to filter water while you set up camp. Its reliability and sheer simplicity make it a favorite for hikers and preppers alike. If you want to know what else to pack, check out our guide on critical bug-out bag items.
Pro Tip: Keep your filter flowing with regular backflushing. Over time, the pores clog with gunk, slowing the flow rate. Forcing clean water backward through the filter with the included syringe clears these blockages, restoring its performance when you need it most.
One major weakness of hollow fiber filters is freezing. If water turns to ice inside those delicate fibers, the expansion will crack them, creating tiny fissures you can’t see. This damage completely ruins the filter, letting pathogens slip right through. In cold weather, you must protect your filter by keeping it in an inside pocket or stashing it in your sleeping bag at night.
High-Capacity Systems For Bug-In And Base Camp Scenarios
For a long-term emergency at home or a fixed base camp, your water needs scale up. You’ll need a system that can process gallons of water for drinking, cooking, and hygiene, all without power or constant babysitting. This is where gravity-fed systems truly shine.
Larger units, like the well-known Berkey Water Filter, use powerful filter elements inside a two-tiered stainless steel housing. You just pour water into the top chamber, and gravity does the rest, pulling it down through the filters into a lower reservoir where clean water is stored and ready to use.
These systems often rely on ceramic filters, a technology that has been a lifesaver for household purification. High-quality systems can remove over 99% of bacteria and have been proven to reduce diarrheal disease by up to 70% in emergencies. After Hurricane Sandy in 2012, when municipal water systems failed for weeks, FEMA-endorsed ceramic filters were a lifeline for families, with some units capable of purifying thousands of gallons before needing a replacement.
To help you decide which filter is right for your plans, here’s a quick comparison of the most common types available.
Choosing Your Survival Water Filter
This table compares common filter types to help you decide which is best for your preparedness needs, from portable bug-out options to high-capacity home systems.
| Filter Type | Best For | Key Advantage | Consideration |
|---|---|---|---|
| Hollow Fiber Squeeze Filter | Bug-Out Bags, Hiking | Ultralight and fast | Vulnerable to freezing, requires backflushing |
| Gravity-Fed System | Home (Bug-In), Base Camp | High capacity, no electricity needed | Bulky, not portable, higher initial cost |
| Pump Filter | Small Groups, Rugged Use | Forces water through, good for murky sources | Requires physical effort, more moving parts |
| Straw Filter | Personal Emergency Kits | Extremely compact and simple | Limited to direct drinking, low capacity |
| DIY Natural Filter | Last-Resort Scenarios Only | Can be built from natural materials | Does not remove pathogens, water needs further purification |
Choosing the right tool for the job is half the battle. A lightweight squeeze filter is perfect for a bug-out bag, but a high-capacity gravity system is what you’ll want for long-term security at home.
The Last-Resort DIY Filter
What happens if your gear is lost or destroyed? Knowing how to improvise a basic filter from what you can find is a critical last-ditch survival skill. The classic sand-and-charcoal filter can be built in a container like a hollowed log or a plastic bottle with the bottom cut off.
You’ll need to layer different materials to strain the water progressively.
- First, a bottom layer of pebbles to let water drip out freely.
- Next, a layer of sand to filter out finer sediment and particles.
- Then, a thick layer of charcoal from your fire (crushed into small pieces) to help absorb some chemical impurities and improve the taste.
- Finally, top it off with another layer of sand and then some coarse gravel.
It is absolutely critical to understand what this filter can’t do. A DIY filter will clarify murky water and make it look cleaner, but it will not remove dangerous bacteria or viruses. Water from a DIY filter must still be boiled or chemically treated before it is safe to drink. Think of it as a pre-filter, not a complete solution.
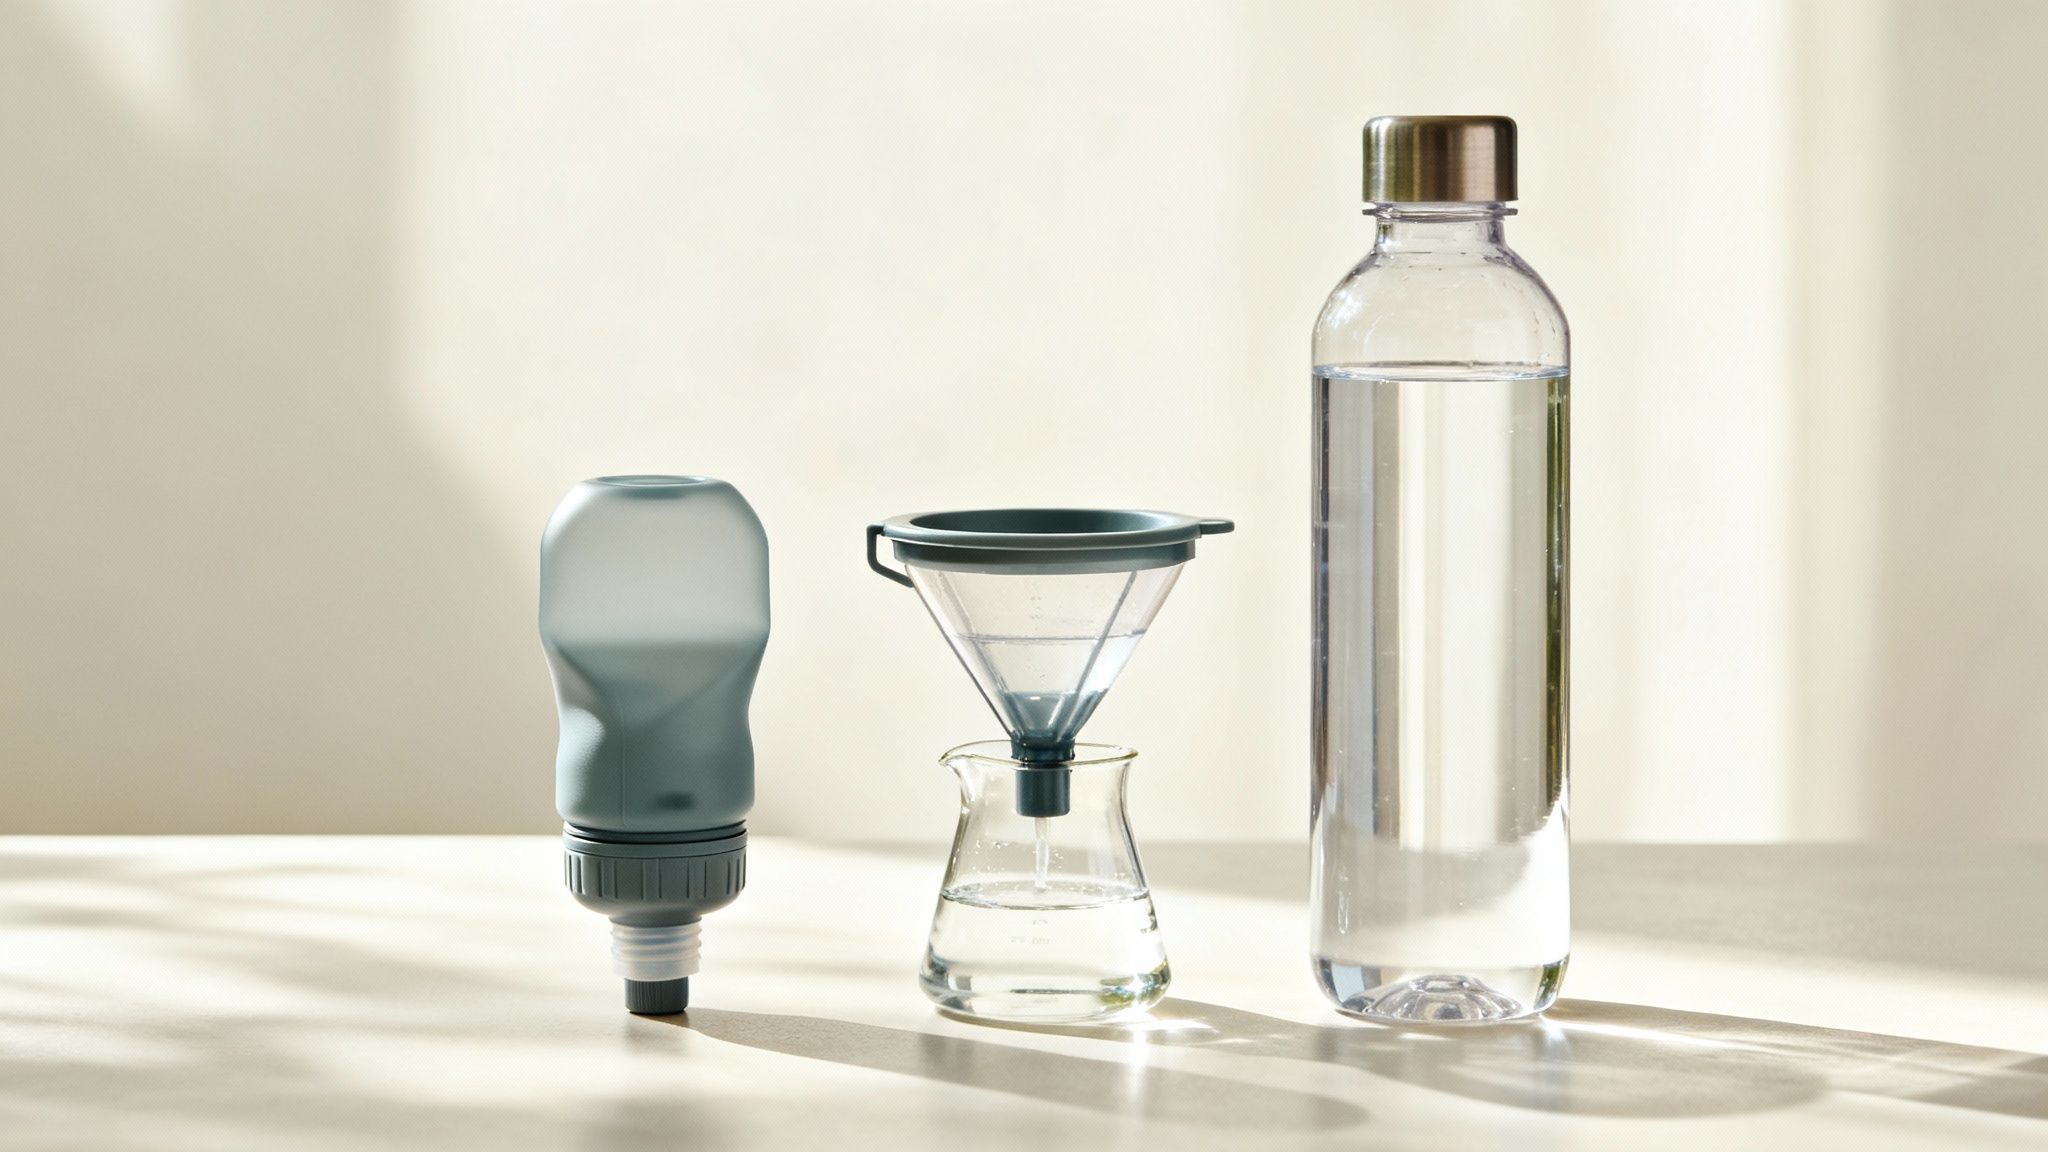
Chemical And UV Purification: Your Lightweight Backup Plans
When you’re on the move, stopping to build a fire and boil water isn’t always an option. And let’s be real, even the best mechanical filters can fail, freeze, or get lost at the worst possible moment.
This is where chemical and UV purification methods really shine. Think of them as your lightweight, space-saving insurance policies that guarantee you can always make water safe, no matter what. They weigh next to nothing, take up minimal pack space, and are perfect for a bug-out bag or as a secondary system to your primary filter.
Chemical Treatments: Iodine and Chlorine Dioxide
Chemical purification is a classic, field-tested method for neutralizing pathogens. You simply add a specific substance to your water and let it do the work. The two most common choices for preppers are iodine and chlorine dioxide, and while they seem similar, they have some critical differences.
Iodine tablets, like the well-known Potable Aqua, have been a staple in military and survival kits for decades. They’re dead simple to use: drop a tablet or two into your water bottle, give it a good shake, and wait. The standard contact time is 30 minutes, but that can change depending on the water’s condition.
But iodine isn’t a silver bullet. It has a distinct chemical taste that many find unpleasant (though neutralizing tablets often come in the box). More importantly, iodine is not consistently effective against the tough cyst form of the protozoa Cryptosporidium.
Critical Safety Note: Water temperature is a huge factor for chemical treatments. Colder water dramatically slows the reaction time, so you’ll need to double the wait time. If the water is near freezing, give it at least an hour before you even think about drinking.
Chlorine dioxide, which comes in either tablet or liquid-drop form, is the more modern and effective option. It works by releasing a reactive form of oxygen that flat-out destroys microorganisms. The big advantages? Unlike iodine, chlorine dioxide is effective against bacteria, viruses, and even that stubborn Cryptosporidium. It also leaves a much less noticeable taste in the water, making it the preferred choice for many serious preppers.
For an in-depth look at another common chemical, check out our guide on using bleach for water purification.
Ultraviolet Light Wands: A Modern Approach
If you’d rather avoid chemicals entirely, Ultraviolet (UV) purification is a fast and fascinating alternative. These small, battery-powered wands emit UV-C light—the same kind used to sterilize hospital equipment. You just submerge the lamp in your water and stir. The UV light scrambles the DNA of bacteria, viruses, and protozoa, making it impossible for them to reproduce and make you sick.
One of the most popular examples is the SteriPEN. The process is incredibly fast; you can purify a liter of water in as little as 90 seconds. Since there are no chemicals, there’s absolutely no aftertaste. Your water tastes exactly as it should.
However, UV purification has two major weaknesses you need to understand.
- Water Clarity is a Must: UV light can’t penetrate cloudy, murky water. The suspended particles cast tiny shadows where microbes can hide, leaving them alive and well. You must pre-filter your water until it’s crystal clear before using a UV wand.
- It Needs Power: No batteries, no clean water. Simple as that. In a long-term grid-down scenario, a UV purifier is only as useful as your battery supply or your ability to recharge it with a solar panel. This makes it an excellent tool for shorter trips or as part of a larger system, but less reliable as your only long-term solution.
Ultimately, both chemical and UV purifiers are invaluable tools. They provide that crucial safety net for when your primary methods are out of commission, ensuring you never have to take the life-threatening risk of drinking untreated water.
Harnessing The Sun For Off-Grid Water Purification
When the grid goes down for good and the fuel runs out, the sun is the one resource you can always count on. It’s tireless, free, and available every single day. While other methods depend on supplies that will eventually disappear, solar purification just needs patience and daylight. This makes it the ultimate off-grid solution for any long-term survival scenario.
There are two fantastic ways to put the sun to work for you: Solar Water Disinfection (SODIS) for its sheer simplicity, and solar distillation when you need absolute purity. Mastering both is a non-negotiable for anyone serious about being prepared, because a real crisis will outlast your initial stockpile.
Solar purification is just one component of a complete self-sufficient lifestyle—learn more about other critical off-grid living essentials you’ll need for long-term independence.
For a comprehensive overview of all purification methods and when to use each one, see our complete guide on water purification for survival.
Solar Water Disinfection: The SODIS Method
Solar Water Disinfection, or SODIS, is a brilliantly simple but scientifically sound technique for killing off nasty pathogens. It works by using the sun’s ultraviolet (UV-A) rays and heat to destroy bacteria, viruses, and protozoa. Best of all, it requires no special gear—just a couple of plastic bottles and a clear patch of sky.
SODIS has been a game-changer in low-tech purification since it was pioneered back in the 1990s. The real-world proof is compelling. One study in Bolivia found that kids drinking SODIS-treated water had 70% fewer cases of diarrhea. After Hurricane Maria hit Puerto Rico in 2017, SODIS kits helped cut dysentery outbreaks by 65% in isolated areas. It’s a proven lifesaver.
Getting SODIS right is all in the details. Here’s how to do it effectively:
- Choose the Right Bottles: You absolutely must use clear, smooth PET plastic bottles—look for the #1 recycling symbol. Steer clear of colored plastic (green or brown) or bottles that are heavily scratched, as they block the UV rays you need. Standard 1 or 2-liter soda bottles are perfect for this.
- Prep the Water: If your water is murky, run it through a cloth or t-shirt first to get it as clear as possible. Fill your bottles about three-quarters full, cap them, and then shake the daylights out of them for 20-30 seconds. This adds oxygen to the water, which actually speeds up the UV disinfection process. After that, top the bottles off completely.
- Get Maximum Sun Exposure: Lay the bottles on their sides on something reflective, like a sheet of aluminum foil, a SOL space blanket, or even just light-colored concrete. This position maximizes the surface area hit by the sun and bounces rays up from underneath.
The time you need to leave them out is all about the weather.
On a bright, sunny day with minimal clouds, six hours is all it takes. But if the sky is more than 50% overcast, you need to be patient and leave the bottles out for two full days to guarantee the water is safe.
Building A Solar Still For Ultimate Purity
What if your water source is contaminated with salt, pesticides, heavy metals, or other chemicals? That’s where filters and SODIS fall short. For these nasty situations, you need distillation, and you can build a simple still powered by the sun. This process mimics the earth’s own water cycle: evaporation, condensation, and collection.
A solar still separates pure H₂O from the contaminants, leaving all the gunk behind. It’s definitely not a fast process, but it produces some of the purest water you can get in a survival situation.
Here’s how to build a basic pit-style solar still—a crucial skill for long-term self-reliance.
- Dig Your Pit: Pick a spot that gets blasted by direct sun for most of the day. Dig a hole about three feet wide and two feet deep. Don’t worry about making it perfect.
- Place Your Collection Cup: Set a cup or container right in the middle of the pit. This is what will catch your clean drinking water.
- Add Greenery (Optional but Recommended): If the ground is dry, pack the pit around your container with green leaves and other non-poisonous plants. As this vegetation heats up, it releases moisture, which will seriously boost your water yield.
- Cover the Hole: Stretch a sheet of clear plastic or a tarp over the pit. Use rocks or pile dirt around the edges to make it as airtight as possible.
- Create the Drip Point: Place a small, smooth rock in the very center of the plastic sheet, right over your cup. This creates a cone shape that will funnel all the condensed water droplets right where you want them.
As the sun heats the ground, moisture evaporates, rises, and condenses on the cooler underside of the plastic. The pure water then runs down to the low point and drips right into your cup. This is a fantastic skill to have, but remember that power management is also key for long-term survival. For more on that, check out our guide on solar power for cabins.
Building Your Water Preparedness Action Plan
Knowing how to purify water is one thing, but actually putting that knowledge into a working plan is what really counts when things go sideways. The goal here is to stop thinking and start doing—to turn your home and your gear into a reliable water security system.
It all starts with embracing a multi-barrier approach. You simply can’t afford to bet your health on a single method.
A solid, real-world strategy would be running your water through a filter like a Sawyer Squeeze first, and then boiling it. This combo covers your bases. If the filter has a weakness (like not removing viruses), the boiling acts as a failsafe, giving you total confidence in every sip.
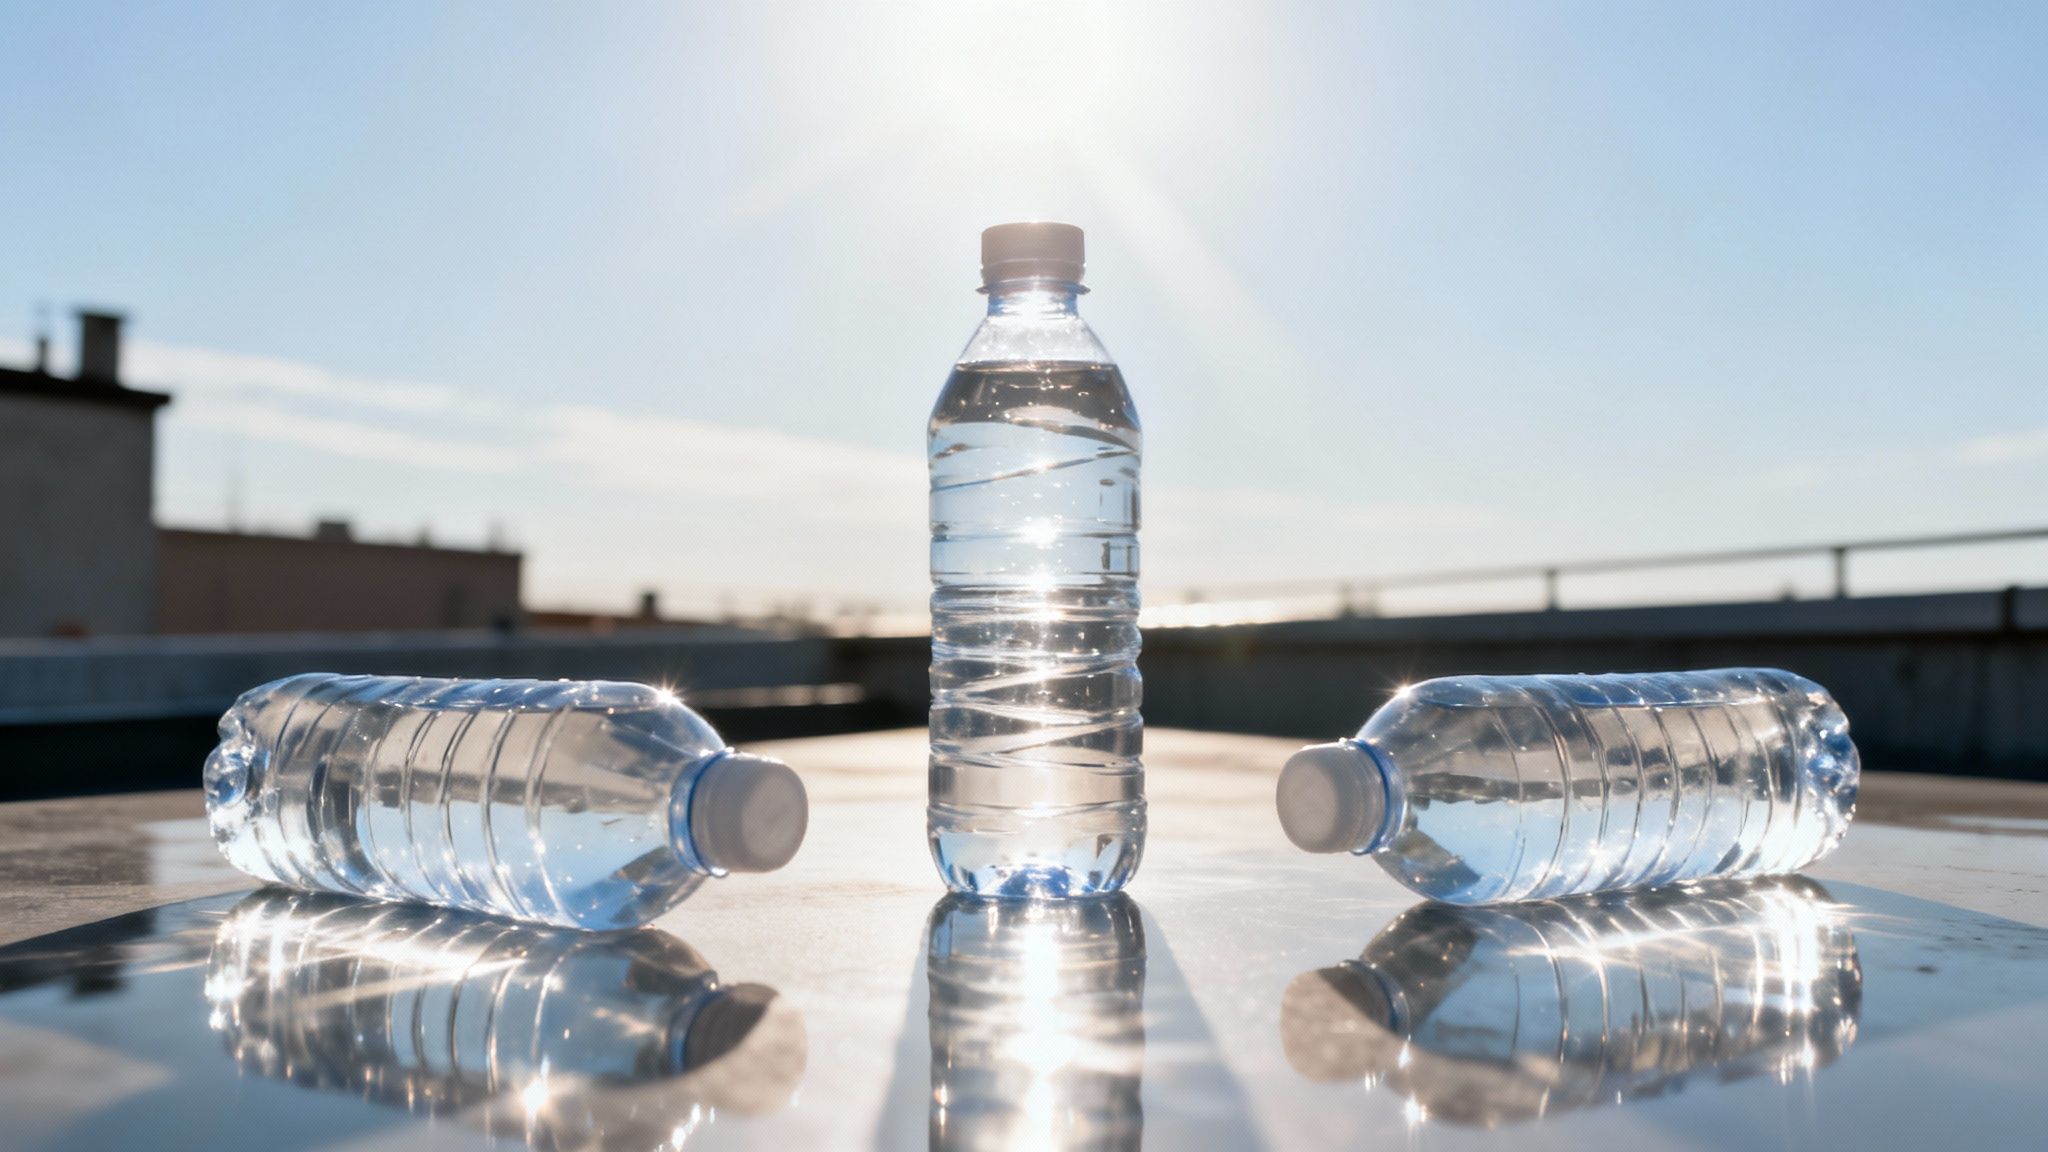
Storing Your Purified Water Safely
Once your water is clean, keeping it that way is just as critical as the purification itself. Bad storage can re-contaminate your supply in a heartbeat, wasting all your effort. It really comes down to using the right containers and keeping them in the right place.
Stick to food-grade plastic containers. Look for recycling codes #2 (HDPE), #4 (LDPE), or #5 (PP) on the bottom. Those classic blue WaterBrick containers or similar stackable units you see at preparedness stores are perfect for this. Steer clear of old milk jugs or any container that held anything besides water—they can leach chemicals and are nearly impossible to get truly sanitized.
Before you fill up, sanitize every container. Mix one teaspoon of plain, unscented household bleach into a quart of water. Swish it around so it coats every inside surface, let it sit for a minute, and then rinse it out completely with clean water.
Find a cool, dark, and dry spot for your water stash. You want it away from direct sunlight and far from any chemicals like gasoline or pesticides. A basement, a back closet, or a pantry are all great options.
Your Essential Water Purification Kit Checklist
The final piece of the puzzle is your kit. Having everything organized and ready to go means you won’t be scrambling in an emergency. Think of your kit in layers: primary, backup, and support gear.
- Primary Filter: Your workhorse. This should be a reliable hollow-fiber filter (like a Sawyer MINI or Squeeze) or a larger gravity system for home use.
- Boiling Vessel: A single-walled stainless steel bottle or a small pot you can stick directly on a fire or stove. No double-walled stuff here.
- Chemical Backup: A bottle of chlorine dioxide drops or tablets. They’re a lightweight, foolproof secondary option that belongs in every kit.
- Pre-Filter Material: A clean bandana or a few coffee filters. Use these to get the big gunk out of murky water before it clogs up your main filter.
- Storage: At least one collapsible water bladder or a tough Nalgene bottle to haul your clean water.
With this plan and kit in hand, you’ve moved from theory into true readiness. Now, go practice with your gear. Make water security the foundation of your entire self-reliance strategy. Water independence is a cornerstone of self-sufficiency; if you’re considering a complete lifestyle change, start by understanding what is off-grid living and whether it’s right for you.
Ready to take the next step toward complete self-reliance? Our guide on off-grid living for beginners will walk you through the essential systems and mindset shifts you need to succeed.
Your Top Water Purification Questions, Answered
Out in the field, even the best-laid plans can hit a snag. It’s only natural for questions to pop up. Let’s tackle some of the most common ones I hear about purifying water in a survival situation to get you the clarity you need.
How Long Can I Store Purified Water?
If you do it right, purified water can last pretty much forever. The trick is to use a completely sanitized, airtight, food-grade container. Once it’s sealed, tuck it away in a cool, dark place to prevent any algae growth.
If you’re just storing tap water from a reliable municipal source, you’re good to go—it already has disinfectants in it. But for water you’ve treated yourself, it’s a smart habit to rotate your supply every 6 to 12 months. This just ensures it stays fresh and ready when you need it.
Is It Safe to Drink Rainwater Directly?
Rainwater is definitely cleaner than water from a muddy puddle, but it’s not perfectly pure. Think about it: as rain falls, it washes everything out of the air. That includes dust, pollutants, bacteria, and whatever was sitting on the roof or leaves it runs off of.
My advice? Always treat rainwater before you drink it, especially if you’re anywhere near an urban or industrial zone. A quick filter or boil is all it takes to be safe.
Here’s a simple rule I live by for survival water: when in doubt, treat it. Never, ever assume a water source is safe just because it looks clear.
What’s the Single Best Purification Method?
Honestly, there isn’t one. The “best” method is the one that works for your specific situation.
For absolute certainty in killing pathogens, nothing beats a good rolling boil. It’s the gold standard for a reason. But it takes time and fuel, which you don’t always have. For convenience and on-the-go use, you can’t beat a high-quality hollow-fiber filter like the Sawyer Squeeze.
The smartest approach is to have layers of protection. Carry a primary method you prefer, like a filter, and always have a backup, like chlorine dioxide tablets. This redundancy is your safety net. It means you’re never caught without a way to make safe drinking water.
For example, on a backpacking trip, I’ll use my filter for all my daily water needs. But I keep a small stash of purification tablets in my pack just in case the filter breaks, clogs, or I need to purify a quick bottle of water for a friend. This combo gives you flexibility and, more importantly, peace of mind.

