Getting started with prepping doesn’t mean you have to drain your bank account on expensive gear. The secret is focusing on small, consistent actions that build up over time. It all boils down to a simple, powerful strategy: build your reserves incrementally. Just add one or two extra non-perishable items to your regular grocery shopping each week. This approach turns what feels like a massive project into a manageable habit, creating real security without putting a dent in your finances.
Building a Resilient Mindset on a Budget
Let’s be real—the whole idea of emergency preparedness can feel pretty overwhelming. It often brings up images of pricey underground bunkers and specialized equipment that most of us can’t afford. But true readiness isn’t about buying everything at once. It’s about cultivating a resilient mindset and taking small, smart steps forward. The core of prepping on a budget is shattering the myth that you need a fortune to get started.
A smart, slow-and-steady strategy will always win out over a shopping spree for expensive gear that just collects dust. This starts with a mental shift. Stop thinking of yourself as just a consumer and start thinking like a planner and a creator. Instead of asking, “What do I need to buy?” ask yourself, “What do I already have, and what can I get for little to no cost?”
Focusing on Foundational Needs First
Your journey should always start with the absolute basics—the things that actually sustain life. Before you even think about fancy gadgets, lock down these foundational pillars of survival.
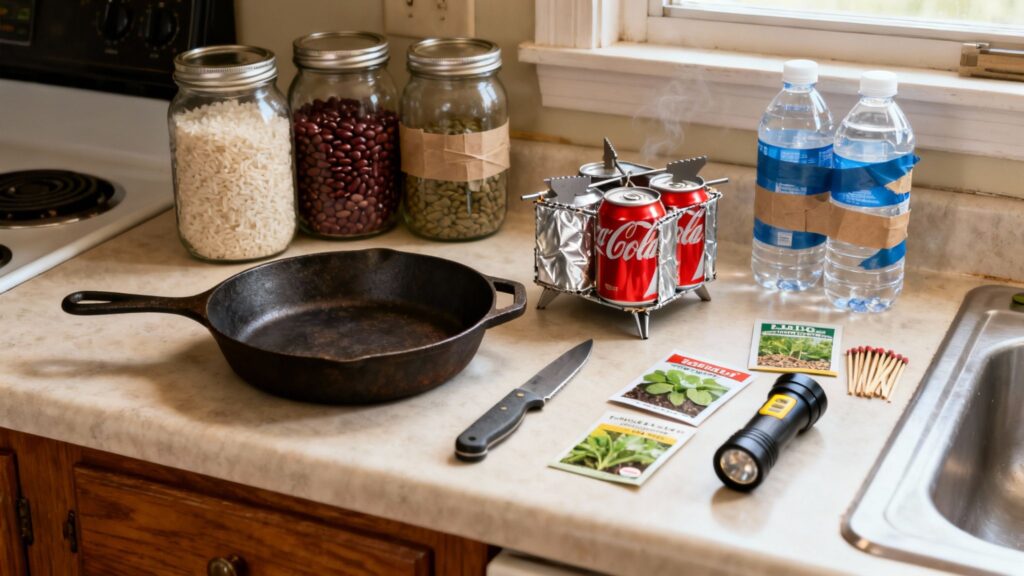
- Water: This is always priority number one. You can store tap water for free in sanitized containers you probably already have, like 2-liter soda bottles. An easy-to-store option like a can turn a standard bathtub into a large-capacity water reservoir.
- Food: Stick to shelf-stable, calorie-dense foods that your family already knows and eats. Things like canned goods, rice, beans, and pasta are cheap, effective, and familiar.
- Safety & Shelter: Look at your home’s security and figure out a plan for staying warm or cool if the power goes out. Simple items like extra blankets, plastic sheeting, and duct tape can be lifesavers.
The most powerful prep is a plan. Knowing what to do in an emergency costs nothing but time and thought, yet it provides more security than any piece of equipment you can buy.
This approach proves that self-reliance is within anyone’s reach, no matter their financial situation. For a deeper dive into those first steps, check out our guide on how to start prepping, which breaks the process down into easy, manageable actions.
The Power of Incremental Prepping
The U.S. prepper industry is bigger than ever, yet a shocking 26% of Americans say that cost is the main reason they haven’t started. This is where the ‘buy one for now, two for later’ strategy comes in. It turns your everyday grocery runs into low-key stockpiling missions.
Instead of a big, one-time splurge on a massive survival kit, you just grab an extra can of beans here or another bag of rice there. Over a year, that tiny weekly investment adds up in a big way. You’ll build a substantial pantry without ever feeling the financial pinch. You can find more stats and insights like this over at TruePrepper.com.
For more detailed guidance on selecting the best survival food kits, check out our guide on Best Survival Food Kits.
Creating Your Food Pantry Without Breaking the Bank
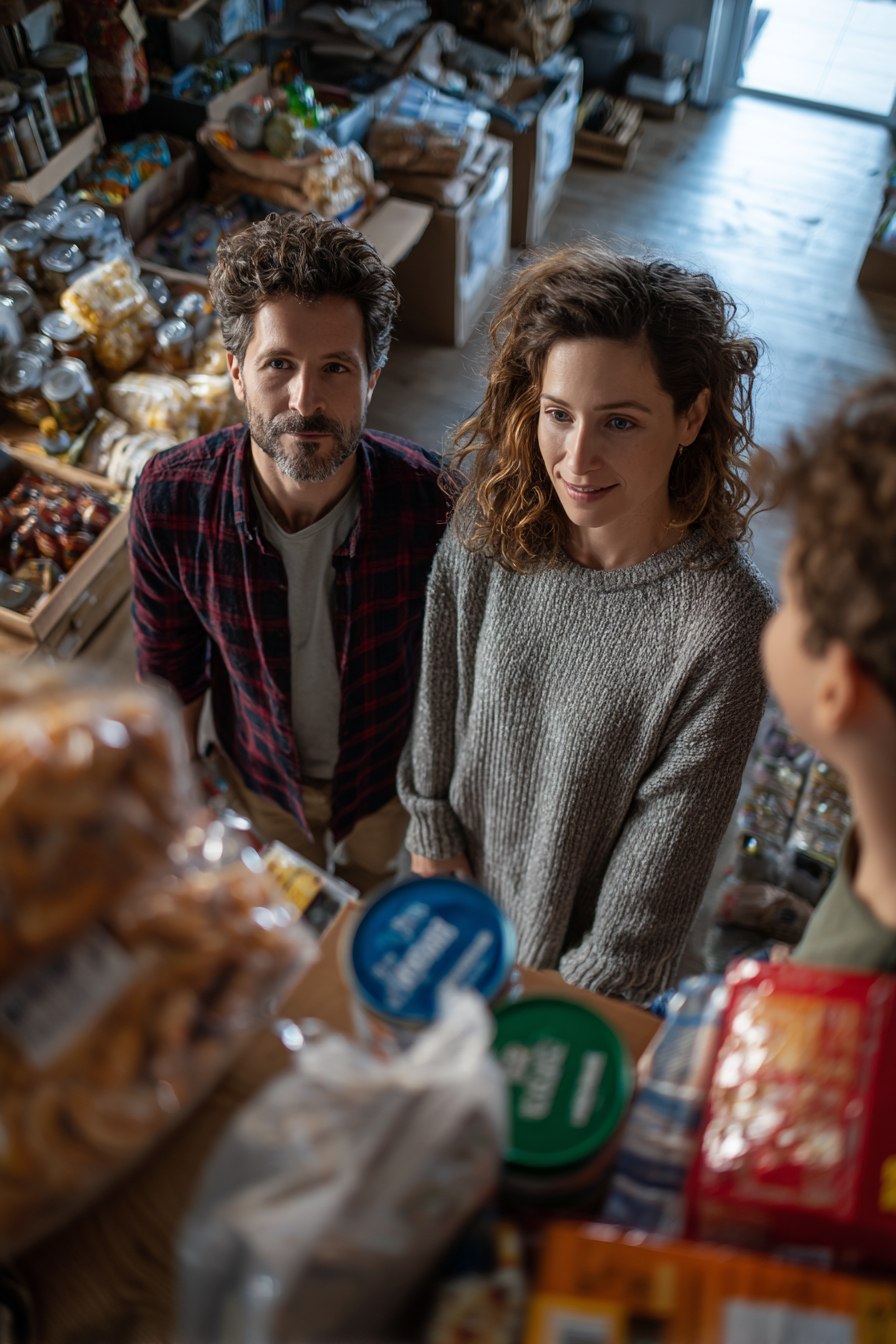
Building a solid food supply is the absolute cornerstone of being prepared, but it doesn’t need to be an overwhelming or expensive ordeal. The smartest way to start doesn’t even involve a trip to the store. It begins right in your own kitchen.
Before you even think about making a massive shopping list, take a simple inventory. Go through your cupboards and take stock of every single canned good, bag of rice, and box of pasta you already have. You’ll likely be surprised to find you have a week’s worth of meals hiding in plain sight.
This simple audit does two things: it stops you from buying duplicates and instantly shows you where the real gaps are. Once you know exactly what you need, you can shop with a purpose. For a deeper dive into creating a long-term, budget-friendly survival pantry, explore our Survival Pantry on a Budget guide. Your pantry will quickly transform from a random collection of groceries into an organized, intentional food reserve.
Smart Shopping Strategies for Staples
The real secret to stockpiling affordably is learning how to work the system. Grocery stores run on predictable sales cycles, usually rotating through different product categories every 6 to 8 weeks. Pay attention to these patterns, and you can load up on staples like canned veggies, pasta, and sauces when they hit rock-bottom prices.
Take it a step further by combining sale prices with coupons and a keen eye for the clearance section. A can of beans with a dent or a cereal box that’s a bit crushed is perfectly fine to eat and often gets a steep discount. This is your chance to grab calorie-dense, long-lasting foods for pennies on the dollar.
Get in the habit of calculating the unit price—the cost per ounce or per pound. This little bit of math cuts through flashy “sale” signs and shows you what the true bargain is, ensuring that a bigger box is actually a better deal. It’s a fundamental skill for anyone serious about building a food supply without wasting a dime.
The goal isn’t just to buy cheap food; it’s to buy smart. Focus on versatile, calorie-dense foods that your family will actually eat. Familiar comfort foods are a huge morale booster during a stressful situation.
Leveraging Bulk Buying Without Overspending
With food prices constantly on the rise, getting smart about buying shelf-stable goods is more critical than ever. The classic budget move is buying in bulk—a 50lb sack of rice can provide meals for months at a surprisingly low cost. In fact, a simple $20 investment each week can build a reserve of hundreds of extra meals over the course of a year.
Here’s a practical way to visualize how quickly a small, consistent budget can build a solid foundation. This plan rotates through key food categories to create a balanced stockpile.
Tiered Food Stockpiling Plan for a $20 Weekly Budget
| Week | Focus Category | Example Purchases (Approx. $20 Total) | Meals Added (Approx.) |
|---|---|---|---|
| Week 1 | Carbohydrates | 20lb bag of rice, 5 boxes of pasta | 50-60 servings |
| Week 2 | Proteins | 10 cans of beans (black, pinto), 4 cans of tuna/chicken | 20-25 servings |
| Week 3 | Fruits/Veggies | 12 cans of mixed vegetables, 8 cans of fruit | 20-25 servings |
| Week 4 | Fats & Flavor | Large container of cooking oil, salt, bouillon cubes, peanut butter | Enhances all meals |
By following a simple rotation like this, you’re not just randomly buying cans; you’re systematically building complete meals. After just one month, you’ve added a significant buffer to your pantry for around $80.
Proper Storage: Protecting Your Investment
Of course, buying in bulk only saves money if you can store it properly before it goes bad. A giant bag of flour that gets infested with pantry moths is just money down the drain. This is where getting the right storage is non-negotiable. For a deep dive into this, check out our guide on how to properly store bulk rice and beans for the long term.
To get the most out of your bulk buys, you’ll want a few key items:
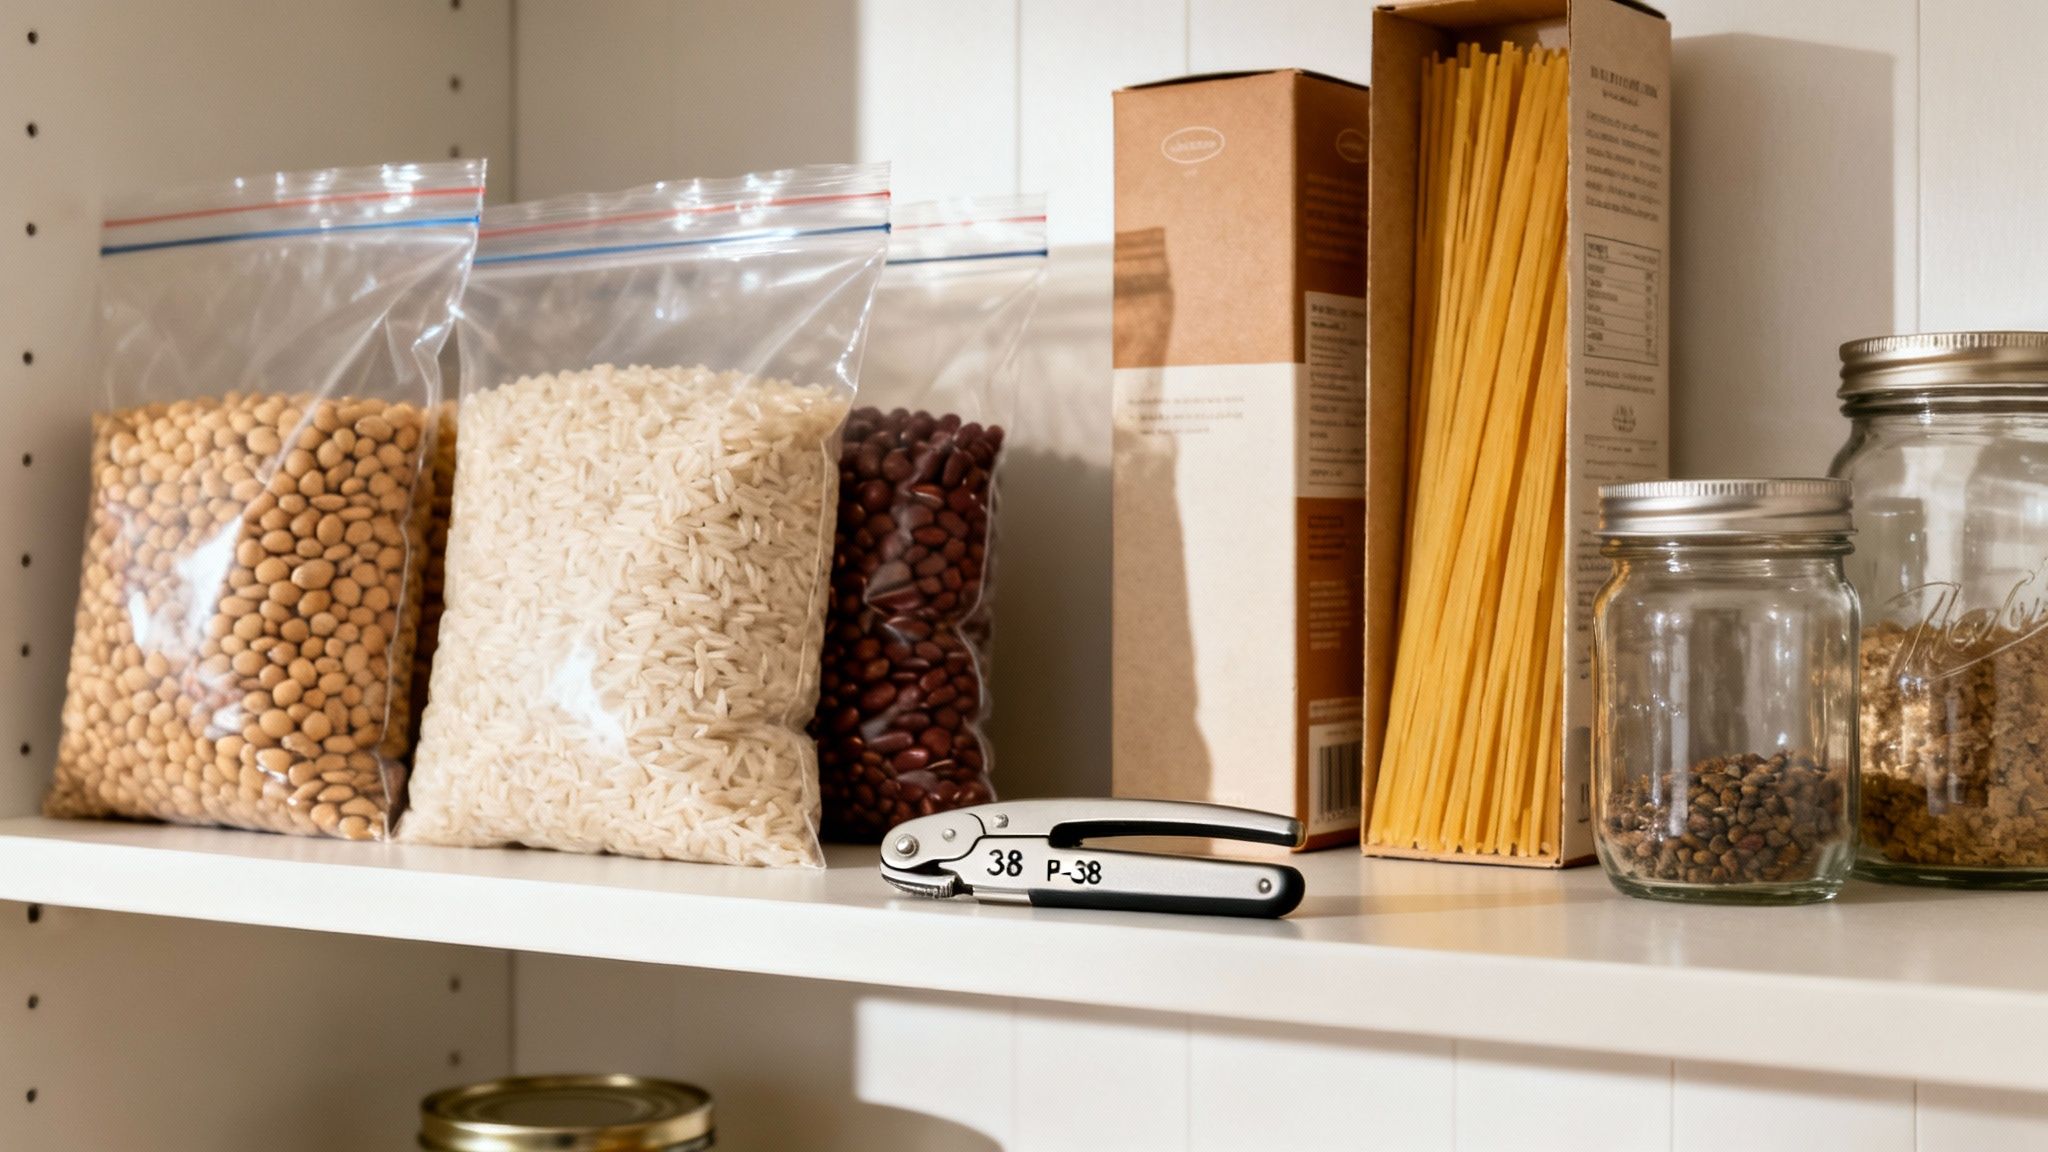
- Food-Grade Buckets: Five-gallon buckets are the gold standard for protecting large amounts of dry goods like rice, beans, and oats from pests, moisture, and light.
- Mylar Bags: Think of these as a bulletproof vest for your food. These foil-lined bags go inside the buckets, creating an airtight and light-proof barrier that dramatically extends shelf life.
- Oxygen Absorbers: These little packets are the real secret sauce. Tossing one into a Mylar bag before you seal it removes the oxygen, stopping spoilage in its tracks and killing any insect eggs. This is what takes your food from lasting a year to lasting for decades.
You don’t need fancy vacuum sealers to get started. A regular household iron or even a hair straightener is all you need to heat-seal the Mylar bags shut, making this an incredibly effective and accessible method for anyone on a budget. For detailed instructions on how to store food for long-term preservation, see our How to Store Food Long-Term guide.
Finally, don’t forget the small but mighty tools. Every pantry needs at least one non-electric can opener. A military-style P-38 can opener is a tiny, bomb-proof tool you can hang on your keychain. It will never break when you need it most—a perfect example of a low-cost, high-value prep.
Securing Water and Essential Supplies Frugally
With a basic food plan in place, your next move is to tackle water and essential supplies. This is where a lot of people get tripped up by cost, but it doesn’t have to be that way.
You can survive for weeks without food, but you’ll only last a few days without clean water. That makes water the single most critical prep you can have. And luckily, it’s one of the cheapest.
Prepping on a budget is about being resourceful, and the best place to start is with what comes right out of your tap. Don’t worry about expensive, pre-packaged emergency water just yet. Your first goal is simple: store what you already have.
The standard rule of thumb is one gallon of water per person, per day. A great first milestone is to get a three-day supply squared away for everyone in your household.
No-Cost Water Storage Solutions
The easiest way to store water costs absolutely nothing. You can start this afternoon by saving and cleaning plastic containers you’d normally toss in the recycling bin.
- Sanitize 2-Liter Soda Bottles: These things are perfect for water storage. They’re made from tough PET plastic, they’re easy to carry, and you can stash them just about anywhere—closets, under beds, you name it.
- Clean Juice Jugs: Sturdy plastic juice or milk jugs work too, but you have to be extra careful cleaning them. Any leftover sugar or milk residue can become a breeding ground for bacteria.
Getting your containers ready is straightforward. Wash them with dish soap and hot water, rinse thoroughly, and then sanitize them. A simple mix of one teaspoon of unscented household bleach in one quart of water will do the trick. Swish it around to coat the inside, then rinse until you can’t smell bleach anymore. Fill them up with tap water, seal the lids tight, and store them somewhere cool and dark.
Don’t overthink this part. The simple act of filling a few clean soda bottles with tap water and sticking them in a closet instantly makes you more prepared than most people. It’s a foundational win that builds real momentum.
Affordable Purification Methods
Stored water is your first line of defense, but what happens when it runs out? You need a reliable, cheap way to make questionable water safe to drink. The good news is that the most time-tested methods are also the most affordable.
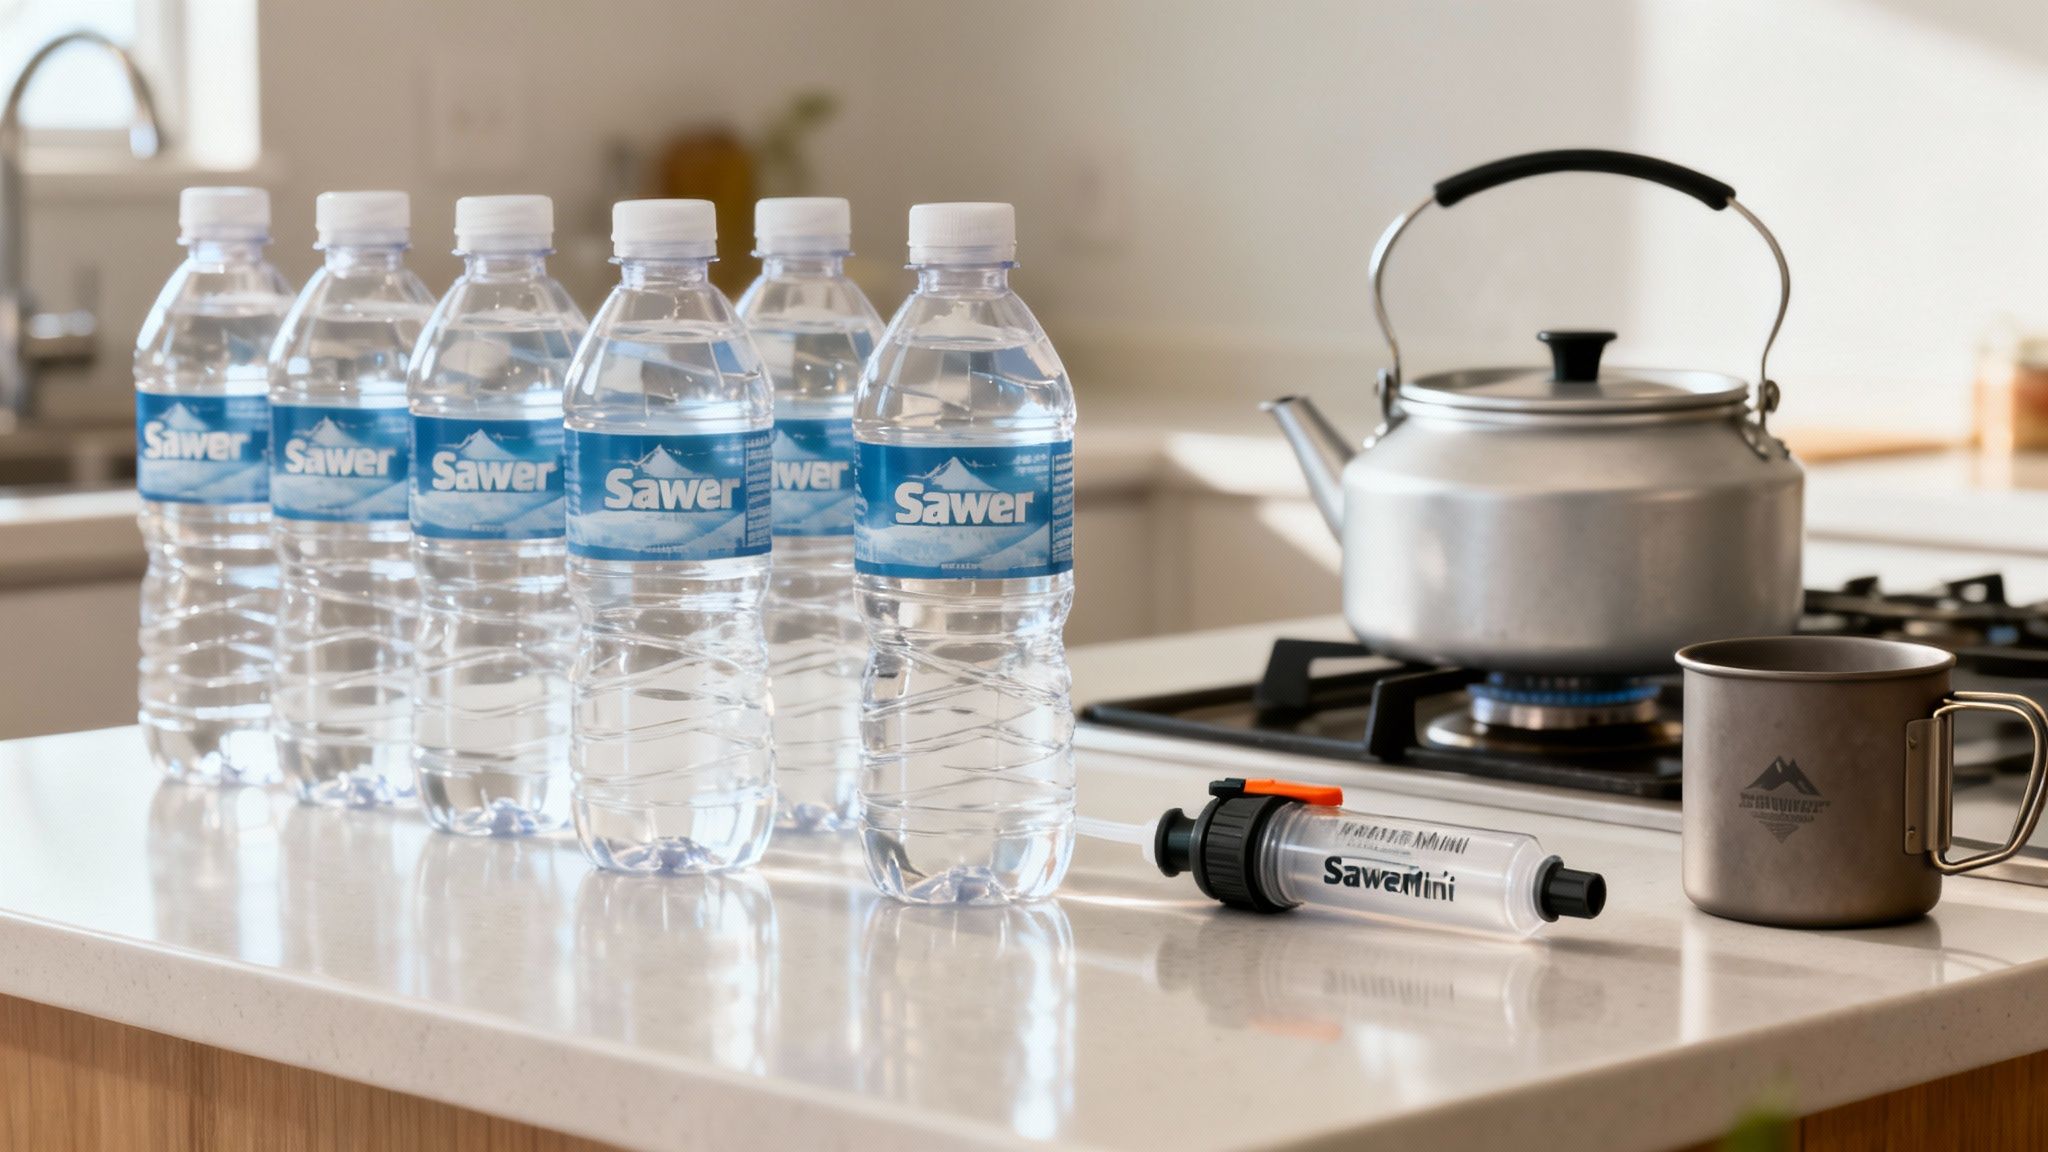
Boiling is the gold standard for killing pathogens. Just bring water to a rolling boil for one minute, and you’ve eliminated any nasty bacteria, viruses, and protozoa. It’s totally free, assuming you have a pot and a heat source.
A small bottle of plain, unscented household bleach is another powerhouse tool. With just a few drops, you can treat an entire gallon of water, making it an incredibly cost-effective addition to your kit. To make sure you get the ratios and techniques right, it’s worth taking a few minutes to learn how to purify water with different methods.
While these DIY approaches are fantastic, one of the best investments you can make is a portable water filter. The Sawyer MINI is a favorite in the prepping community for good reason. It’s tiny, lightweight, and can filter up to 100,000 gallons of water. For its price, the effectiveness and sheer longevity make it one of the most economical and reliable pieces of gear you can possibly own.
Building Kits from the Dollar Store
Beyond water, you can assemble your most important emergency kits without breaking the bank. Your local dollar store is an absolute goldmine for budget prepping. You can build out a solid 72-hour kit, first-aid supplies, and a blackout kit for a tiny fraction of what pre-made versions cost.
Your Dollar Store Shopping List
- Blackout Kit: LED flashlights, extra batteries, lighters, candles, and a deck of cards to keep from going stir-crazy.
- First-Aid Kit: Bandages, antiseptic wipes, gauze pads, medical tape, and basic pain relievers.
- Hygiene Kit: Travel-sized soap, toothpaste, toothbrushes, and a pack of wet wipes.
- Multi-Use Items: Duct tape, zip ties, work gloves, and trash bags. These items have a thousand and one uses in an emergency.
The trick is to focus on items that can pull double or triple duty. A simple BIC lighter gives you fire for warmth, a source of light, and a way to signal for help. By shopping smart and sticking to versatile basics, you can build practical, robust kits that provide genuine peace of mind without hurting your wallet.
To build a comprehensive emergency preparedness kit, refer to our Emergency Preparedness Kit guide, which includes essential items and smart shopping strategies.
Acquiring Essential Gear Through Smart Shopping and DIY
Once your food and water stockpiles are taking shape, it’s time to gather the gear that can make a real difference in a crisis. This is the part where many folks think prepping on a budget becomes impossible, but that couldn’t be further from the truth.
The secret is shifting your mindset. Instead of just buying pre-made, off-the-shelf solutions, you need to learn how to source, adapt, and even create your own. It’s about becoming a master of smart shopping and embracing the power of do-it-yourself projects.
The Art of Thrifting for Durable Goods
Your local garage sales, flea markets, and online spots like Facebook Marketplace are absolute goldmines for preppers on a budget. People often get rid of high-quality, older items that were genuinely built to last—a far cry from many of today’s disposable products. You’re on the hunt for timeless, sturdy materials, not flimsy plastic.
Here’s what you should be keeping an eye out for on your next thrifting adventure:
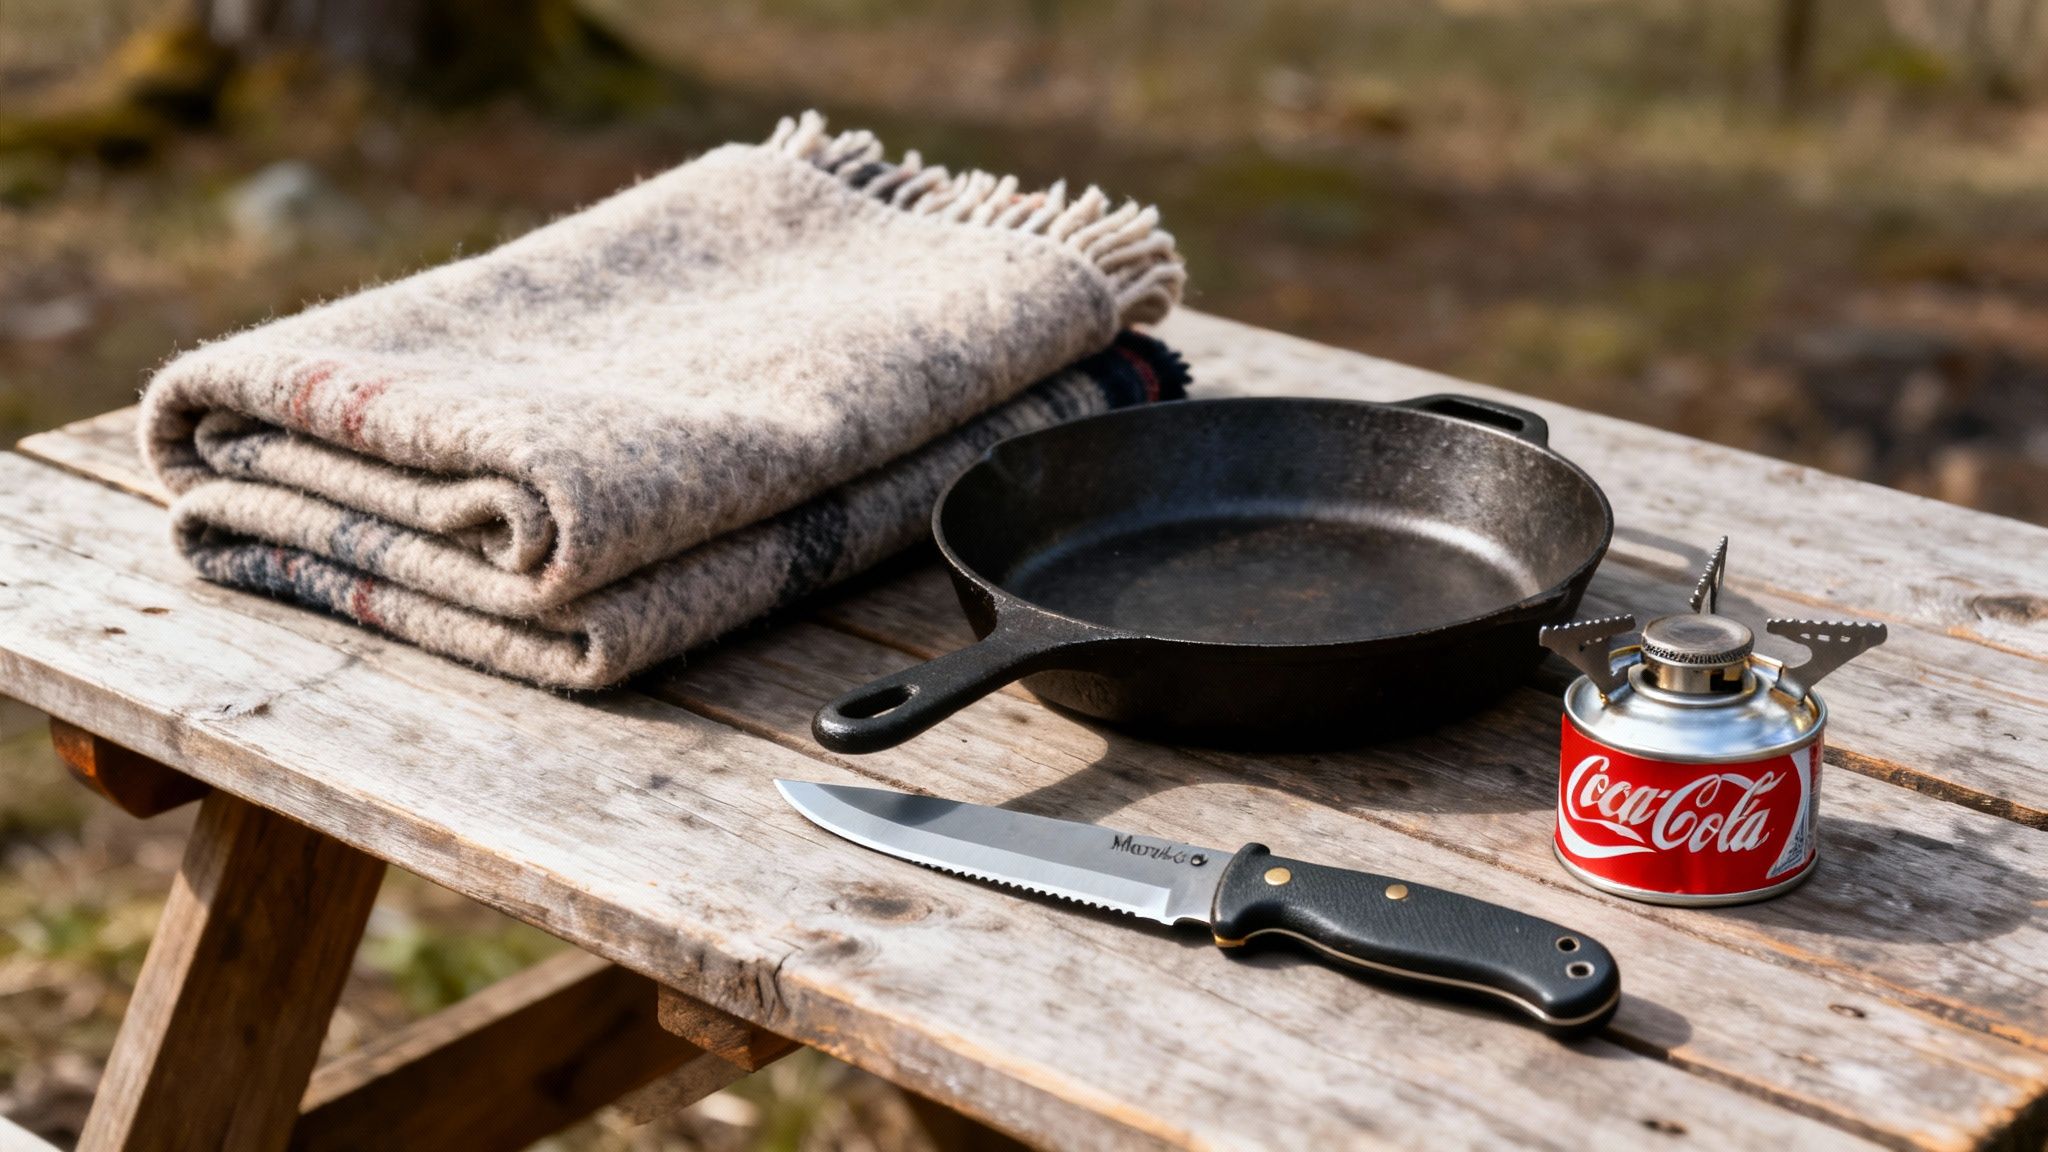
- Wool Blankets: These are far superior to synthetic materials for staying warm, especially when damp. Military surplus or classic Hudson’s Bay-style blankets are fantastic finds.
- Cast Iron Cookware: A well-seasoned Lodge cast iron skillet is a prepper’s best friend. You can use it over a fire, on a grill, or on a stovetop. They are nearly indestructible and will outlive you.
- Hand Tools: Old hammers, saws, axes, and manual drills were often made with higher-quality steel than their modern counterparts. A little surface rust can usually be scrubbed off with some steel wool and elbow grease.
- Gardening Supplies: Shovels, rakes, and hoes are essential for everything from digging a sanitation trench to getting a crisis garden started.
When you’re inspecting secondhand goods, look for deep cracks in the metal, any signs of wood rot in the handles, or irreparable damage. A bit of cosmetic wear is perfectly fine, but structural integrity is what matters. This approach lets you get your hands on foundational gear for just a fraction of what it would cost new.
DIY Projects That Replace Expensive Gear
The most empowering part of budget prepping is realizing just how much you can create with your own two hands. DIY projects don’t just save you a ton of money; they also equip you with invaluable skills and a much deeper understanding of how your gear actually works.
A great place to start is by building a simple stove. An alcohol stove can be crafted from two empty aluminum soda cans in less than an hour, using just a utility knife. It’s an ultra-light, surprisingly effective way to boil water or cook a small meal.
For something a bit more robust, a rocket stove built from a few bricks or a large tin can is incredibly efficient, allowing you to cook using small twigs and yard debris. This completely eliminates the need to stockpile other fuel sources. Our guide to DIY emergency kit ideas is packed with more inspiration for creating your own essential supplies.
Embracing a DIY mindset is the ultimate budget hack. Learning to build a simple tool is far more valuable than buying a complex one you don’t know how to repair.
Let’s be honest: a thrift store multi-tool can often perform the exact same tasks as a premium brand model that costs ten times as much. As the market for survival tools continues to grow, more and more affordable and effective options are becoming available.
Finding Low-Cost Alternatives to Big-Name Brands
Finally, remember that effective doesn’t have to mean expensive. For almost every high-end piece of survival gear, there’s a budget-friendly alternative that performs the core function just as well.
It’s easy to get caught up in fancy gear, but many of the most expensive items have perfectly good, low-cost counterparts that seasoned experts trust every day.
High-Cost Gear vs. Low-Cost Alternatives
| Expensive Item | Typical Cost | Budget Alternative | Notes & Benefits |
|---|---|---|---|
| Brand-Name Survival Knife | $150 – $300+ | Morakniv Companion | Moraknivs are trusted by bushcraft experts worldwide for their durability and low cost. Function over flash. |
| Integrated Camping Tent | $200 – $500+ | Durable Tarp & Paracord | A tarp is far more versatile, allowing you to build dozens of different shelter types to fit any situation. |
| High-End Water Filter | $100 – $250+ | Sawyer Squeeze or Mini | The Sawyer Squeeze offers excellent filtration at a fraction of the cost and is a favorite among hikers and preppers. |
| Designer Bug-Out Bag | $150 – $400+ | Used Military Surplus Pack | Military packs are designed for extreme durability and can be found for very cheap at surplus stores or online. |
| Emergency MREs | $10 – $15 per meal | DIY Meal Pouches | Vacuum seal your own rice, beans, and dehydrated veggies for a custom, nutrient-dense, and cheap alternative. |
Ultimately, this isn’t about having the most expensive gear; it’s about having reliable gear that works when you need it.
Take the fixed-blade knife, for example—an absolutely essential survival tool. While some models can set you back hundreds of dollars, a simple and incredibly reliable Morakniv Companion costs very little and is a go-to for experts. The same logic applies to shelter; instead of a pricey tent, a durable tarp and some rope can be configured into dozens of effective shelter types, offering far more versatility.
The goal is to analyze the function of the gear, not its brand name. By prioritizing utility over labels, you can assemble a highly capable kit that leaves you with money to spare for other critical preps, like more food and water.
Investing in Skills: The Ultimate No-Cost Prep
While it’s easy to get caught up in stockpiling food and buying the latest gear, the single most powerful prep you can invest in costs absolutely nothing. Physical items can be lost, broken, or stolen. Skills, on the other hand, are weightless, endlessly adaptable, and can never be taken away from you.
Shifting your focus to building practical know-how is the smartest way to prep on a tight budget. It’s what transforms you from someone who just owns survival gear into someone who can actually survive. The best part? It doesn’t cost a dime to start learning and practicing today.
Foundational Skills You Can Learn for Free
Think of the internet as a massive, free library filled with expert-level instruction. Between detailed video tutorials and manuals published by government agencies, you have a world of information at your fingertips. Your only real investment is your time and a commitment to practice.
Here are a few high-impact skills to get you started:
- Real First Aid: Go beyond basic bandages. Learn to spot and treat common injuries like sprains, burns, and deep cuts. Knowing how to properly clean a wound or improvise a splint from scavenged materials is a skill that could genuinely save a life.
- A Few Good Knots: You don’t need to be a sailor, but mastering three or four key knots—like the bowline, taut-line hitch, and clove hitch—is a game-changer. A simple length of rope becomes an incredibly powerful tool when you know how to secure a load, rig a shelter, or hoist gear safely.
- Local Plant ID: Take a walk around your neighborhood and learn to identify a handful of common edible and medicinal plants. This isn’t about becoming a wilderness foraging expert overnight; it’s about knowing what can supplement your food supply or provide a natural remedy for minor issues.
- Simple Food Preservation: You don’t need fancy equipment. Techniques like sun-drying fruits and vegetables or making simple pickles can be done with basic kitchen supplies you already own. These old-school methods let you extend the life of fresh food without relying on a freezer.
Turning Knowledge into Ability
Watching a video or reading an article is a great start, but it’s just that—a start. The real value comes from hands-on practice, repeating a skill until it becomes second nature. The last thing you want is to be fumbling with a first-aid manual during an actual emergency.
The most prepared people aren’t the ones with the biggest stockpile; they’re the ones who have practiced essential skills so many times they can perform them calmly and effectively under stress.
Make it a habit. Spend an afternoon in the backyard practicing your knots with a piece of paracord. Try building a small, temporary shelter with a cheap tarp. When you’re making dinner, set aside a few extra vegetables and experiment with drying or pickling them.
Free Resources to Get You Started
You don’t need to sign up for expensive courses. Countless reputable organizations have already put the information out there for free, ready for you to use.
- YouTube: Channels focused on bushcraft, homesteading, and preparedness offer thousands of hours of free, visual instruction on almost any topic imaginable.
- Government Websites: Sites like Ready.gov and FEMA provide free downloadable guides and checklists that cover everything from making a family emergency plan to responding to specific disasters.
- Your Public Library: It’s a goldmine. You’ll find a wealth of books on first aid, gardening, home repair, and other self-reliance skills, all available for free.
A huge part of skill-building is learning to see everyday items in a new light. For example, a Ducti brand Diaper Genie refill can be repurposed for an emergency sanitation kit—a critical but often overlooked prep. Learning to adapt what you already have is a skill in itself. By focusing on your knowledge base, you’re investing in the one prep that will always be with you, no matter what happens.
Your Simple Four-Week Action Plan
Feeling overwhelmed is the biggest roadblock when you start prepping. So, let’s make it easy. This simple four-week action plan breaks everything down into small, manageable chunks that anyone can handle.
This timeline is built for prepping on a tight budget, focusing on high-impact actions that cost little to nothing. It’s not about getting it all done at once. It’s about building momentum and creating habits that will stick with you for the long haul.
Week One: Foundational Planning and Water
Your first week is all about laying the groundwork and securing your most critical resource: water. Before you even think about buying a single thing, you need to spend a little time thinking through your family’s specific needs.
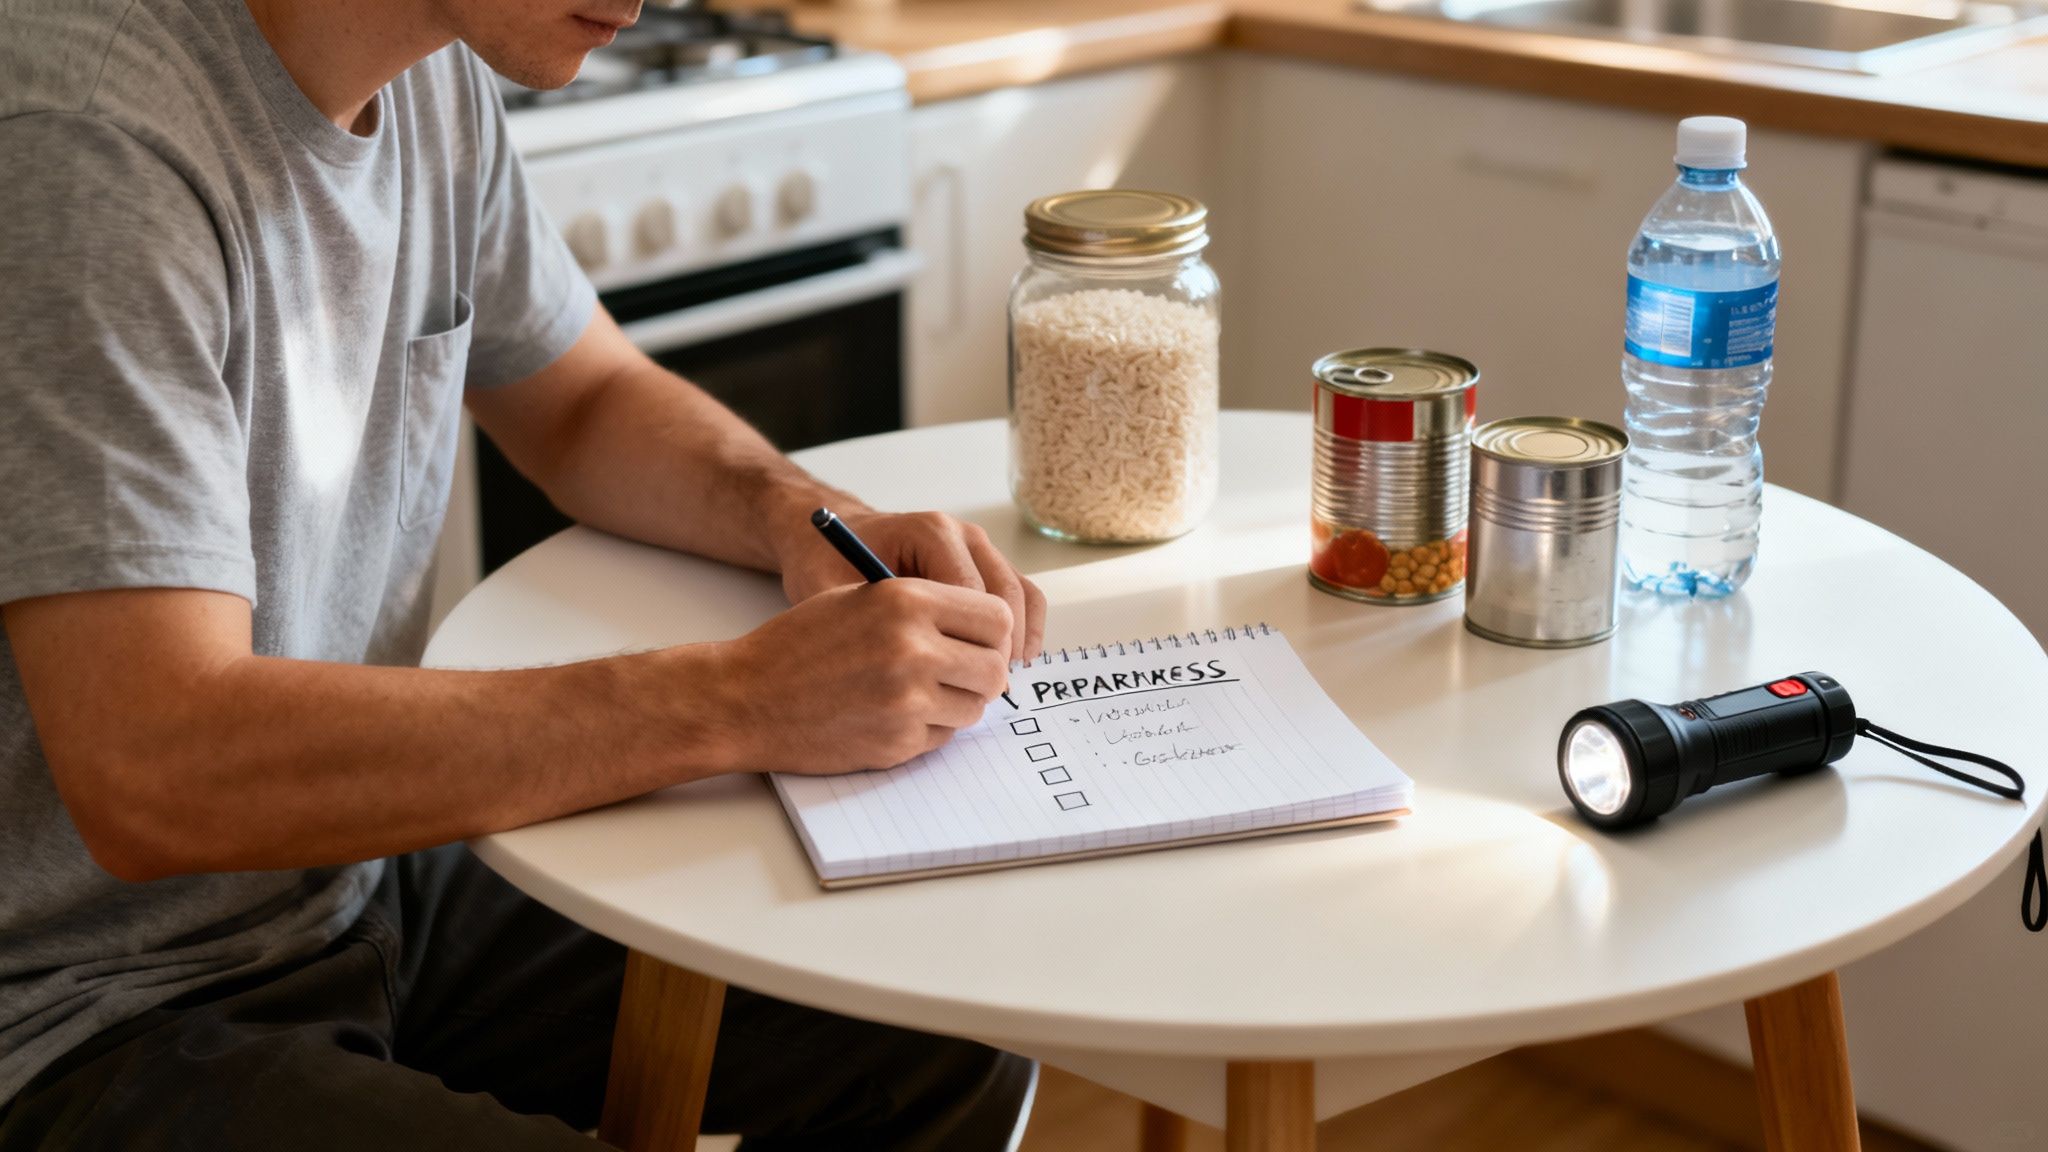
Task 1: Create Your Plan. Grab a notebook and start brainstorming potential emergencies common to your area. Are you prone to power outages, nasty winter storms, or something else? Talk it over with your family so everyone is on the same page. Our emergency preparedness checklist is a fantastic resource to get the ball rolling.
Task 2: Store Water. Aim for one gallon of water per person, for at least three days. You don’t need to buy anything fancy. Just sanitize some empty 2-liter soda bottles, fill them with tap water, and tuck them away in a cool, dark place. This step is 100% free and instantly makes you more resilient.
Week Two: Food and Light
Now that you have a plan, it’s time to make your first strategic additions to your physical preps. This week is all about your pantry and a basic blackout kit.
Task 1: Strategic Grocery Run. The next time you go grocery shopping, add just $10-$15 worth of calorie-dense, non-perishable foods to your cart. Think versatile staples: rice, beans, canned tuna, and peanut butter.
Task 2: Assemble a Dollar-Store Blackout Kit. A trip to the dollar store can get you surprisingly far. Pick up a couple of cheap LED flashlights, a multi-pack of batteries, some lighters, and a few candles. You’ll have a basic lighting kit for just a few bucks.
Week Three: Gear and Skills
This week, you’ll find one key piece of gear and invest in knowledge—the ultimate prep that costs absolutely nothing.
Task 1: Thrift a Key Tool. Hit up a local thrift store or garage sale with a specific goal in mind. Keep your eyes peeled for a durable cast iron pan, a sturdy wool blanket, or a quality hand tool like an axe or hammer. You can find incredible bargains this way.
Task 2: Learn a Skill. Set aside just one hour to learn something practical online. There are thousands of free tutorials on how to tie essential knots, perform basic first aid, or purify water. Skills weigh nothing and can’t be taken from you.
Week Four: Rotation and Communication
For the final week, you’ll set up a simple system to keep your supplies fresh and make sure your family can act as a team when it counts.
Task 1: First-In, First-Out. This is where the habit begins. Go to your pantry, grab one of the oldest canned goods you have, and use it to make a meal this week. On your next grocery trip, buy a new one to replace it. That’s it. You’ve just started your food rotation system.
Task 2: Family Meeting. Pull out the plan you made back in week one and go over it again. Decide on meetup locations if you get separated. Talk through how you’ll communicate if the phones are down. Make sure everyone, even the kids, understands what to do.
Common Questions About Prepping on a Budget
When you first start thinking about preparedness, a lot of questions pop up, especially when you’re trying to keep costs down. Let’s tackle some of the most common ones to keep you moving forward with confidence.
How Much Food and Water Do I Really Need?
The best place to start is with a 3-day supply for every person in your household. It’s a goal that’s easy to hit and won’t break the bank.
That breaks down to one gallon of water per person, per day, and around 2,000 calories of non-perishable food daily. Once you’ve got that covered, you can gradually work your way up to a two-week supply without feeling like you have to buy everything at once.
What Is the Single Most Important Prep?
Water. No question.
You can go for weeks without food, but you’ll only last a few days without water. So, your very first move should be storing clean, safe drinking water. It’s free right from your tap, making it the simplest and most powerful prep you can do today.
The simplest acts of preparation often have the biggest impact. Storing a few gallons of tap water today makes you more resilient tomorrow. It costs nothing but provides everything.
How Can I Prep with Limited Space?
Living in a small apartment or condo just means you have to get a little creative. Focus on items that serve more than one purpose and smart storage tricks.
Under-bed containers are perfect for stashing supplies out of sight. Water jugs can be tucked away in the back of closets. When it comes to food, prioritize things that are dense in calories but don’t take up much room—think rice, beans, and peanut butter. And remember, learning a new skill takes up zero space.
Should I Buy a Pre-Made Kit or Build My Own?
Building your own kit is almost always the better option. It’s cheaper in the long run and lets you tailor everything to your family’s actual needs and the area you live in.
Pre-made kits are tempting because they’re quick, but they’re often filled with lower-quality items and carry a higher price tag. By following the smart shopping strategies we’ve talked about, you can build a far superior, personalized kit over time.

