If you’re going to prepare for a natural disaster, you have to start with one simple question: What am I actually preparing for? A generic, one-size-fits-all plan won’t cut it. Your strategy needs to focus on the most likely events in your specific region—whether that’s hurricanes, wildfires, or earthquakes. This targeted approach is the only way to make sure your time, money, and effort are spent where they’ll do the most good.
First Steps: Understanding Your Real-World Risks
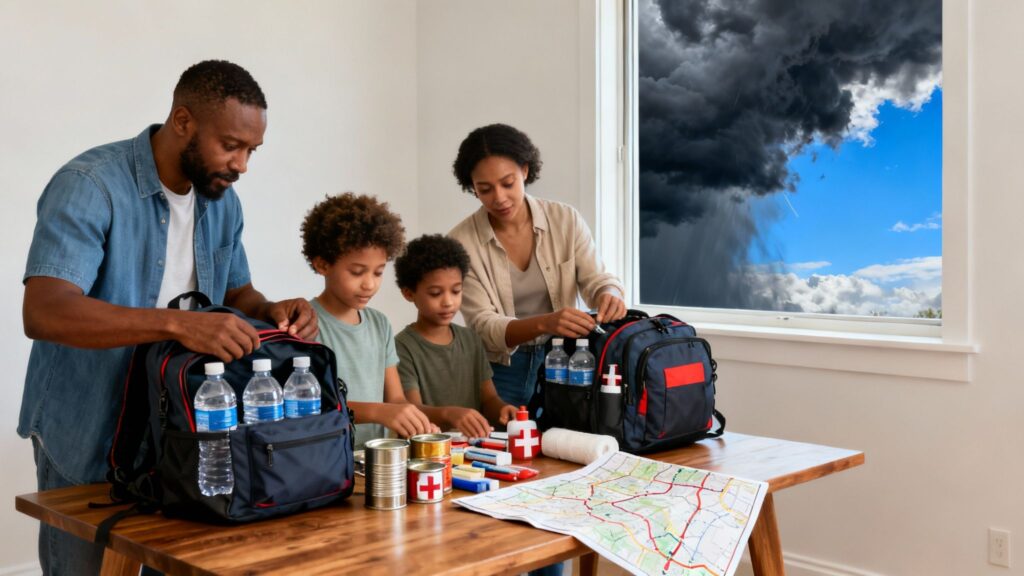
Before you buy a single flashlight or can of beans, the most important thing you can do is a personal risk assessment. This isn’t complicated; it’s just about moving beyond vague fears and into practical, focused planning. It’s easy to get overwhelmed by all the preparedness advice out there, but zeroing in on your local threats brings instant clarity. For a deeper dive into getting started, our guide on how to start prepping is a great place to build your foundation.
Identify Your Regional Threats
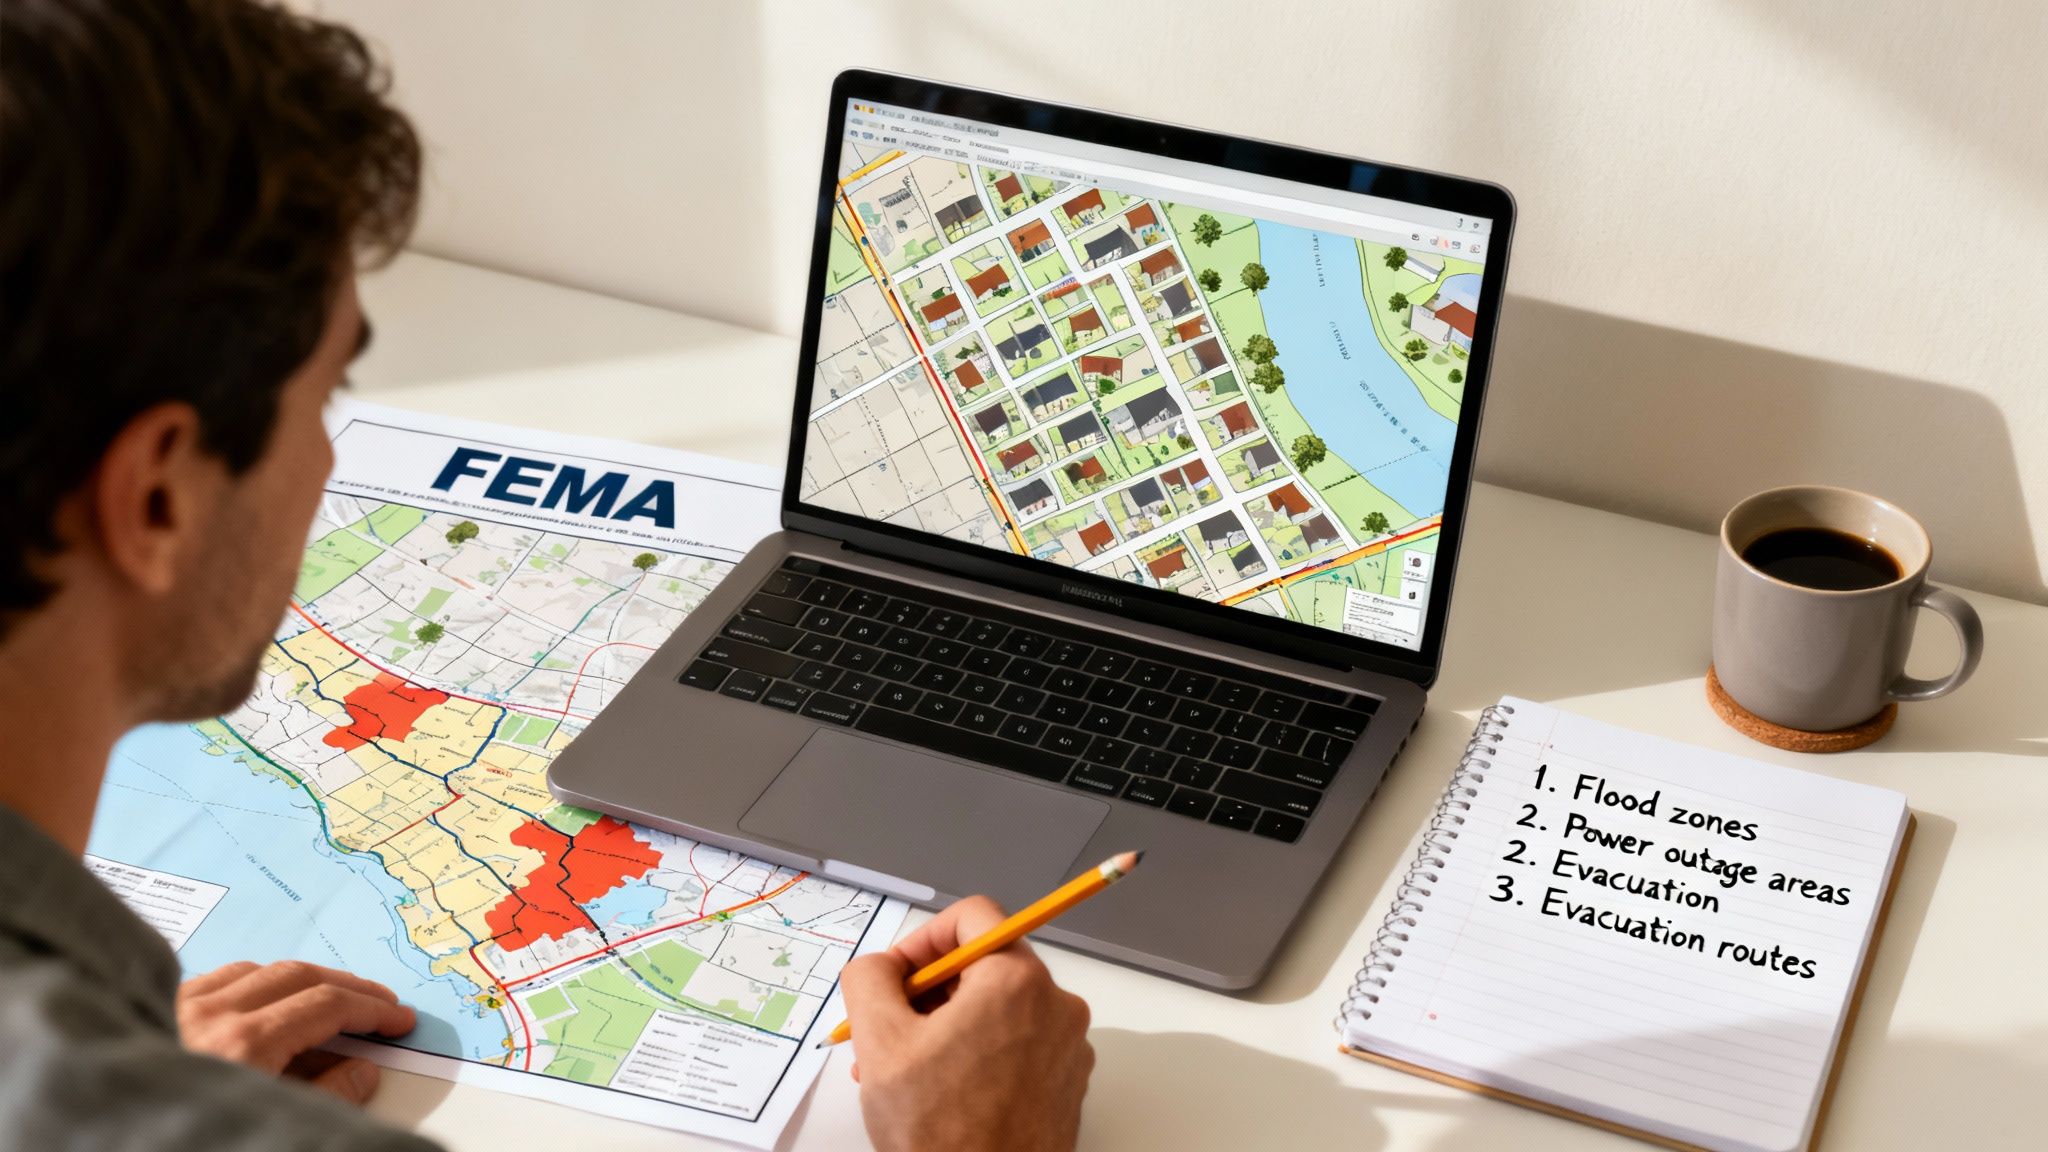
Every solid preparedness plan is built on geography. A family in Florida has a completely different set of worries than a family in California or the Midwest. Your first task is to figure out which disasters are most probable right where you live.
Your local emergency management agency and the Federal Emergency Management Agency (FEMA) are your best friends here. They publish risk maps and historical data that clearly show which hazards—from floods and tornadoes to wildfires and earthquakes—are common in your area.
For example, if you live on the coast of North Carolina, hurricanes are your top priority. But if you’re near the New Madrid Seismic Zone, your plan needs to be built around earthquakes. Knowing this lets you focus your energy instead of trying to prepare for every disaster under the sun all at once.
Assess Your Home and Family’s Unique Needs
Once you know the what, it’s time to figure out the who and where. Every family is different, and those unique circumstances will shape every part of your plan.
- Household Members: Think about the specific needs of everyone under your roof. Do you have infants? Elderly parents? Individuals with disabilities? These factors directly impact the kinds of medical supplies, food, and evacuation support you’ll need.
- Medical Requirements: Make a detailed list of all prescription medications, medical equipment (like a CPAP machine or oxygen concentrator), and any special dietary needs. This info is absolutely critical, whether you’re sheltering in place or evacuating.
- Pets and Livestock: Your animals are family. Your plan has to include their food, water, medications, and a clear strategy for sheltering or evacuating them safely.
- Home Vulnerabilities: Take a hard look at your property through the lens of your biggest risks. Is your house in a flood zone? Are there large trees overhanging the roof that could come down in high winds? This quick assessment will guide everything from home-hardening projects to checking your insurance coverage.
The financial side of disaster preparedness is more serious than ever. Global economic losses from natural disasters now top $2.3 trillion annually when you factor in all the cascading effects. The Los Angeles wildfires alone caused $53 billion in losses, and a staggering $40 billion of that was uninsured. That’s a massive protection gap. You can read more about these findings on UNDRR.org.
By taking these first steps, you create a clear, prioritized roadmap. This personalized risk assessment ensures that every decision you make—from the supplies you buy to the drills you practice—is directly aimed at protecting your family from the threats you’re most likely to face.
Building Your Three-Tiered Emergency Kit System
When people first think about preparing for a natural disaster, they usually imagine one perfect, all-encompassing emergency kit. But in reality, one size definitely does not fit all. You wouldn’t use a sledgehammer to hang a picture frame, right? The same logic applies here.
A far more practical approach is to create a layered system with the right supplies strategically placed for different emergencies. This three-tiered system ensures you’re covered whether you’re hunkering down at home for two weeks or fleeing with only five minutes’ notice. For a comprehensive breakdown of what belongs in each kit, check out our complete guide on building a disaster supply kit.
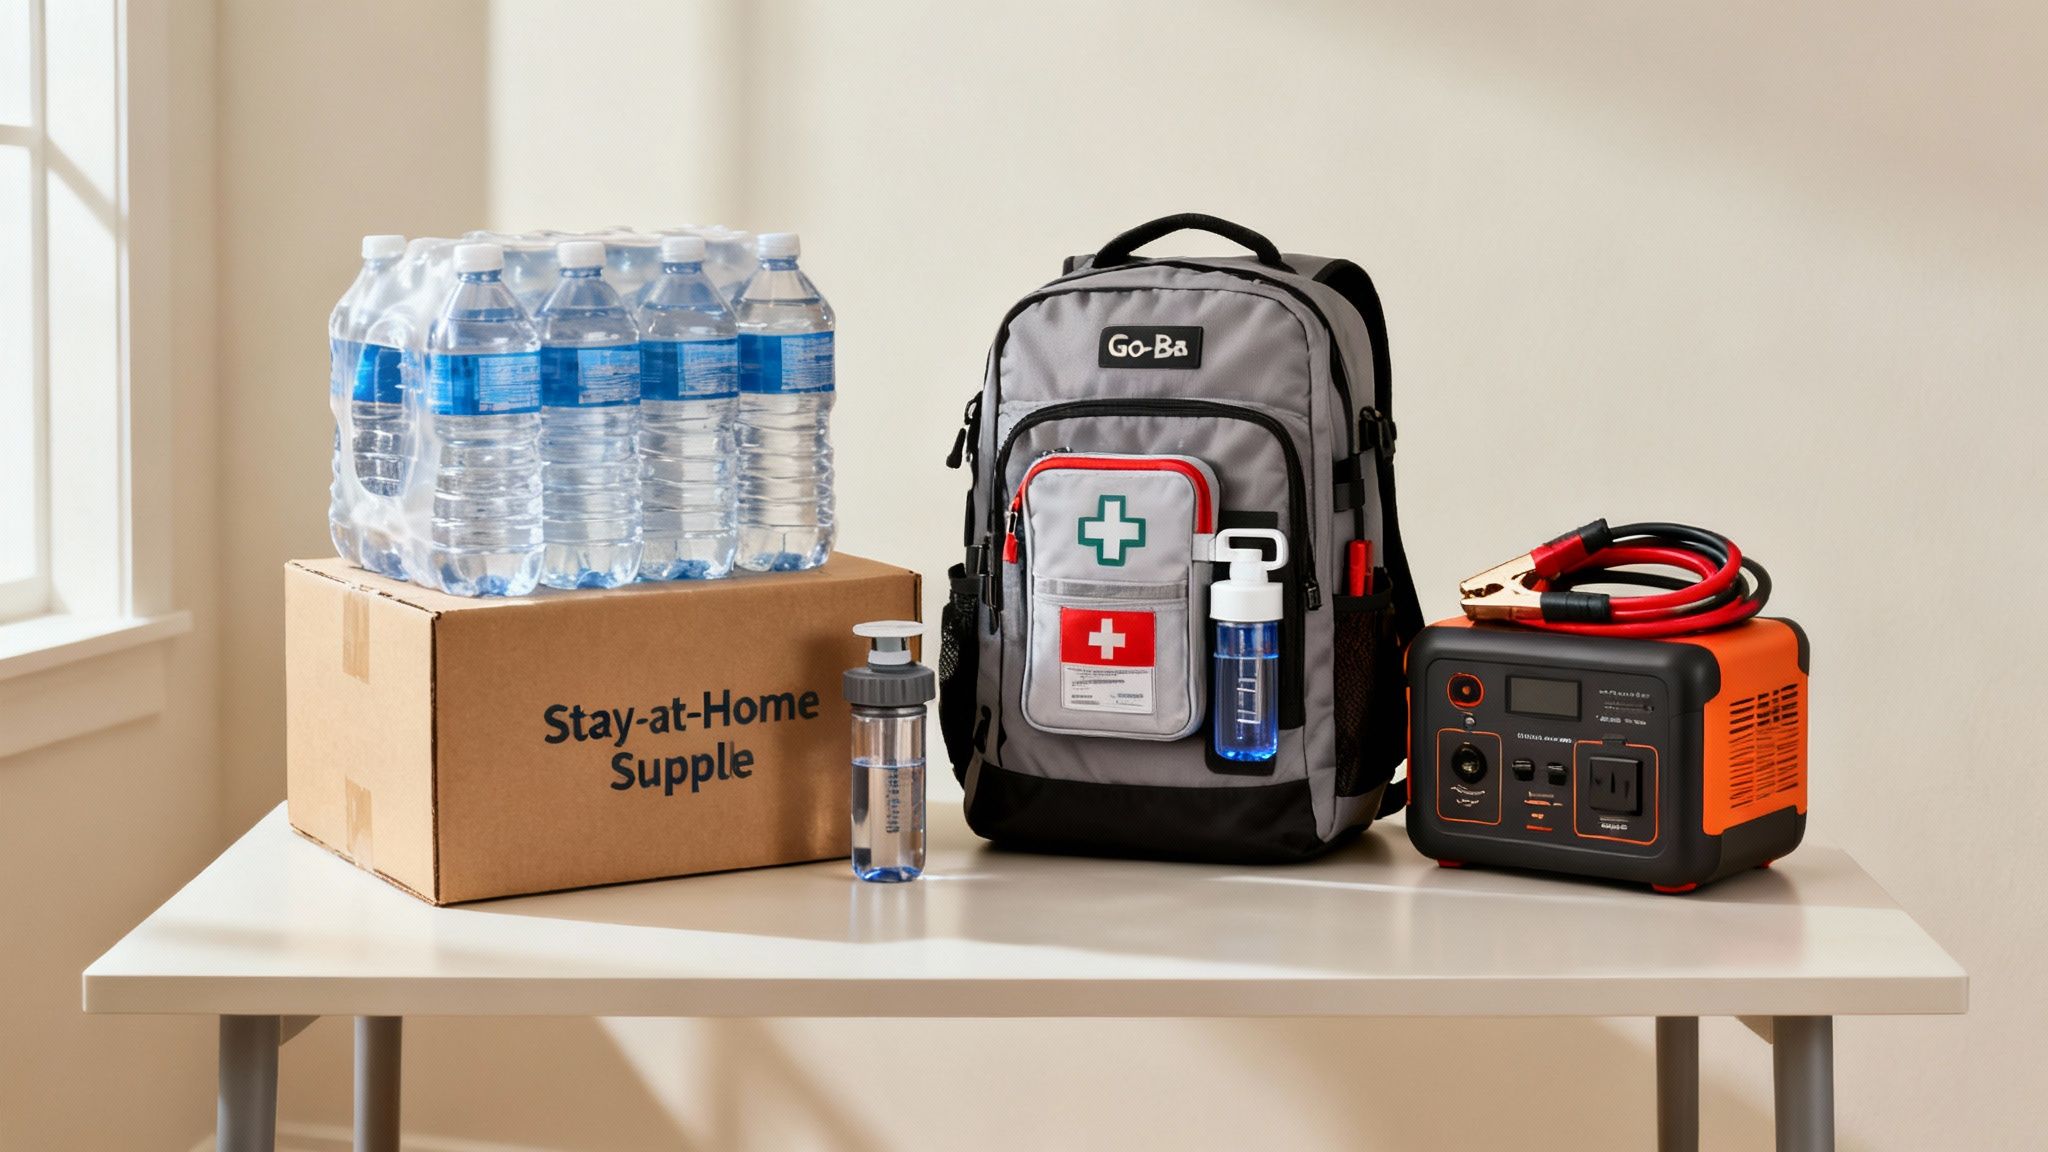
The Stay-at-Home Kit
This is your fortress. Your Stay-at-Home Kit is the largest and most comprehensive collection of supplies, designed for situations where you’re advised to shelter in place. Think of major winter storms, widespread power outages, or other events that make leaving home unsafe or impossible. The goal is simple: be completely self-sufficient for a minimum of two weeks.
This goes way beyond a few extra cans of soup. You need to think about long-term food, a bulletproof water plan, backup power, sanitation, and first aid. Water is priority number one, and you should aim for one gallon per person, per day.
For a reliable, long-term water source when the taps run dry or become contaminated, a high-capacity gravity-fed filter is a game-changer. Something like a Berkey Water Filter can turn questionable water into safe drinking water, making it a cornerstone of any serious home prep.
Next up is power. A prolonged grid-down event can knock out everything from your fridge to your phone. A portable power station, like those from Grid Doctor 3300 EMP, Jackery or Goal Zero, gives you silent, fume-free power to keep phones charged, run small medical devices, or just keep the lights on. For more strategies on maintaining power and essential services during extended outages, explore our guide on off-grid living essentials.
The Go-Bag
While your home kit is built for endurance, the Go-Bag is all about speed. This is what you grab when an evacuation order comes and you have minutes—not hours—to get out. Every single item in this bag has to earn its spot, because you might be carrying it for miles.
Often called a bug-out bag or 72-hour kit, your Go-Bag should have everything your family needs to survive for at least three days on the move. We’re talking lightweight, high-calorie food bars, a change of clothes, a well-stocked first-aid kit, and copies of essential documents. For a full checklist, check out our deep dive on building a 72-hour emergency kit.
Water is just as crucial here, but the solution needs to be portable. A lightweight filter like the Sawyer Squeeze is perfect. It can screw onto a standard water bottle and lets you safely drink from a stream or river. Having one for each person in the family is a smart move.
The biggest mistake people make is trying to create one kit that does everything. Your home kit is for comfort and endurance. Your go-bag is for lightweight, mobile survival. They have two completely different jobs.
The Vehicle Kit
Your car is more than just transportation in a disaster; it’s a mobile power source, a temporary shelter, and your ticket out of a dangerous area. A dedicated Vehicle Kit makes sure your car is an asset, not a liability, whether you’re stranded on a snowy highway or using it to evacuate.
This kit should have items for both roadside emergencies and basic survival.
- Vehicle Must-Haves: Jumper cables, a portable tire inflator like a VIAIR 88P, basic tools, and road flares. These are non-negotiable.
- Survival Basics: Stash extra water, non-perishable snacks, warm blankets, a first-aid kit, and a powerful flashlight with extra batteries.
- Seasonal Gear: If you live in a cold climate, add a snow shovel, ice scraper, and hand warmers. For hotter areas, pack extra water and sun protection.
Think of your vehicle kit as your first line of defense when you’re away from home. It can get you through a sudden blizzard or serve as a backup layer of supplies if you’re forced to evacuate with only what fits in your car.
With this three-tiered approach, you build layers of security. No matter where you are when disaster strikes, you’ll have a foundation of essential supplies ready to go.
Essential Supplies for Your Three Emergency Kits
To make this easier to visualize, here’s a breakdown of how these three kits complement each other. Notice how some core items appear in all three, but the quantity and type change based on the kit’s purpose.
| Item Category | Stay-at-Home Kit (2 Weeks) | Go-Bag (72 Hours) | Vehicle Kit |
|---|---|---|---|
| Water | 1 gallon per person/day; large gravity filter | 1 liter per person; portable water filter/tablets | 1 gallon of water; extra bottles |
| Food | 2-week supply of non-perishable foods | 3-day supply of lightweight, high-calorie bars/meals | 1-2 day supply of non-perishable snacks |
| Power/Light | Portable power station, lanterns, headlamps | Headlamp, flashlight, power bank | Flashlight, flares, car charger |
| First Aid | Comprehensive trauma kit, extra prescription meds | Compact first aid kit, personal medications | Basic first aid kit |
| Shelter | Home, tarps for sealing windows/doors | Emergency blankets, lightweight tent/tarp | Wool blankets, emergency bivvy |
| Tools | Wrench to shut off utilities, multi-tool, axe | Multi-tool, knife, duct tape | Jumper cables, tire inflator, basic tool set |
| Documents | Originals in a fireproof safe, digital backups | Copies in a waterproof bag, USB drive | N/A (keep in Go-Bag) |
| Sanitation | Camp toilet, toilet paper, garbage bags, wipes | Wipes, travel toilet paper, trowel | Toilet paper, wipes, small garbage bags |
| Communication | NOAA weather radio (hand-crank) | Hand-crank radio, whistle | N/A (rely on car radio/charger) |
This table isn’t exhaustive, but it highlights the core philosophy: build for endurance at home, portability for evacuation, and roadside readiness in your car.
Your Family Communication and Reunification Plan
When a crisis hits, technology is almost always the first casualty. Cell towers get swamped or go down, power grids fail, and the internet becomes a distant memory. That digital silence is terrifying when you’re separated from the people you love most. A rock-solid communication plan is your best defense against panic, ensuring everyone can safely check in and find each other.
This plan has to be simple, reliable, and something you’ve actually practiced. Every single member of your family, from your youngest kid to your elderly parents, needs to know exactly what to do when their phone inevitably shows “No Service.” It’s all about creating a clear, automatic set of instructions for who to call, where to go, and how to signal that you’re okay.
Establishing Your Communication Hubs
Modern communication is incredibly fragile, so your plan needs to lean on old-school, reliable methods. The heart of your strategy will be a central point of contact and designated meeting spots that everyone knows by heart.
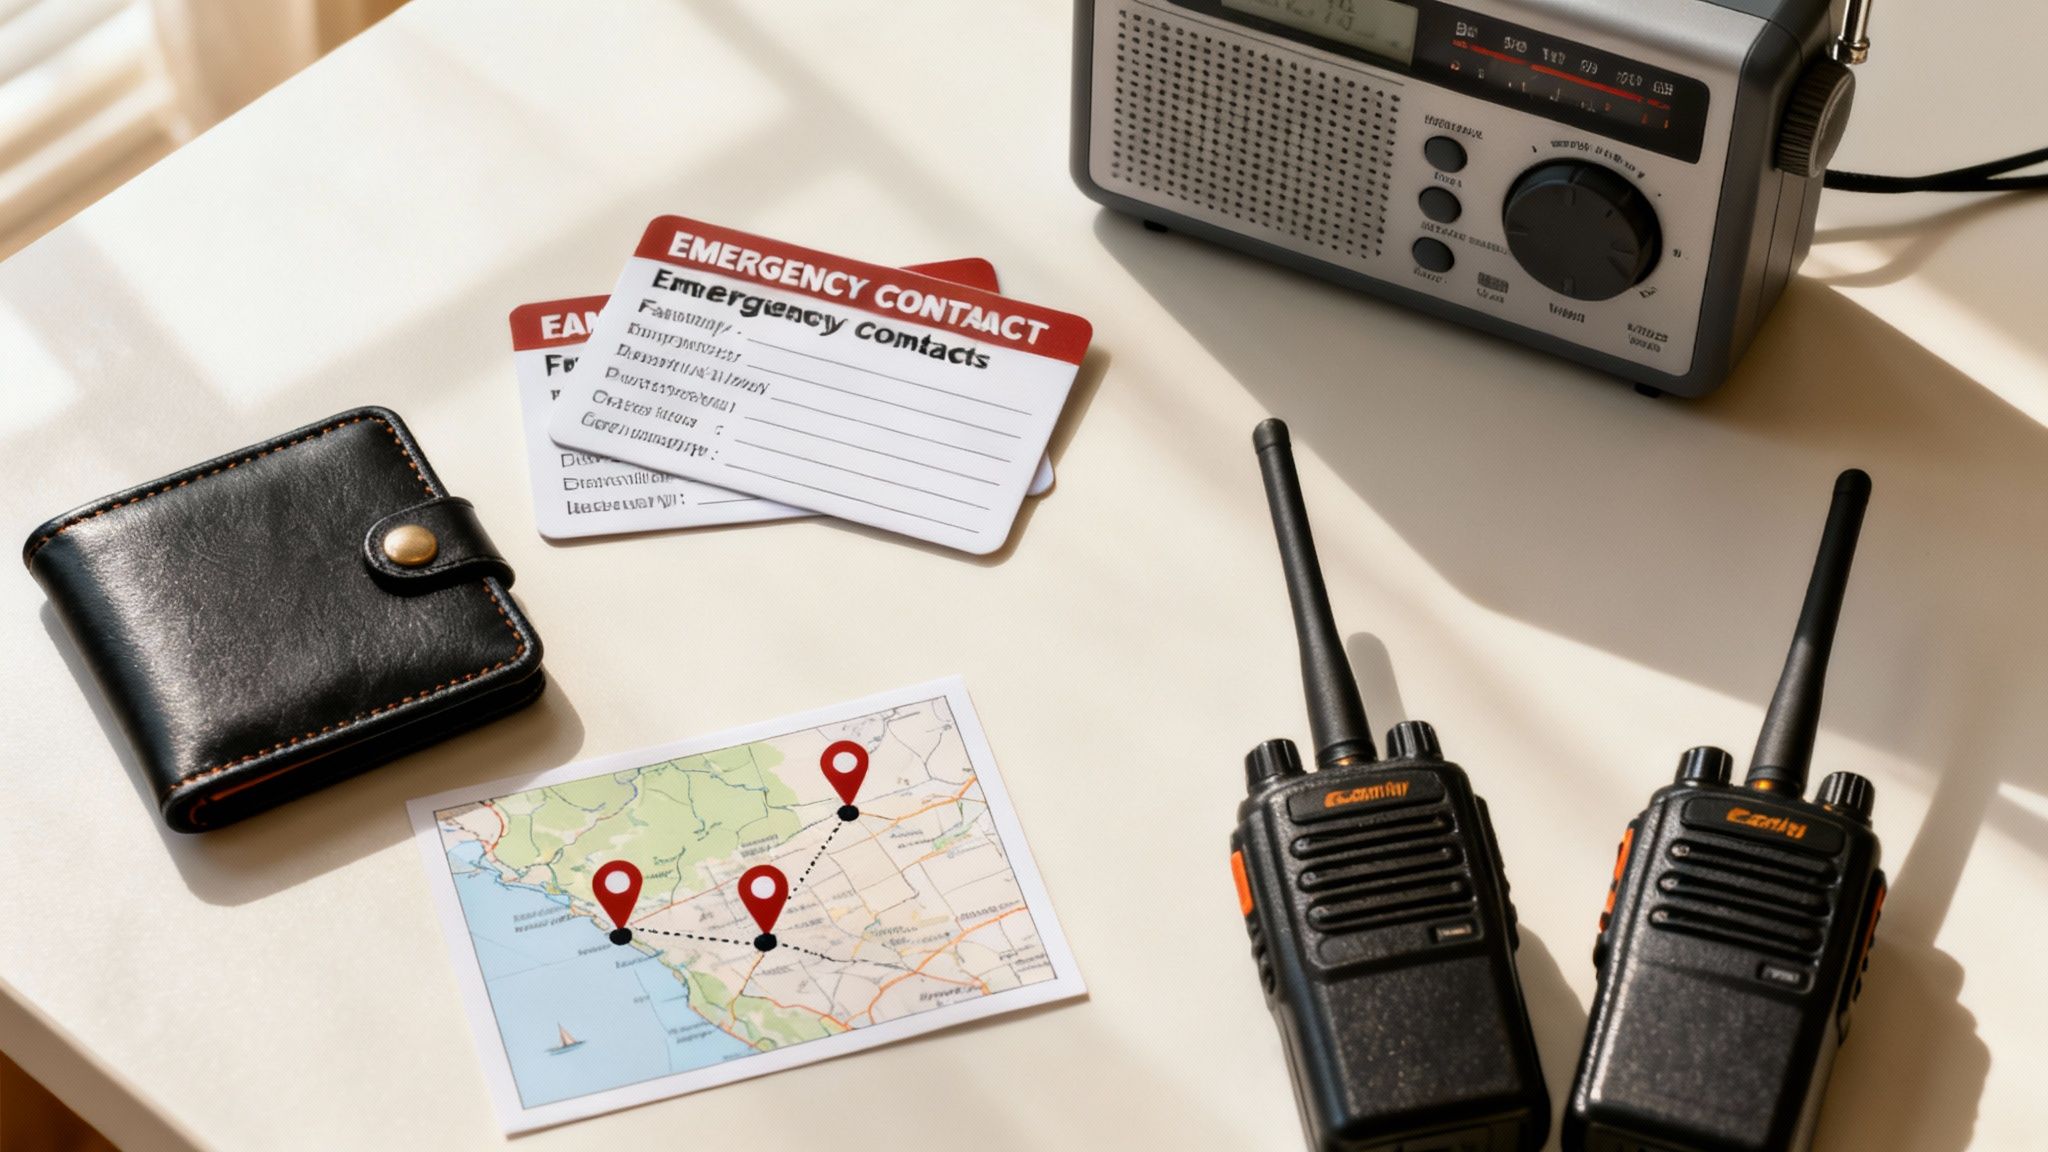
First, you need an out-of-state contact. This person becomes your family’s central information hub. It might sound strange, but after a local disaster, it’s often much easier to get a long-distance call through than a local one because the regional circuits are completely jammed. The job for each family member is simple: call or text this contact as soon as it’s safe to do so.
Next, make physical wallet-sized emergency cards for everyone. These aren’t just for kids. They should list key phone numbers (especially your out-of-state contact), the addresses for your meeting spots, and any critical medical info. Don’t ever assume someone will have access to their phone’s contact list—a physical card is the ultimate backup. You can find some great examples of what to include in an emergency preparedness plan template to make sure you cover all your bases.
Designating Reunification Locations
Knowing where to go is just as critical as knowing who to call. You’ll want to set up three distinct reunification points, each with a different purpose in mind.
- Immediate Neighborhood Spot: Think close and obvious—a specific neighbor’s mailbox, the big oak tree across the street. This is for sudden emergencies like a house fire where you need to get out fast and do an immediate headcount.
- Broader Neighborhood Spot: This spot needs to be within walking distance but far enough away to be clear of whatever is happening on your block. A local park, the public library, or a community center are all solid choices. This is your go-to if your immediate area is cordoned off.
- Out-of-Town Spot: This is your rally point if a large-scale disaster forces a regional evacuation. It could be a relative’s home or a familiar landmark in a town over. Make sure everyone has the address written down and a physical map showing how to get there.
The goal is to create a simple decision tree for your family. If you can’t get home, go to the neighborhood spot. If the whole neighborhood is unsafe, head to the out-of-town spot. This removes the guesswork and anxiety when stress levels are through the roof.
Adopting Off-Grid Communication Tools
When the grid fails, you need tools that don’t depend on it. A few key pieces of gear can make all the difference, bridging the communication gap until services are back up.
A battery-powered or hand-crank Midland Emergency Weather Radio is absolutely non-negotiable. It’s your lifeline to crucial NOAA weather alerts and official emergency broadcasts when you have no power or cell service.
For talking directly with family members nearby, GMRS (General Mobile Radio Service) radios are a fantastic option. Radios from brands like Motorola or Midland offer much better range and clarity than the cheap toy versions. They are perfect for coordinating if you get separated within a few miles of each other, giving you a direct line of contact when phones are just bricks.
Nailing Your Shelter-in-Place and Evacuation Drills
Knowing when to hunker down and when to get out is one of the toughest, most high-stakes decisions you’ll ever make for your family. When that alert screams from your phone, every second of hesitation is a gamble. The secret to making the right call isn’t just about having the right gear; it’s about having a well-rehearsed plan for both sheltering and evacuating, so you can act with confidence, not panic.
This isn’t just some abstract “what if” scenario. Natural disasters have forced millions from their homes, and in the U.S., a single severe weather season can spin up hundreds of tornadoes in major outbreaks. Events like these show just how fast a calm day can turn into a community-wide crisis, hammering home the need for a solid, practiced plan.
When to Shelter in Place
The order to “shelter in place” means that your home is the safest place you can be. This is the go-to response for things like tornadoes, brutal thunderstorms, or certain industrial accidents like a chemical spill. Your mission is simple: turn your home into a fortress against whatever is happening outside.
First things first, you need to identify the safest room in your house. For a tornado, that’s usually a basement, a storm cellar, or a windowless interior room on the lowest floor—think a bathroom or a closet. This spot becomes your rally point, where everyone knows to go immediately.
Next, you have to know how to lock your home down. This isn’t one-size-fits-all; the threat determines the action.
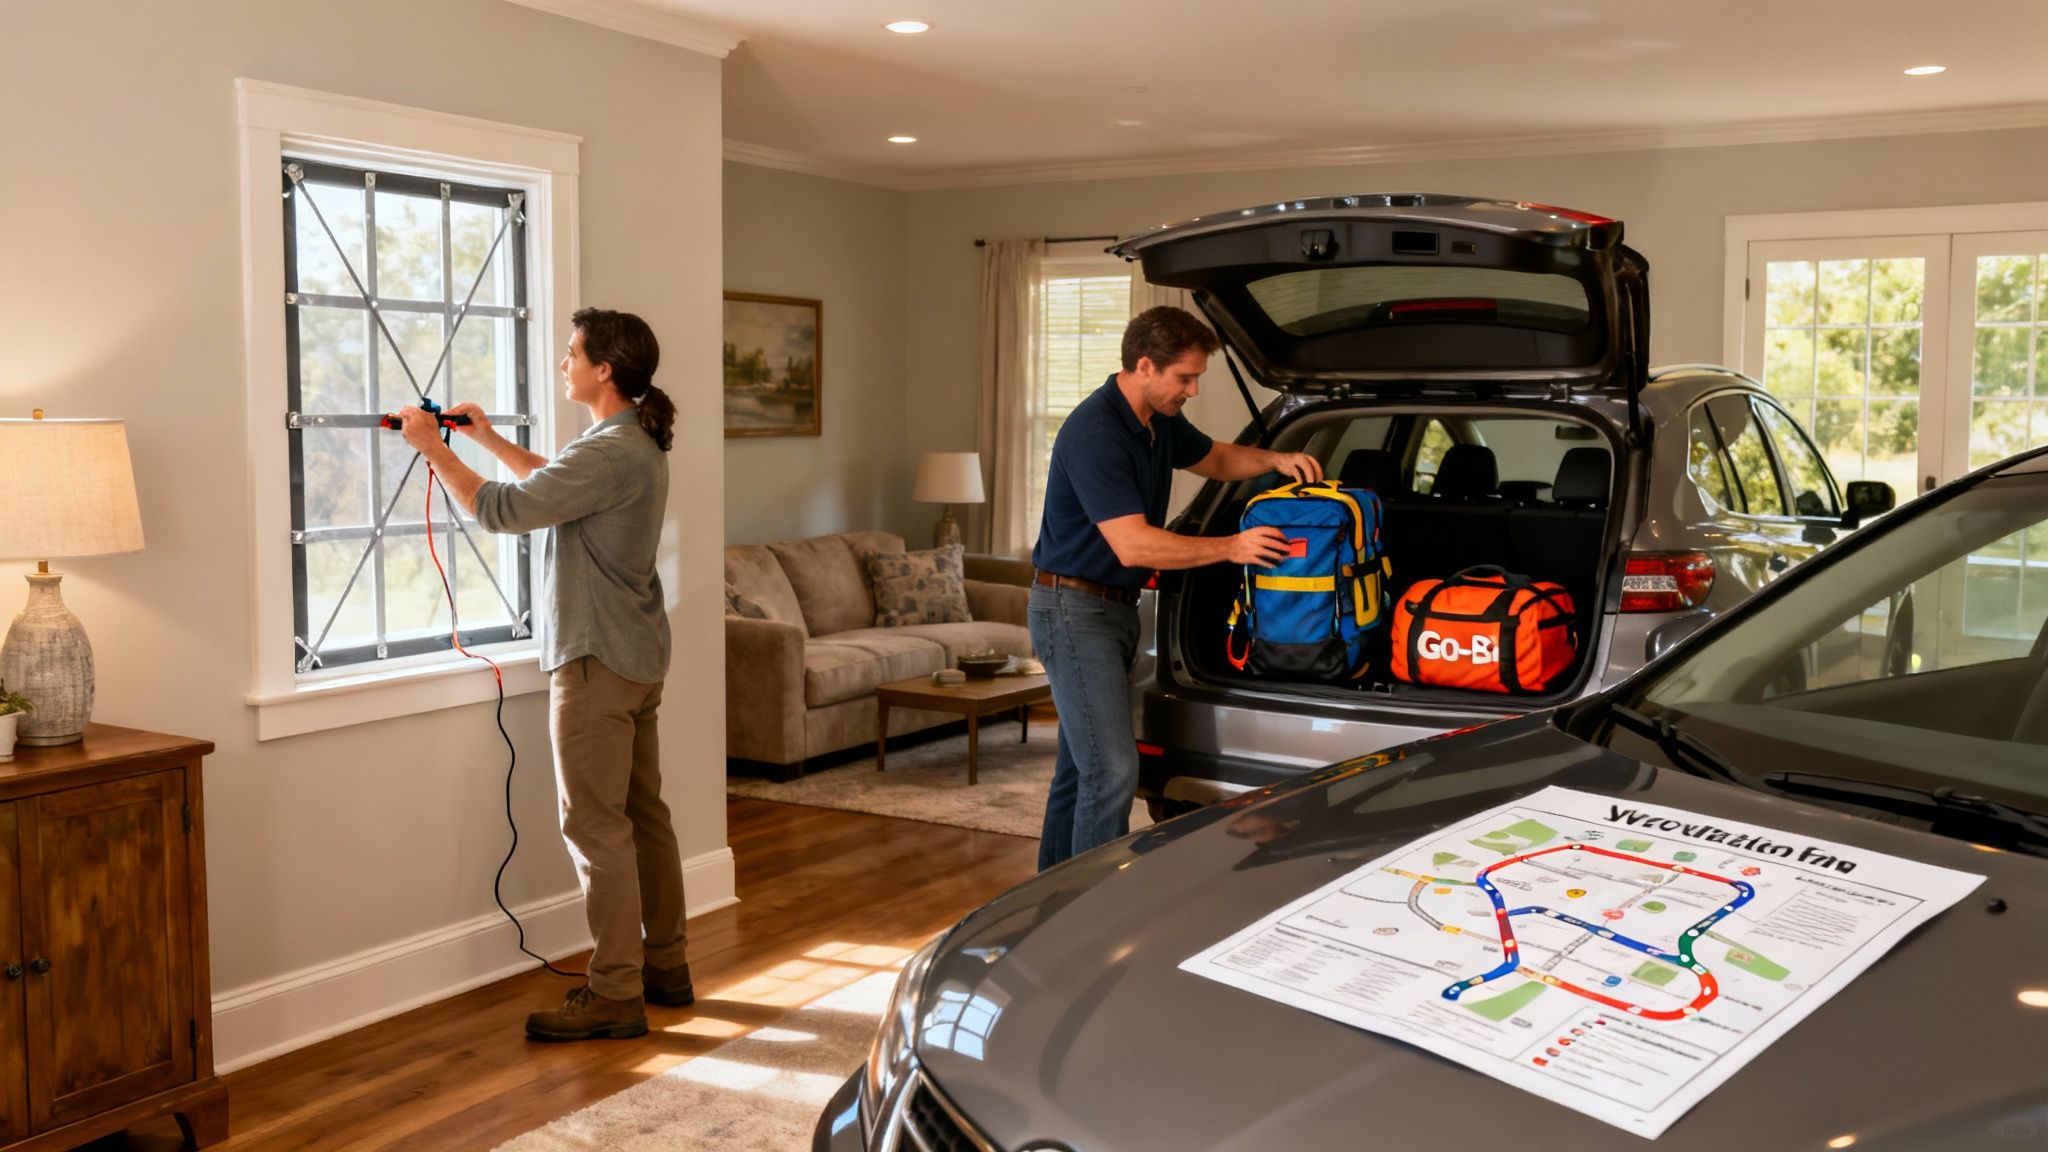
- Reinforcing Windows: If a hurricane is churning your way, pre-cut plywood or storm shutters are your best friends. They’re essential for protecting your windows from destructive winds and flying debris.
- Sealing Gaps: In a chemical emergency, you need to create a seal. Have duct tape like Gorilla Tape and plastic sheeting ready to cover all windows, doors, and air vents to keep contaminants out.
- Shutting Off Utilities: Every adult in the house should know the location of the main shut-off valves for water, gas, and electricity. They also need to know how to use them. Keep the right tools nearby—a versatile Crescent Wrench stored next to your gas meter can be a lifesaver.
Practice is what separates a plan from a piece of paper. Run a “safe room” drill. Time everyone—including the pets—to see if they can get to the designated spot in under two minutes. This builds the muscle memory needed to react instantly when it counts.
When Evacuation Is the Only Answer
Sometimes, staying put is the most dangerous thing you can do. Approaching wildfires, rising floodwaters, and mandatory hurricane evacuations mean you have to go. And you might have to go now. A successful evacuation hinges entirely on the prep work you do long before the threat appears.
Start by mapping out multiple ways to get out of your neighborhood. Your GPS is great until the power goes out or cell towers are down. Get physical maps of your area from a source like Rand McNally and highlight at least three escape routes, because you can bet the main roads will be a parking lot.
Your evacuation plan also needs a “trigger”—a clear, pre-decided line in the sand that tells you it’s time to leave. This could be an official order from authorities or a condition you’ve set, like a wildfire reaching a specific landmark. Having a trigger eliminates the deadly trap of indecision.
Have your Go-Bags packed and ready by the door. Make it a household rule to never let your vehicle’s gas tank fall below half-full, because gas stations will be the first places to run dry or lose power. The goal is to get from decision to wheels rolling in under five minutes. Every time you see footage of cars trapped for hours fleeing a disaster, it’s a brutal reminder that the people who got out safely were the ones who had a plan and acted on their trigger without a moment’s delay.
Adapting Your Plan for Specific Disaster Scenarios
A solid all-purpose preparedness plan is your foundation, but true readiness means knowing how to pivot when a specific threat is at your door. An earthquake plan is useless in a hurricane, and a wildfire strategy won’t do you any good in a flash flood.
This is where you move from just having supplies to having a truly effective response.
The cost of getting it wrong is staggering. In recent years, natural disasters have racked up over $131 billion in global losses, with insured losses hitting $80 billion in just a single six-month period. Major wildfires, devastating earthquakes, and massive floods make it painfully clear that a one-size-fits-all approach just doesn’t cut it anymore. For a closer look at these trends, you can read more about the rising costs of natural disasters on CBS News.
Hurricanes: Securing Your Home Against Wind and Water
When a hurricane appears on the forecast, you have a crucial window to act. Your mission is twofold: protect your home from destructive winds and prepare for the inevitable flooding and power outages.
- Batten Down the Hatches: Get your pre-cut plywood or storm shutters installed over every window and glass door. Haul all your outdoor furniture, planters, and garbage cans inside—in 100+ mph winds, these become deadly projectiles.
- Prep for the Dark: Make sure your backup power sources, like a portable power station, are fully charged and ready. Keep your Stay-at-Home Kit somewhere you can grab it in the dark. It should be loaded with water and non-perishable food.
- Know Your Zone: Do you live in an evacuation zone? If the authorities issue an order to leave, go immediately. Don’t second-guess it. The storm surge and flooding are often the deadliest parts of a hurricane, not the wind.
Earthquakes: Surviving the Shake
Unlike a hurricane, an earthquake gives you zero warning. Your survival hinges on instinct and muscle memory you’ve built through drills. There’s no time to pull out a manual.
You must react instantly. The single most important action is to Drop, Cover, and Hold On.
- DROP to your hands and knees. This stops you from being knocked over but still lets you crawl to safety.
- COVER your head and neck with your arms. Get under a sturdy table or desk if you can. If not, crawl against an interior wall, far away from windows that can shatter.
- HOLD ON to whatever you’re under and be ready to move with it until the shaking stops.
Once it’s over, carefully check for injuries and new hazards like gas leaks or fires. The real prep for an earthquake happens months before, by anchoring heavy furniture and water heaters to wall studs using kits from brands like Quakehold!.
Wildfires: Creating Defensible Space
If you live in a wildfire-prone area, your prep work starts long before you ever smell smoke. The goal is to create a buffer around your home that starves a fire of fuel, making it much harder for flames to reach your house. This is called creating defensible space.
Creating at least 30 feet of “lean, clean, and green” space around your home can dramatically increase its chances of surviving a wildfire. This means clearing out dead leaves, keeping the lawn mowed short, and landscaping with fire-resistant plants.
When a fire is actively threatening your area, the focus shifts. Get on the roof and clear out gutters, move propane tanks and patio furniture far away from the house, and shut every window and vent to keep embers out. And most importantly, be ready to evacuate at a moment’s notice.
Floods: Respecting the Power of Water
Floods can come from heavy rain, coastal storm surges, or dam failures. The number one rule is to never underestimate the power of moving water. It only takes six inches of fast-moving water to knock an adult off their feet. A foot of it will sweep a car away.
Start by knowing your risk. Use FEMA’s flood maps to see if you’re in a flood zone and get flood insurance—it’s almost never included in a standard homeowner’s policy.
If a flood is coming, move your essential documents and valuables to the highest floor and be ready to evacuate to higher ground. Never try to walk, swim, or drive through floodwaters. Just remember the phrase: Turn Around, Don’t Drown.
Tornadoes: Finding the Safest Shelter
Tornadoes are violent, fast-moving storms that demand you find shelter immediately. Your family’s safety depends on getting to the most secure spot in your home within seconds. The absolute best place to be is a dedicated underground storm cellar or a FEMA-rated safe room.
If you don’t have one, the next-best option is a basement or a small, interior, windowless room on the lowest level. You can learn more about finding the best protection by reading our complete guide on emergency shelter options for your family. The key is to put as many walls as possible between you and the outside. Get under a heavy workbench or table to shield yourself from falling debris.
Keeping Your Preparations Current and Practical
Your disaster plan isn’t a museum piece—it’s a living document. One of the biggest mistakes families make is stashing a kit in the closet and simply forgetting it’s there. But food expires, batteries die, water goes stale, and kids are constantly outgrowing clothes, shoes, and medication dosages. An out-of-date plan can be just as dangerous as no plan at all.
Real preparedness is a habit, not a one-time chore. It’s about building a simple cycle of reviewing, rotating, and practicing into your family’s yearly rhythm. This ongoing maintenance is what ensures that when a crisis hits, you can actually trust your gear and rely on well-practiced instincts instead of a dusty, useless checklist.
Set Up a Semi-Annual Preparedness Check-In
The simplest way to keep everything current is to schedule a review twice a year. An easy trick is to tie it to daylight saving time. When you change your clocks in the spring and fall, you check your preps. It’s that easy to remember.
During this check-in, the goal is to physically lay hands on every part of your three kits: your main Stay-at-Home Kit, each person’s Go-Bag, and your Vehicle Kit.
- Check all expiration dates. Go through your food, water, medications, and first-aid supplies. Anything getting close to its “use by” date gets pulled. The best part? The food you rotate out just goes into your regular kitchen pantry, so nothing goes to waste.
- Test your gear. Don’t just look at the batteries—pop them out and test them. A cheap tool like the D-FantiX Battery Tester makes this fast and foolproof. Turn on your flashlights, crank the emergency radio, and fire up your portable power station to make sure they all hold a charge.
- Refresh your water. If you’ve stored your own tap water in containers, it’s best to dump it and refill it every six months. Commercially bottled water lasts much longer, but you should still give the bottles a quick check for any leaks.
- Update personal items. Do the clothes in your kids’ Go-Bags still fit? Has your emergency contact list changed? Are your printed documents and photos up to date? Now’s the time to make those small but critical tweaks.
Run Low-Stress Family Drills
A plan you’ve never actually walked through is just a theory. Drills are what turn theory into instinct. The trick is to keep them practical and low-stress, especially with kids. You want to build confidence, not create fear.
Think of them less as “drills” and more as preparedness games or challenges. By making practice a regular family activity, you build the kind of “muscle memory” that takes over when adrenaline is pumping and you don’t have time to think.
A well-rehearsed plan is the antidote to panic. When everyone knows their role and has practiced the steps, it brings a sense of order and control to a chaotic situation, significantly reducing anxiety for both adults and children.
Ideas for Practical Family Drills
Running through a few scenarios is the fastest way to find the holes in your plan—the missing flashlight, the confusing meeting spot, or the evacuation route that’s always blocked by traffic.
Here are a few simple exercises to start with:
- “Power-Outage Night”: Pick an evening and intentionally flip the main breaker for a few hours. Challenge the family to cook dinner using only your emergency gear, navigate the house with flashlights and lanterns, and see how everyone manages. You’ll quickly discover if you have enough light, the right non-electric cooking tools, and activities to keep bored kids happy.
- Timed Evacuation Practice: See how fast your family can go from zero to ready. Without any warning, start a timer and announce it’s time to evacuate. The goal is to get everyone in the car with their Go-Bags as quickly as possible. The first run might be a mess, but it will show you exactly where your process needs improvement.
- Meet-Up Point Race: From your common locations—school, work, the grocery store—have everyone walk (no cars allowed!) to your designated neighborhood meeting spot. This simple exercise confirms that everyone knows exactly where to go and gives you a realistic idea of how long it might take for everyone to get there on foot.
Your Top Disaster Prep Questions, Answered
Getting into preparedness can feel overwhelming, and it’s natural for a lot of questions to pop up. Let’s tackle some of the most common ones families have when they first start building out their emergency plan.
How Much Water Do I Really Need to Store?
The non-negotiable rule of thumb is one gallon of water, per person, per day. This isn’t just for drinking; it’s also for basic hygiene and cooking.
For a family of four, that means you need a minimum of 12 gallons to get through a 72-hour emergency. But let’s be realistic—many situations last longer. For a more serious two-week plan where you’re sheltering in place, you’re looking at 56 gallons. Don’t forget to factor in a little extra for your pets.
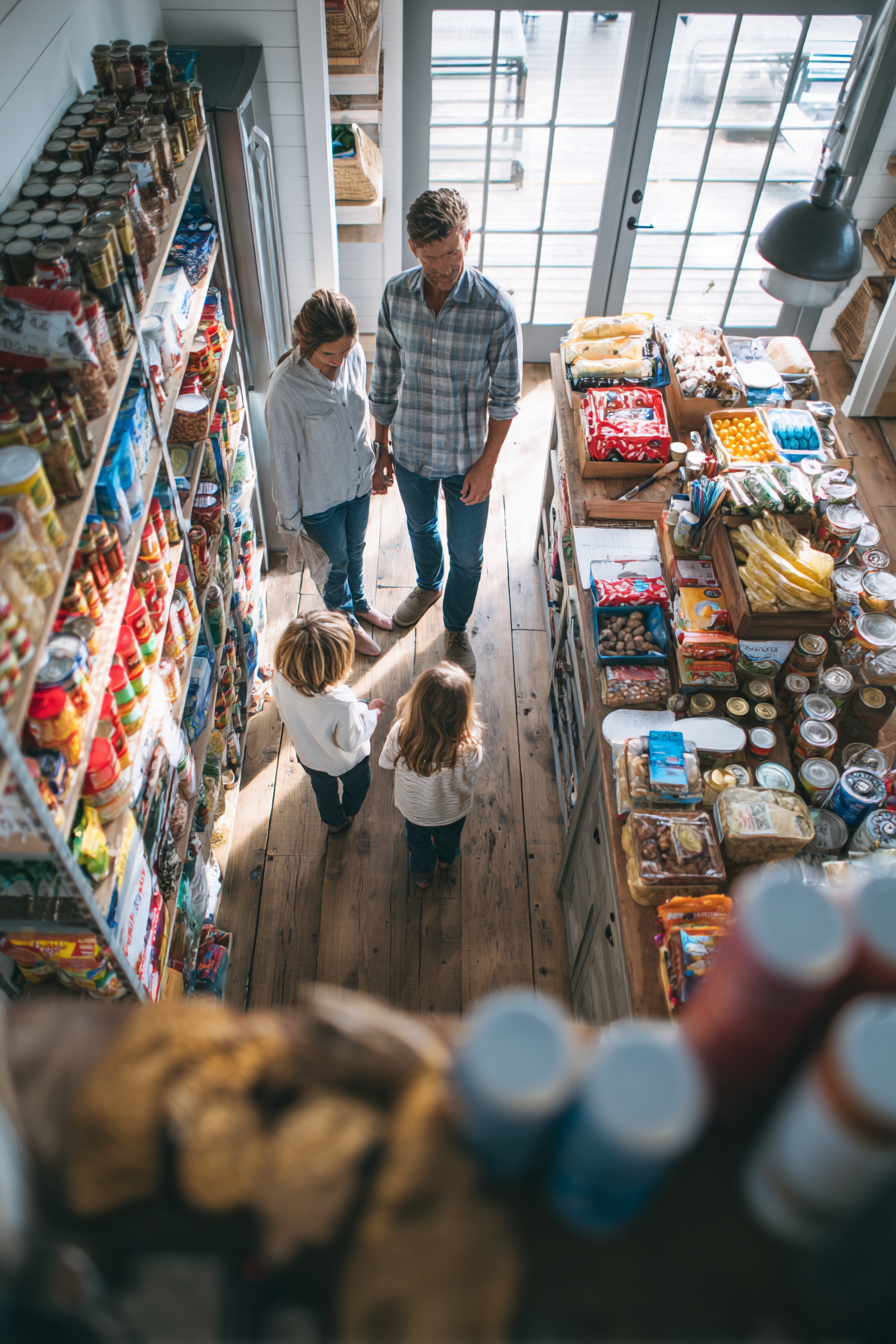
What Are the Best Foods for an Emergency Kit?
You’re looking for non-perishable, high-calorie foods that require zero cooking or refrigeration. Think easy, grab-and-go fuel.
Some of the best options include:
- Protein and granola bars
- Dried fruit, nuts, and trail mix
- Canned meats, fish, or beans (the pop-top kind are a bonus)
- Peanut butter or other nut butters
If you’re building a longer-term supply, freeze-dried meals are a fantastic investment. Brands like Mountain House or Augason Farms offer complete meals with a shelf life of up to 30 years. All they need is a little hot water, making them a reliable cornerstone for any serious preparedness pantry. To understand how long different emergency foods actually last and how to properly rotate your supplies, read our detailed article on survival food shelf life.
The most important quality in emergency food isn’t just shelf life, but its ability to provide dense calories with minimal preparation. In a high-stress situation, you need fuel, not a complicated cooking project.
How Can I Prepare My Kids Without Scaring Them?
This is a big one for parents. The key is to frame it all as a positive, responsible family activity—not something to be afraid of. Your goal is to empower them, not give them anxiety.
Turn preparedness into a family project. Let your kids help pick out their favorite snacks for their personal go-bags or choose a special flashlight that’s “theirs.”
You can also make drills feel like a game. Try having a “power-outage campout” in the living room with flashlights and sleeping bags. Or, see who can get to your family’s designated meeting spot the fastest. When you involve them in a fun, age-appropriate way, you’re not just checking a box; you’re building their confidence and making preparedness a normal part of your family’s routine.

