
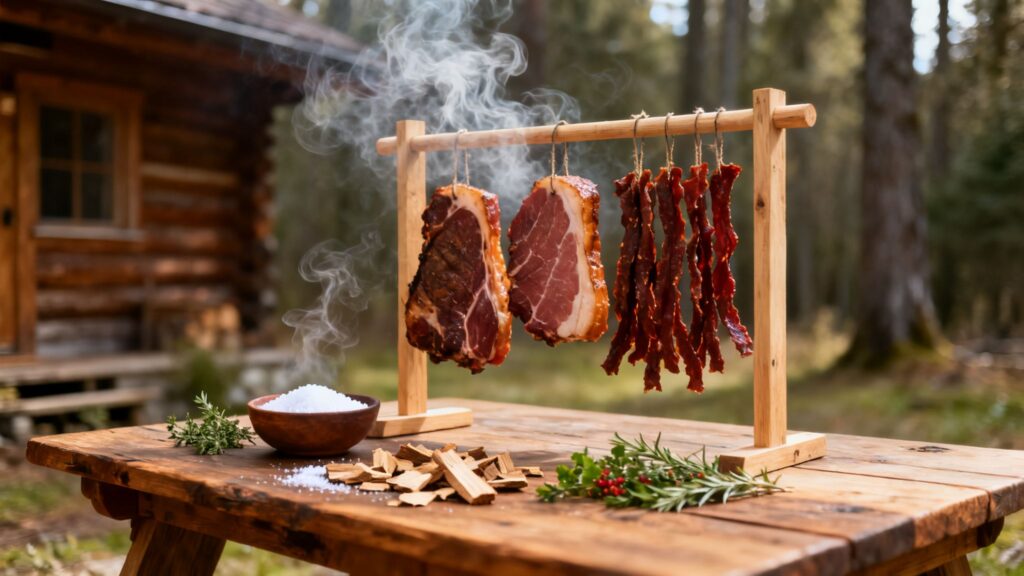
Properly smoking meat for preservation isn’t just about flavor—it’s a calculated process combining curing, drying, and low-temperature smoke. This trifecta works together to strip moisture from the meat and build an antimicrobial barrier, making it shelf-stable without needing a fridge. It’s an old-school technique that turns perishable protein into a food supply you can count on.
Why Smoking Is a Core Survival Skill
For anyone serious about self-reliance, mastering how to smoke meat for preservation is non-negotiable. This isn’t your weekend barbecue. We’re shifting from a hobby centered on taste to a critical method for creating shelf-stable protein. Long before refrigerators were even a thought, this was how people survived harsh winters and lean times.
This ancient practice is a powerful blend of science and tradition. It all comes down to three core principles that create an environment where spoilage bacteria simply can’t survive.
- Curing: This is the first—and most critical—step. Applying salt, often with specific curing agents, pulls moisture out of the meat’s cells through osmosis. Less water means nowhere for bacteria to multiply.
- Drying: The process of removing moisture is a constant theme here, and it continues during smoking. The low, consistent heat gently reduces the meat’s water content to a level that halts bacterial growth in its tracks.
- Smoking: The smoke itself does more than just add that classic flavor. Wood smoke is packed with natural antimicrobial and antioxidant compounds, like phenols, which settle on the meat’s surface. This forms a protective shield, slowing down spoilage and preventing the fats from going rancid.
The Preservation Mindset
You have to understand the “why” behind each step to do this safely. Unlike hot-smoking a brisket for dinner, preservation smoking is a deliberate, multi-day process where precision is far more important than taste. It’s one of the oldest food preservation methods, dating back to when our ancestors first tamed fire. By medieval Europe, it had become a sophisticated art essential for survival.
Historical records show that properly smoked and salted meats could last 2-6 months without refrigeration. That’s a world away from the few days you get with fresh meat.
The goal isn’t just to cook the meat. It’s to fundamentally change its composition, making it safe to store for months in a pantry or bug-out location. This is a true survival skill that transforms a successful hunt or a good harvest into a resilient food supply. For those looking to expand their preservation knowledge, our guide on preserving meat without refrigeration offers practical techniques to extend shelf life using natural methods.
A Foundational Preparedness Technique
For the modern prepper, this knowledge is priceless. In a grid-down scenario or during a major supply chain collapse, being able to preserve a large amount of protein is a game-changer. It means nothing goes to waste and you have a dense source of calories when other options are off the table.
Learning this skill now builds real confidence. It’s a practical, hands-on way to secure your family’s food supply. You can explore other vital skills in our guide to the top survival skills you must master.
The Critical Role of Curing Meat
Before a single wisp of smoke ever touches your meat, the single most vital step has to happen: curing. This is the absolute, non-negotiable foundation of creating shelf-stable meat. Skipping or rushing this part turns preservation into a dangerous gamble. Smoke alone is simply not enough to stop the deadliest bacteria in its tracks.
Curing is the age-old science of applying salt—and sometimes specific curing agents—to draw moisture out from the meat’s cells. This process of dehydration creates an environment where the microorganisms that cause spoilage just can’t survive. Think of it as building a fortress at the cellular level. Without water, nasty bacteria like Clostridium botulinum (the cause of botulism) cannot multiply.
There are two main ways to get this done: dry curing and wet brining. Each has its place, depending on the cut of meat and what you’re trying to accomplish.
Dry Curing vs. Wet Brining
Dry curing is exactly what it sounds like: you rub a mixture of salt and cure directly onto the meat’s surface. This is the traditional method for thinner cuts like bacon or jerky and for long-haul projects like country hams, where you want a dense, firm texture. The cure works its way into the meat slowly, over days or even weeks.
Wet brining, on the other hand, involves submerging the meat in a saltwater solution (a brine) that contains the curing salts. This method is often faster and works beautifully for thicker cuts like a pork loin or a whole turkey, as the brine ensures the cure gets distributed evenly.
For anyone just starting out, I always recommend wet brining. It’s generally more forgiving. It helps keep the meat moist and cuts down the risk of “case hardening”—a frustrating issue where the outside of the meat dries too fast, forming a crust that blocks the cure from reaching the center.
Understanding Curing Salts
When you’re smoking meat specifically for preservation, you’ll run into specialized salts. These are not your average table salt, and they are absolutely crucial for safety. They contain sodium nitrite and/or sodium nitrate, powerful compounds that inhibit bacterial growth, especially the botulism-causing bacteria that just love the low-oxygen environment created during smoking.
The two you’ll see most often are sold as Prague Powder.
- Prague Powder #1 (also called pink curing salt #1) is 6.25% sodium nitrite and 93.75% regular salt. It’s designed for meats that will be cooked after curing, like bacon, ham, and sausages. That characteristic pinkish color and tangy flavor in cured meats? That’s the nitrite at work.
- Prague Powder #2 contains both sodium nitrite and sodium nitrate. The nitrate is a time-release agent, slowly converting to nitrite over a long period. This makes it essential for meats that are dry-cured for months and aren’t cooked, like a true prosciutto or salami.
For the kind of preservation smoking we’re focused on here, you will almost always be reaching for Prague Powder #1. It is the go-to for making things like jerky, smoked fish, and bacon that are meant to be hot-smoked or cooked later.
Here’s a quick cheat sheet to keep them straight.
Curing Salt Quick Reference Guide
This table outlines the appropriate use of Prague Powder #1 and #2 for different meat preservation projects, ensuring safety and effectiveness.
| Curing Salt Type | Primary Use Case | Contains | Safety Note |
|---|---|---|---|
| Prague Powder #1 | Short-term cures; meats that will be cooked (bacon, ham, jerky, smoked sausage). | Sodium Nitrite & Salt | Do NOT use for long-term dry curing (e.g., salami). |
| Prague Powder #2 | Long-term dry cures; meats that are not cooked (prosciutto, salami, pepperoni). | Sodium Nitrite, Sodium Nitrate, & Salt | Never use for items that will be cooked at high heat, like bacon. |
Remembering the difference is key: #1 is for quick cures and cooking, #2 is for long, slow, dry-cured projects.
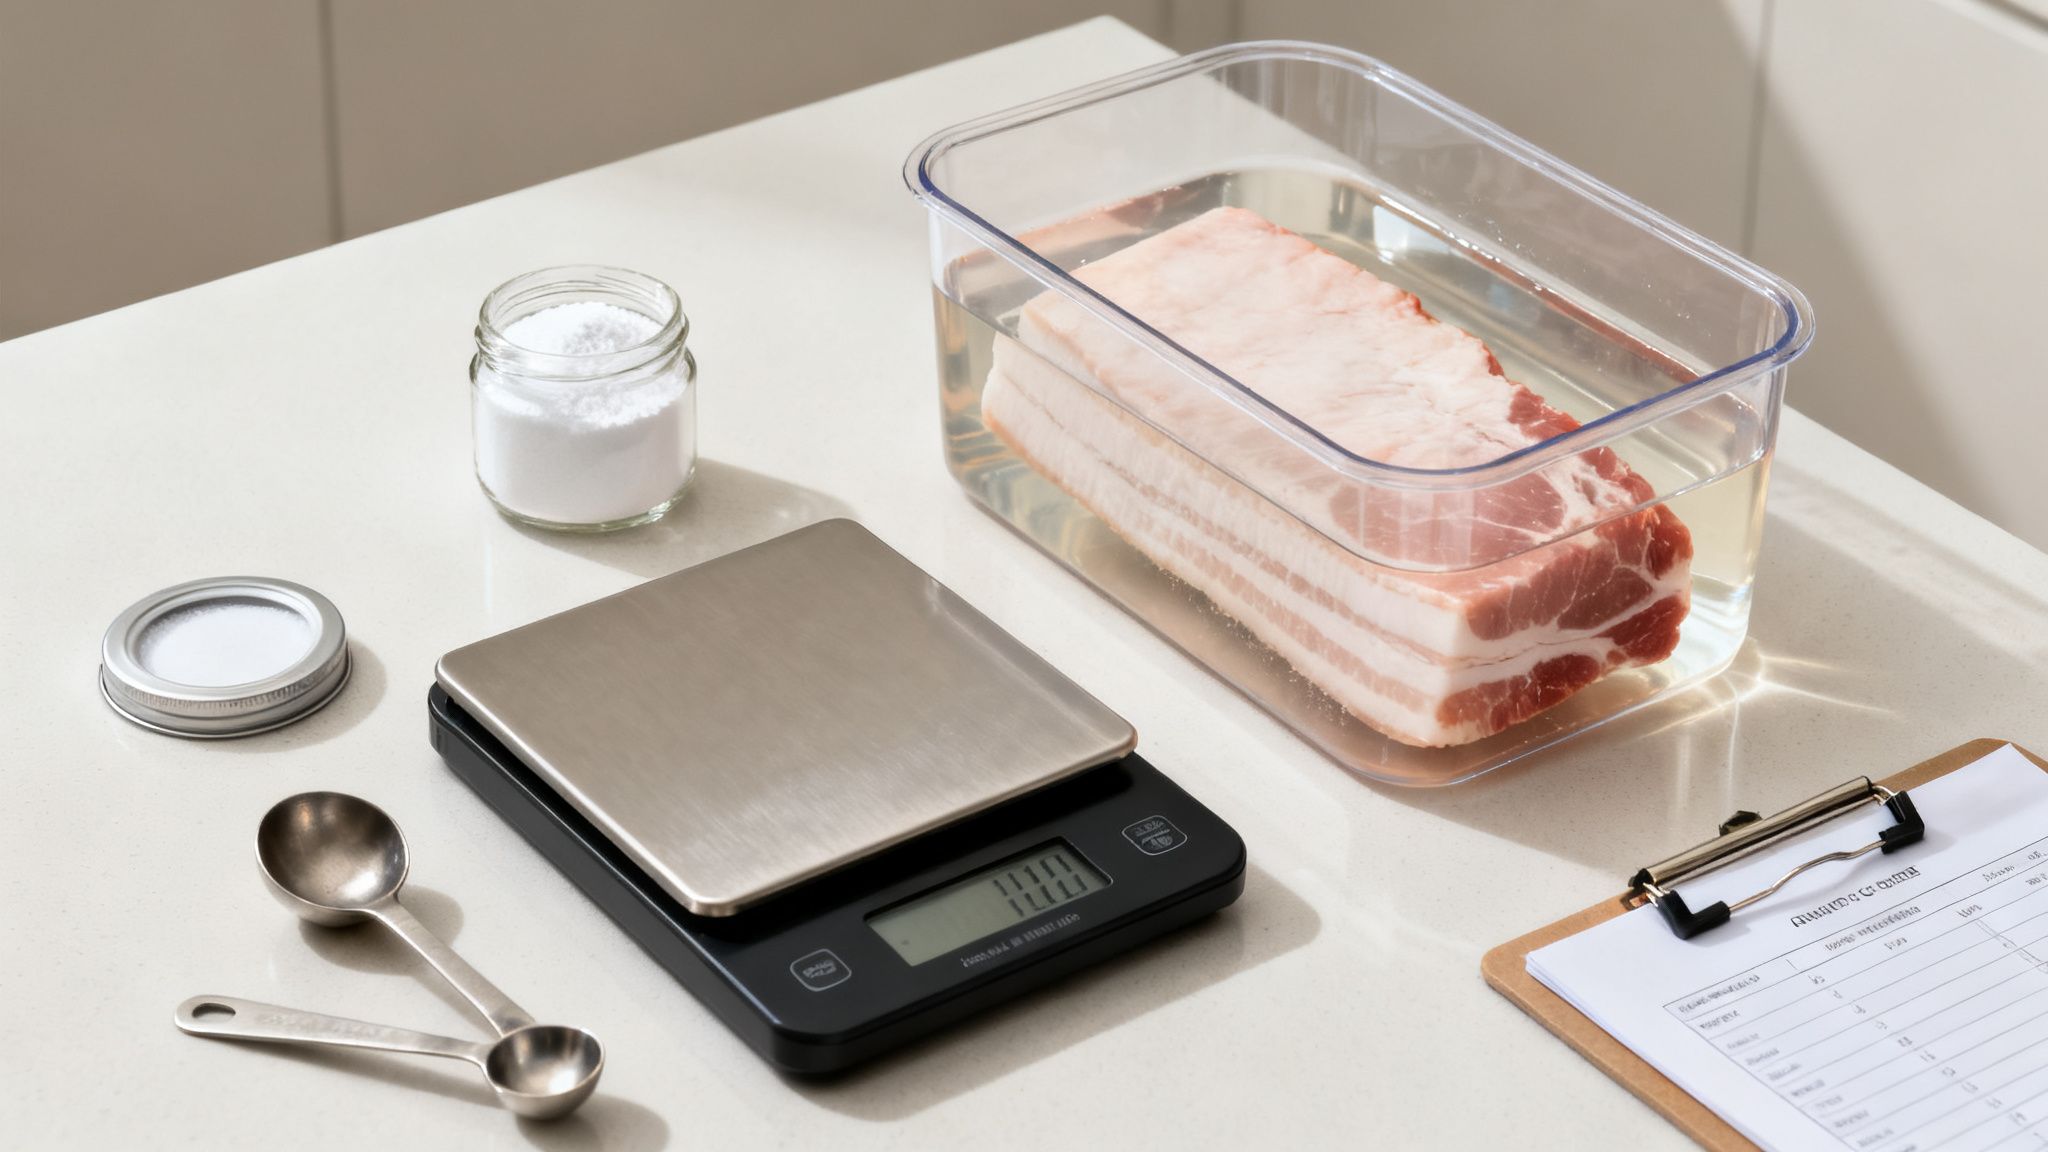
Calculating Your Cure
When it comes to curing salts, precision is everything. This is not the time to eyeball it. Too little, and you risk dangerous spoilage. Too much, and the meat becomes inedible and potentially toxic. Always, always use a reliable digital kitchen scale, like a model from Escali, for your measurements. Never trust volume measurements like teaspoons or tablespoons for curing salts.
The industry-standard, safe formula for Prague Powder #1 is 1 level teaspoon for every 5 pounds of meat.
For a dry cure, you’ll mix this precise amount with your kosher salt and other seasonings before rubbing it on. For a wet brine, you’ll dissolve it completely in your water and salt solution.
Let’s walk through a real-world scenario. Say you have a 10-pound pork belly you want to turn into bacon.
- You would need exactly 2 level teaspoons of Prague Powder #1.
- You’d mix this with your other dry ingredients—maybe a cup of kosher salt and a half-cup of brown sugar—and rub it evenly over every inch of the pork belly.
- Then, you’d seal it up and let it cure in the fridge for about 7-10 days, flipping it daily to ensure the cure penetrates fully.
This process is a game-changer at the molecular level. The salt, the cure, and the eventual smoke create multiple hurdles that bacteria simply can’t overcome. Once you reduce the meat’s moisture below 40%, you effectively halt dangerous pathogens, which is why this method has been trusted for centuries.
Learning to cure meat properly is a foundational skill, and it’s just one of many time-tested techniques you can use. If you’re building out your self-reliance skills, check out our guide on how to preserve food without electricity.
Choosing Your Smoking Method
Once your meat is properly cured, you’ve reached a fork in the road. You need to decide on your smoking method, and for preservation, that means choosing between hot smoking and cold smoking. These aren’t just two ways to do the same thing; they are fundamentally different processes with completely different outcomes. Getting this right is the key to creating a safe, shelf-stable product.
Hot smoking is probably what comes to mind when you think of classic barbecue. It’s a technique that cooks and flavors the meat at the same time. For preservation, you’ll keep the smoker’s temperature between 140-180°F. This is warm enough to fully cook the meat, using heat to kill off bacteria while the smoke works its magic on flavor and preservation.
Cold smoking, on the other hand, is a pure preservation art form that doesn’t cook the meat at all. The entire point is to bathe the meat in preservative smoke for a long, long time—sometimes for days—without ever letting its internal temperature get too high. To pull this off safely, the temperature inside your smoke chamber absolutely must stay below 85-90°F.
Hot Smoking: The Cook-and-Preserve Method
Hot smoking is your go-to for foods you want to be ready-to-eat right out of the smoker, like jerky, smoked fish, or certain types of sausage. The fact that you’re cooking and smoking simultaneously makes it a more forgiving process, especially for beginners. The heat gives you an extra layer of safety, pushing the meat through the temperature “danger zone” quickly.
A standard backyard smoker, like a Weber Smokey Mountain, is built for this. These units are designed to hold those steady, low-and-slow temperatures for hours on end, which is exactly what you need. Keep in mind that because the meat is cooked and still contains moisture, its unrefrigerated shelf life is limited—think a few days, not months—unless you also dehydrate it completely, like with jerky.
For a real-deal survival food, hot-smoked jerky is tough to beat. The meat is cooked through for safety and then slowly dried by the gentle heat and circulating air. What you’re left with is a lightweight, nutrient-packed food that can last for weeks if you store it correctly.
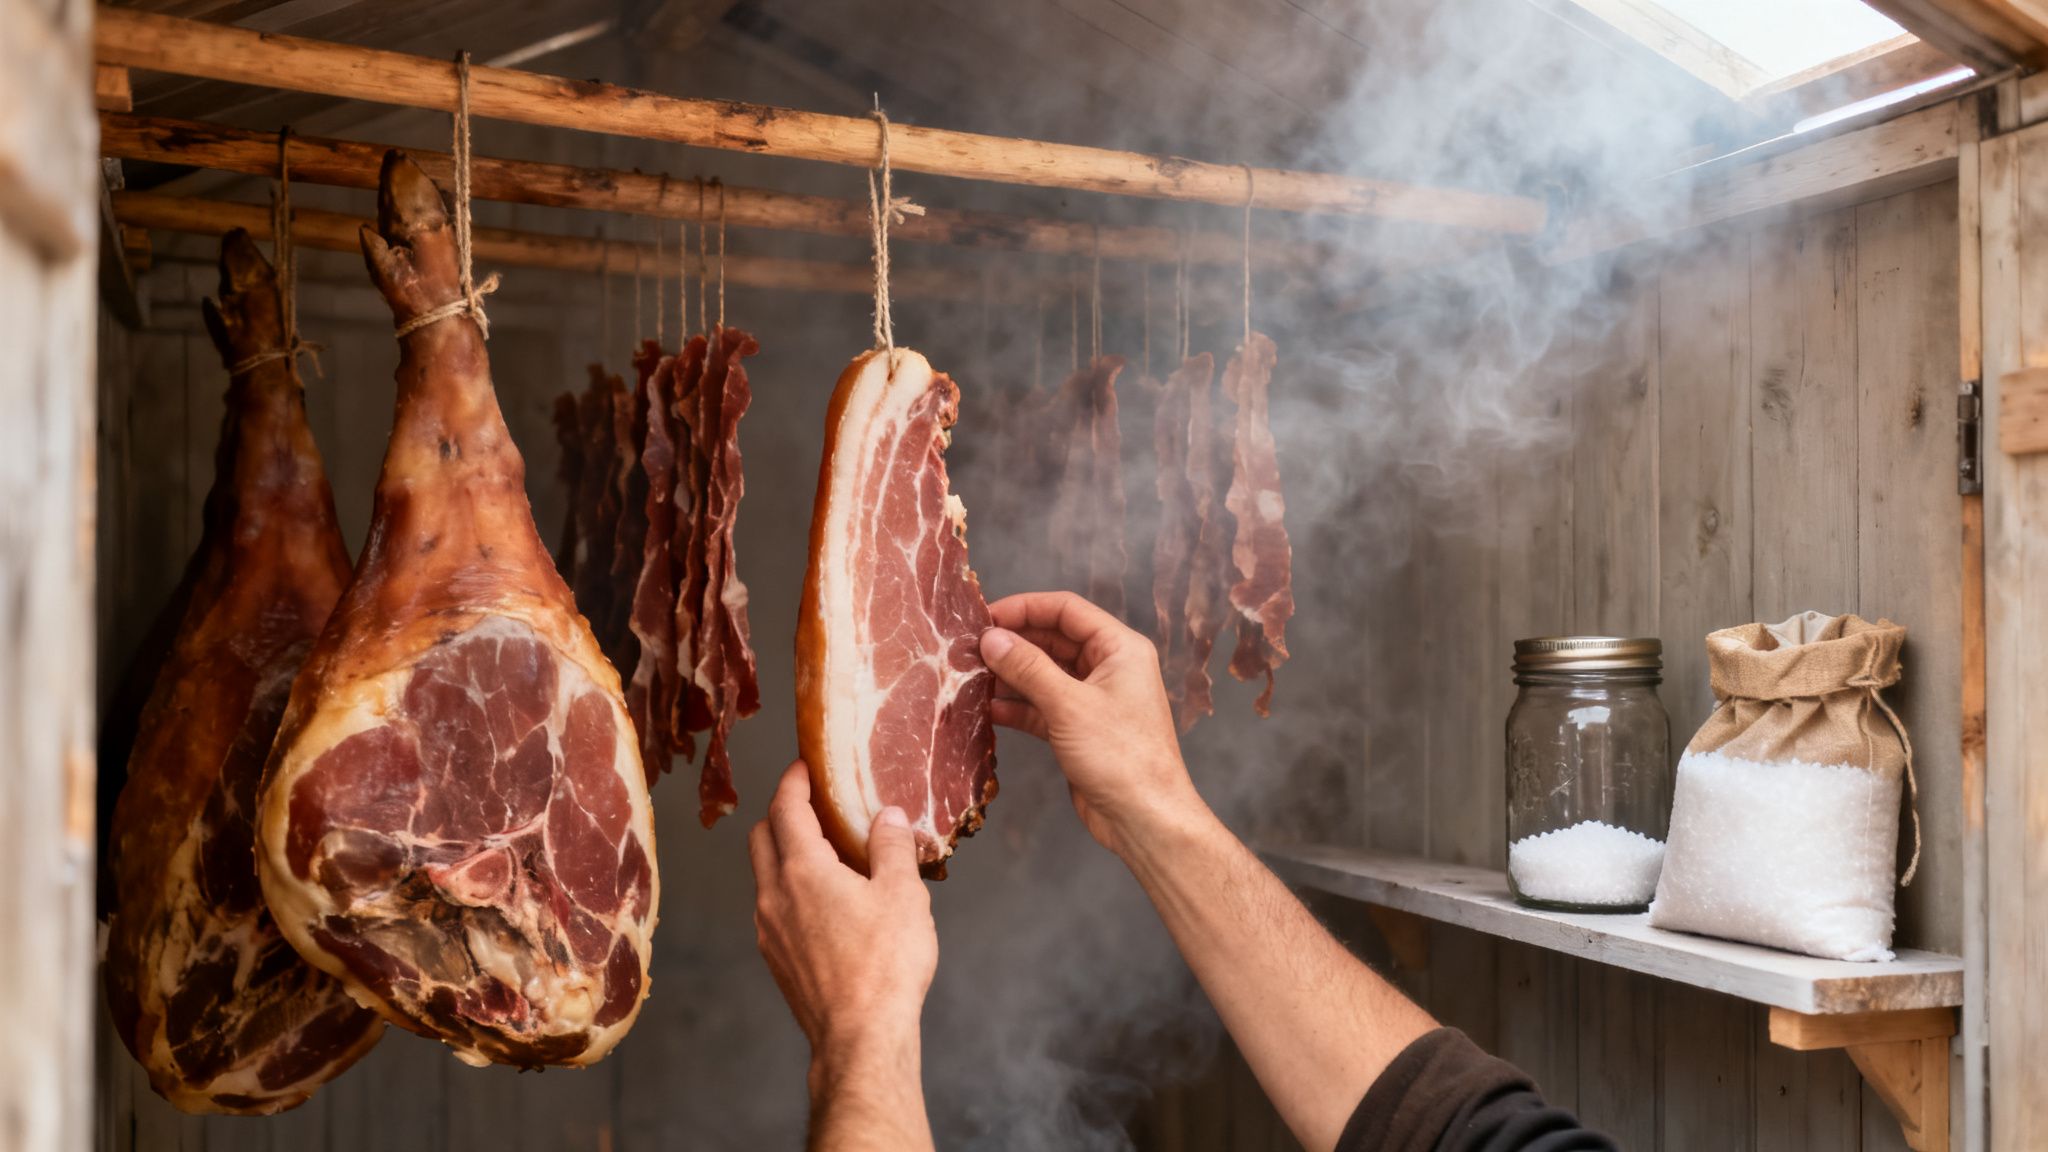
Cold Smoking: The True Preservation Art
This is the old-world method for creating foods meant to last, like traditional country hams, bacon, and lox. These are items that you will cook or process later, after the smoking is done. By keeping the temperature incredibly low, you allow the smoke’s preservative compounds to slowly work their way deep into the meat without changing its raw texture.
And this is where a proper cure isn’t just a good idea—it’s non-negotiable. Because the meat will sit in the temperature danger zone for hours or even days, those curing salts are the only thing standing between you and deadly bacteria like Clostridium botulinum. You simply cannot cold smoke uncured meat. Ever.
The Critical Role of Curing in Cold Smoking
Achieving these frigid smoke temperatures means you have to get your heat source away from your food chamber. This often takes some specialized gear or a bit of ingenuity.
- Smoke Generators: Simple devices like an A-MAZE-N smoke tube or maze that you fill with pellets or sawdust. They smolder for hours, producing tons of cool, clean smoke with very little heat output.
- Offset Smokers: A classic design where the fire is in a separate box attached to the side. The smoke travels from the firebox into the main chamber, cooling down enough for true cold smoking.
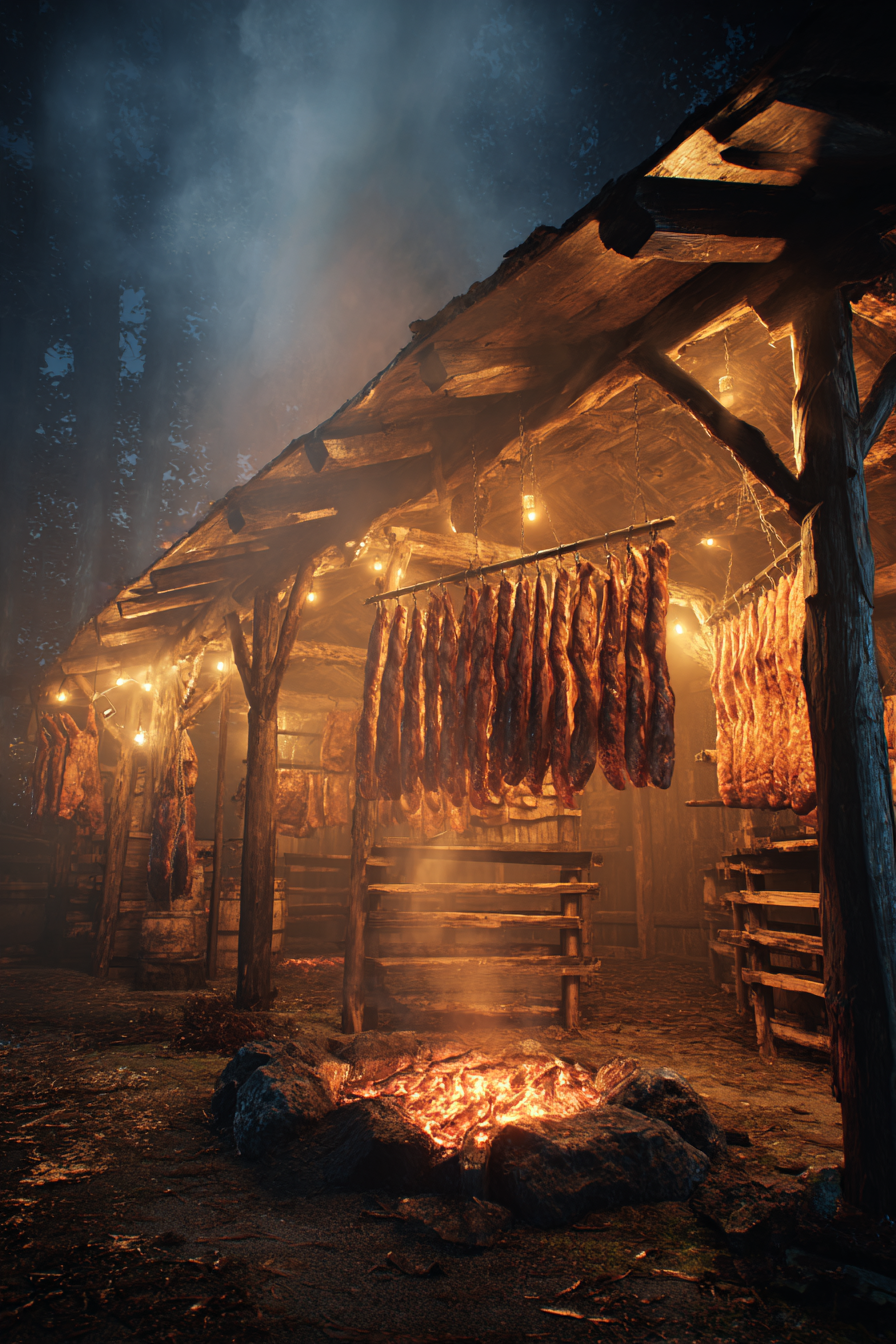
- DIY Smokehouses: Many preppers build their own. A common setup involves a small, smoldering fire pit located several feet away from a shed or box, with a pipe running underground to deliver smoke that has had plenty of time to cool.
Ultimately, your choice between hot and cold smoking comes down to your end goal. Are you making something to eat soon, or are you preserving an ingredient for the long haul? If you’re just getting started with off-grid cooking, you might also find our guide on different types of portable cooking equipment useful, as many setups can be adapted for smoking. Mastering both methods will give you the flexibility to preserve any protein source that comes your way.
Mastering Smoke and Temperature Control
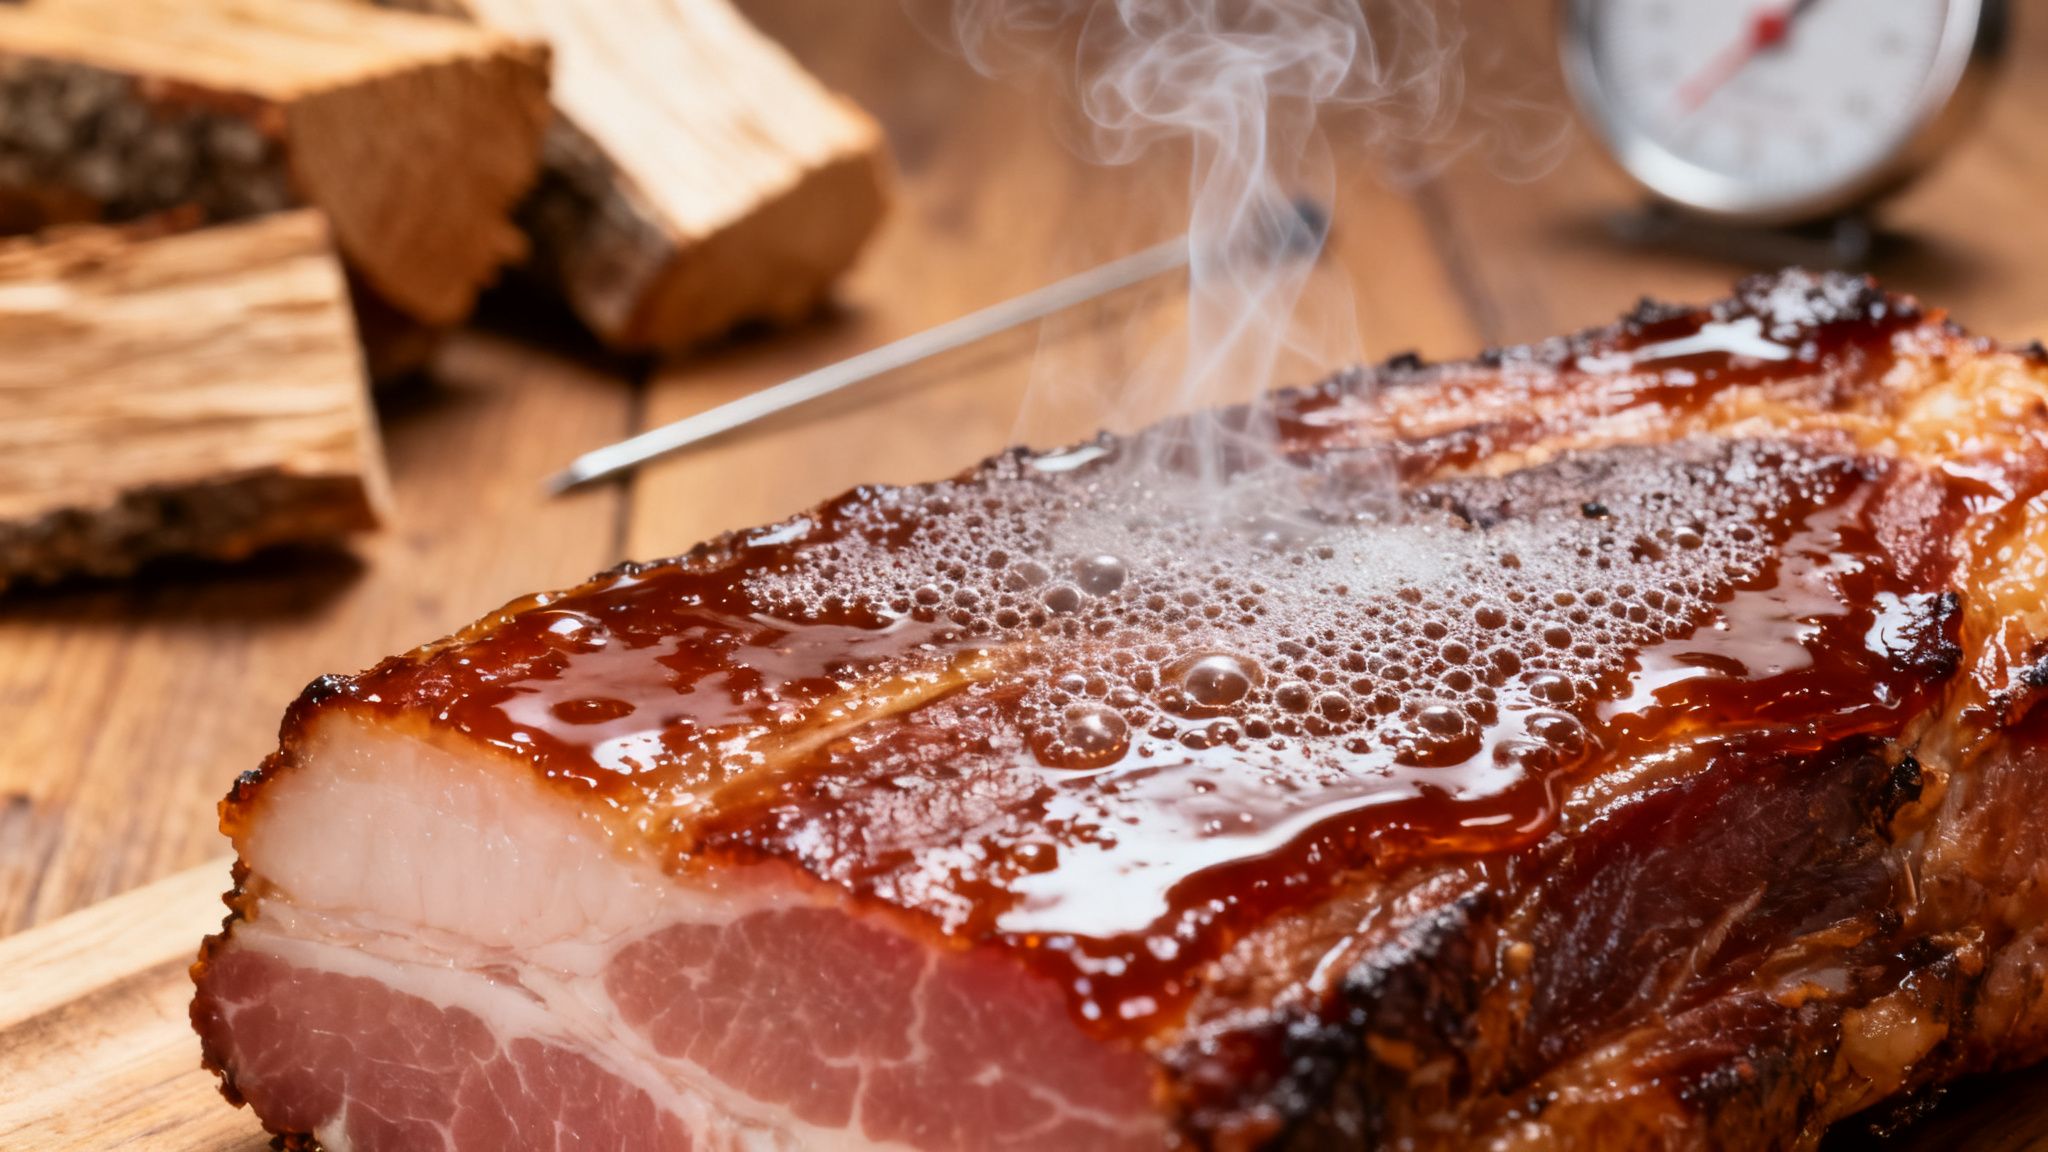
Once your meat is properly cured, the real work begins. This is where the art of smoking truly comes into play, a delicate dance between smoke quality and temperature stability. Get this right, and you’ll transform a simple piece of cured meat into a long-lasting, flavorful source of protein.
The smoke itself is a powerful preservative. As hardwood smolders, it releases a cocktail of compounds like phenols and organic acids. These compounds settle on the meat’s surface, creating a natural antimicrobial shield that actively fights off spoilage.
But you can’t just use any smoke. What you’re after is a steady stream of clean, “blue” smoke—the kind that’s so thin it’s almost invisible. If you see thick, white, billowing clouds, that’s a red flag for incomplete combustion. That acrid smoke will leave your meat tasting bitter and sooty, completely ruining your preservation efforts.
A well-formed pellicle ensures the smoke is absorbed evenly, creating the protective, flavorful barrier essential for long-term storage—learn more about this process in our article on meat preservation without refrigeration.
Developing the Pellicle
Before any smoke touches the meat, there’s a critical step you can’t skip: forming the pellicle. After curing and rinsing, let the meat air-dry in a cool, well-ventilated spot. You’re waiting for the surface to become tacky and slightly sticky to the touch, which can take anywhere from a few hours to a full day.
This tacky layer is the pellicle, and it’s the key to everything that follows. It acts like a perfectly primed canvas, giving the smoke’s preservative compounds something to grab onto. A well-formed pellicle ensures the smoke is absorbed evenly, creating the protective, flavorful barrier essential for long-term storage.
Think of the pellicle as the glue that holds the preservation process together. Skipping this step means the smoke won’t stick effectively, resulting in a splotchy, unevenly preserved product that is more susceptible to spoilage.
Choosing Your Wood for Preservation
The type of hardwood you choose directly shapes both the flavor and the preservative power of your final product. First rule: never use softwoods like pine or cedar. They’re full of resins that create a foul taste and can even be harmful. Stick to dense, clean-burning hardwoods.
Here’s a quick guide to some of the most popular hardwoods used for smoking and preservation. Each one brings its own unique character to the meat.
Hardwood Selection for Smoking and Preservation
| Wood Type | Flavor Profile | Best For Preserving | Notes |
|---|---|---|---|
| Hickory | Strong, bacon-like, savory | Pork (bacon, ham), Beef | The all-American classic. Can be overpowering if used too heavily. |
| Oak | Medium, smoky, not overwhelming | Beef, Pork, Lamb | A reliable, all-purpose wood. Great for beginners. |
| Apple | Mild, sweet, fruity | Poultry, Fish, Pork | A fantastic choice for lighter meats where you don’t want to dominate the flavor. |
| Cherry | Mild, sweet, slightly tart | Poultry, Pork, Beef | Similar to apple but gives the meat a beautiful dark color. |
| Mesquite | Intense, earthy, very strong | Beef (brisket) | Use with caution. Its powerful flavor can easily become bitter. Best mixed with milder woods. |
Your choice of wood should complement the meat, not overwhelm it. The size matters, too. Wood chips burn up way too fast for the long haul. For preservation, you need the slow, consistent smolder you get from wood chunks or small logs.
Maintaining that steady smoke is crucial. If you find yourself in a grid-down scenario, getting that fire started and stabilized is priority one, which is why knowing the best firestarter for survival is a skill every prepper should have.
Fire Management and Airflow
Controlling your smoker’s temperature is all about managing your fuel and airflow. Whether you’re hot or cold smoking, consistency is the name of the game. You’re aiming for low, stable temperatures, not wild spikes and dips.
Mastering this comes down to controlling the oxygen that feeds the fire.
- Start small. Build a small, hot coal bed first. Don’t start with a raging fire that you have to fight to cool down.
- Feed it gradually. Add a new chunk of wood before the old one is completely gone to keep the smoke production steady.
- Use your vents. The intake vent is your gas pedal; it controls how much oxygen gets to the fire and dictates the temperature. The exhaust vent lets smoke and heat escape. A good starting point is to keep the exhaust mostly open and make small adjustments with the intake.
Learning to read your smoker and adapt to the weather takes practice. You’ll get a feel for it over time, making tiny tweaks to keep that temperature locked in. This patient control is what turns a perishable cut of meat into a secure food source you can count on.
Proper Storage for Long-Term Shelf Life
Your work isn’t finished once the smoker goes out. How you handle the meat after smoking is the final, critical phase. This is what determines whether your efforts yield food that lasts for weeks, months, or even longer.
After smoking, the meat needs to cool completely and then rest, or “bloom.” This step is crucial, often lasting from a few hours to a full day in a cool, dry, and well-ventilated spot. It allows the smoky flavor to mellow out and distribute evenly, preventing any harsh or bitter notes from dominating.
More importantly, this rest period ensures the surface is perfectly dry to the touch before you even think about wrapping it up. Packaging meat while it’s still warm or the slightest bit damp is a recipe for disaster—you’re just trapping condensation and creating a perfect breeding ground for mold.
While old-timers hung meat in a cool, dark cellar, modern tools give us far better protection—our guide on preserving meat without refrigeration provides additional insights into traditional and contemporary methods.
Confirming Shelf Stability
Before you stash it away, you need to be certain your meat is actually preserved. The single most reliable indicator is weight loss. For truly shelf-stable products like jerky or biltong, the entire goal is to remove enough water to make bacterial growth impossible.
When making jerky, aim for a 35-50% weight loss from the original raw weight. In contrast, for larger, whole-muscle cures such as country ham, a final weight loss of 18-20% after months of curing and drying is a common benchmark. Using a digital scale to track this isn’t just for cooking—it’s a non-negotiable safety check.
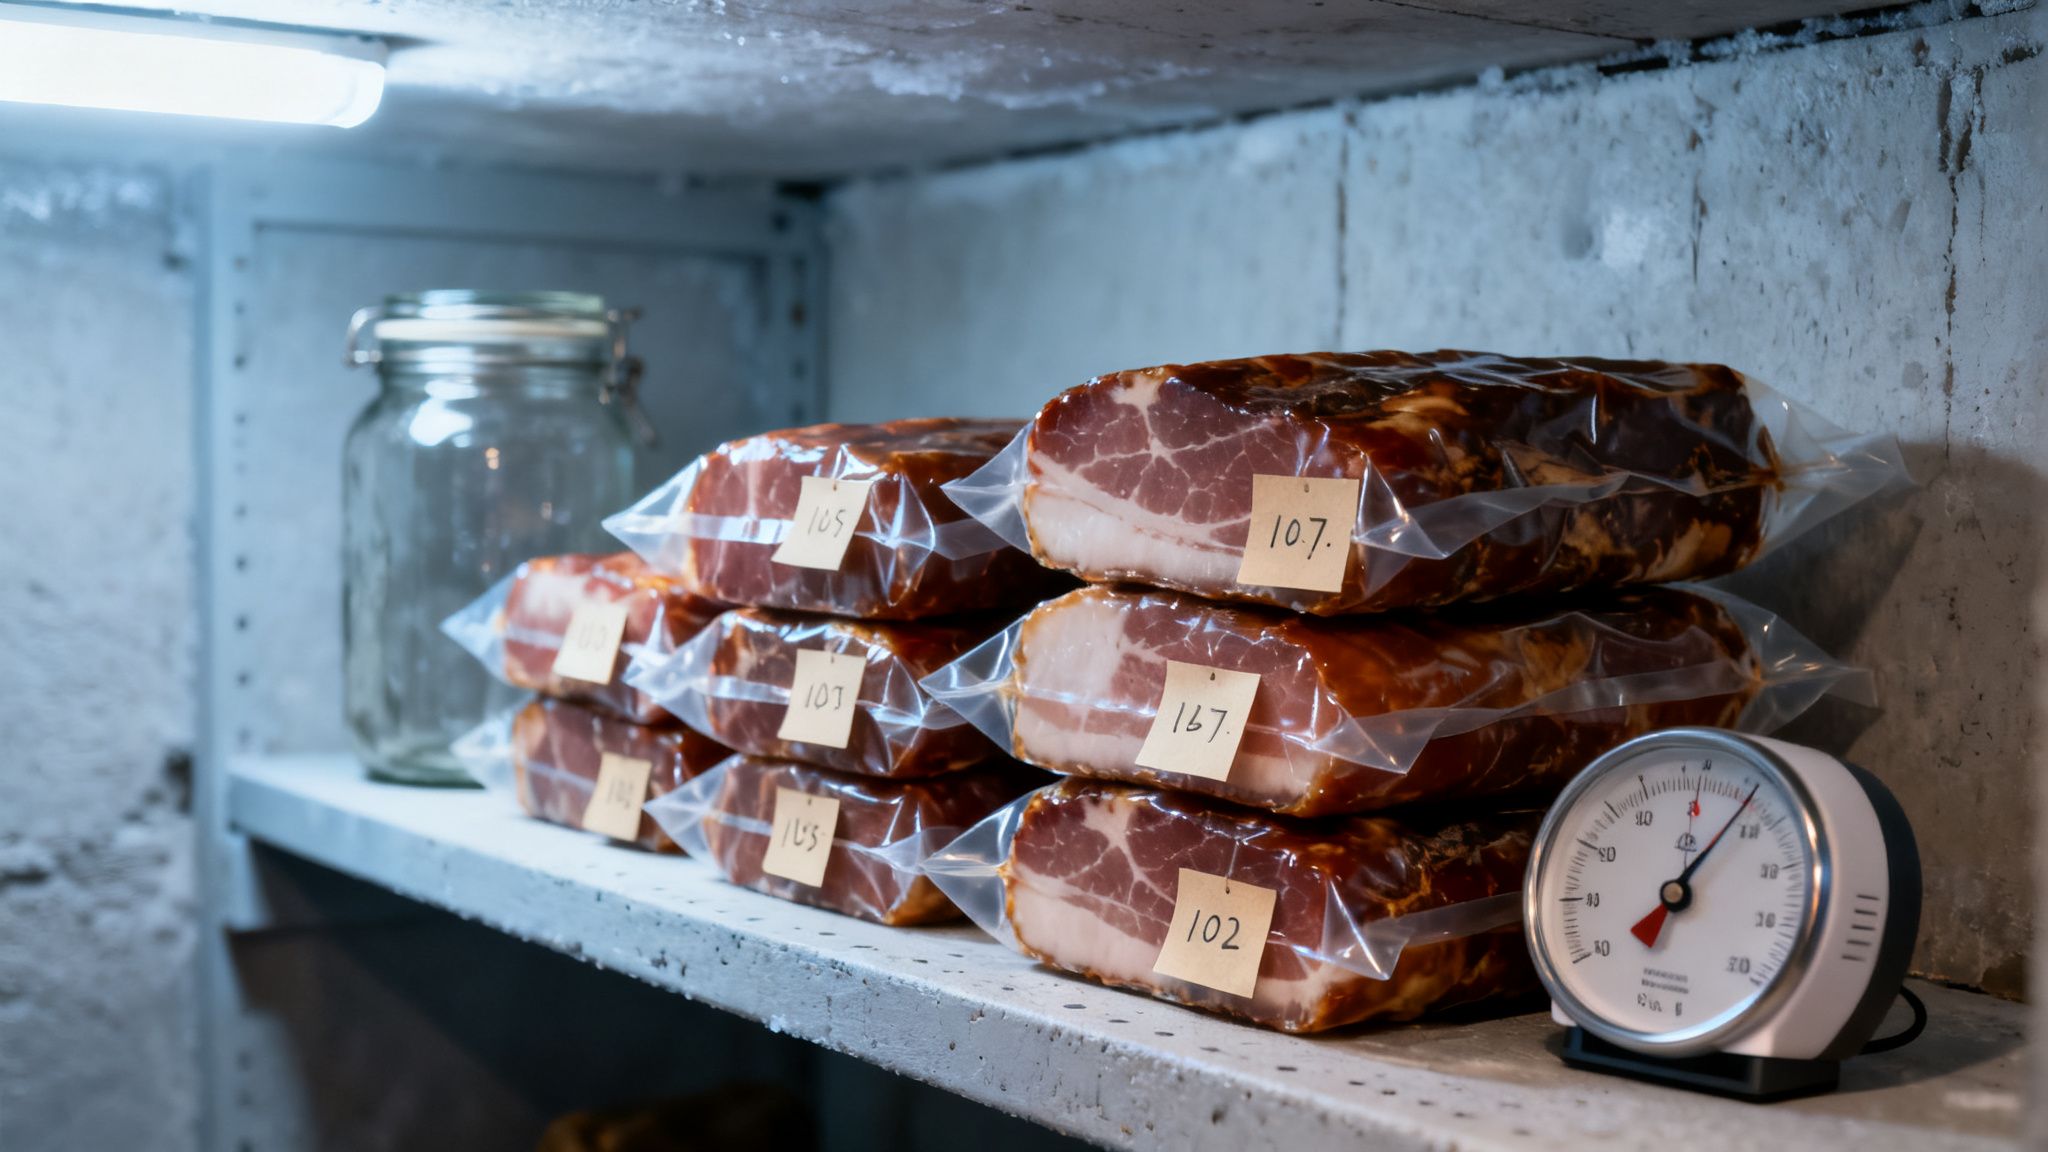
Packaging for Maximum Longevity
Oxygen, light, and moisture are the enemies of preserved meat. Your storage method has to protect your hard work from all three. While old-timers hung meat in a cool, dark cellar, modern tools give us far better protection.
Vacuum sealing is, without a doubt, the gold standard for long-term storage of smoked meats. By yanking nearly all the oxygen out of the package, you shut down the two main culprits of spoilage:
- Oxidation: This is what turns fats rancid, creating nasty off-flavors and smells.
- Aerobic Bacteria: These microorganisms need oxygen to survive and multiply.
Using a quality vacuum sealer, like one from FoodSaver, creates an airtight barrier that also protects the meat from moisture and freezer burn if you decide to freeze it for even longer storage. When you’re ready to dive deeper, you can find more on this technique in our guide to mastering vacuum seal food storage.
No vacuum sealer? You can get by. Wrap the meat tightly in butcher paper, then place it in a heavy-duty zip-top bag with as much air squeezed out as you can manage.
Always label your packages with the contents and the date it was packaged. This simple habit is essential for stock rotation. First-In, First-Out isn’t just a catchy phrase; it ensures you always use your oldest stores first.
Realistic Shelf-Life Expectations
How long your smoked meat lasts depends entirely on the method you used and its final moisture content. You have to be realistic.
- Hot-Smoked Items (Higher Moisture): Think smoked sausage or fish. It’s cooked but not fully dehydrated. This belongs in the refrigerator and should be eaten within a week or two.
- Fully Dehydrated Jerky: When properly dried until brittle and stored in a vacuum-sealed bag in a cool, dark place, jerky can safely last for 6-12 months.
- Cold-Smoked, Cured Meats: Items like bacon or pancetta are preserved but not cooked. They’ll last several weeks in the fridge, or for months if you vacuum-seal and freeze them.
- Traditional Country Hams: A whole, bone-in country ham that has been cured, smoked, and aged for months can hang in a cool cellar for over a year.
How long your smoked meat lasts depends entirely on the method you used and its final moisture content—our article on how to preserve food outlines various techniques to ensure long-term safety and quality.
Troubleshooting Common Storage Issues
Even with perfect prep, things can go wrong. The most common problem you’ll face is mold.
If you spot a small amount of white, powdery mold on a large, hard-cured piece like a country ham, you can often just scrub it off with a stiff brush and some vinegar. It’s usually harmless.
However, if you see any green, black, or fuzzy mold, or if the meat feels slimy or has a rancid, sour smell, do not take chances. Your senses are your best guide. When in doubt, throw it out. Your health is worth far more than a piece of spoiled meat.
Got Questions About Smoking Meat for Preservation?
As you start down the path of smoking meat to make it last, you’re going to have questions. It’s totally normal. This craft is a blend of old-school tradition and modern food science, and nailing the details is what separates a safe, shelf-stable food supply from a dangerous mistake. Let’s tackle some of the most common questions to clear things up and get you started on the right foot.
Can I Really Skip the Curing Salts for Preservation?
This is probably the most important question you can ask, and the answer is a hard no. Not if you’re talking about true, unrefrigerated, long-term preservation.
Curing salts like Prague Powder are your non-negotiable safety net. They are specifically formulated to stop the growth of some truly nasty bacteria, especially Clostridium botulinum. This is the bug that causes botulism, and it loves the exact low-oxygen, low-temperature conditions found in a smoker.
Sure, ancient methods sometimes used incredibly heavy salting and drying alone, but we know better now. Smoking meat without a cure is just for flavor. Treat it like any other cooked meat: get it in the fridge right away and eat it within a few days. For meat you want to store on a shelf, the cure is an absolute must.
Curing salts like Prague Powder are your non-negotiable safety net—without them, even the best smoking technique may not prevent spoilage, as detailed in our guide on preserving meat without refrigeration.
What’s the Best Humidity for Storing My Smoked Meats?
Once the smoking and drying are done, how you store it is everything. For traditional, air-dried meats like a whole country ham or a slab of bacon, you need a spot that’s cool, dark, and dry with some decent airflow.
The sweet spot for relative humidity is right around 60-70%.
- Too high, and you’re just asking for mold to show up. Mold is the number one enemy of cured meats.
- Too low, and the meat dries out way too fast, turning the outside into a rock-hard shell while the inside is still too moist.
A root cellar or a cool, draft-free basement usually works perfectly. If you’re using a vacuum sealer to package things like jerky, humidity isn’t as much of a direct problem. Still, you’ll want to keep it in a cool place—ideally below 60°F—to keep the fats from going rancid over time.
Pro Tip: Grab a simple digital hygrometer. They’re cheap—the kind people use for cigar humidors or reptile tanks work great. Sticking one in your storage area gives you peace of mind that your conditions are stable. You can find plenty of good ones like the ThermoPro TP50 on Amazon.
How Do I Know if My Preserved Meat Is Still Good to Eat?
After your meat has been sitting on a shelf for months, you have to be your own quality control inspector before you even think about eating it. Your own senses are the best tools you have for spotting spoilage. Learn to trust them.
Run through this quick three-step check every single time:
- Look it over. First, give the meat a thorough visual inspection. Any spots of green, black, or fuzzy mold are an immediate deal-breaker. Now, some old-school country hams can develop a harmless, powdery white mold that you can just scrub off with vinegar, but if you’re just starting out, it’s better to be safe than sorry.
- Give it a sniff. Next, smell it. It should have a clean, smoky, and maybe slightly salty aroma. If you get any hint of a sour, rancid, or just plain “off” smell, it’s gone bad. Your nose knows what good meat smells like.
- Feel the surface. Finally, touch it. The meat should feel firm and dry. If it’s slimy, sticky, or tacky, it’s no longer safe to eat.
If the meat fails even one of these checks, don’t even think about tasting it. When in doubt, throw it out. In any survival or self-reliance situation, food safety is your top priority. Getting the cure and storage right is your first line of defense, but a careful inspection is the final, critical step.