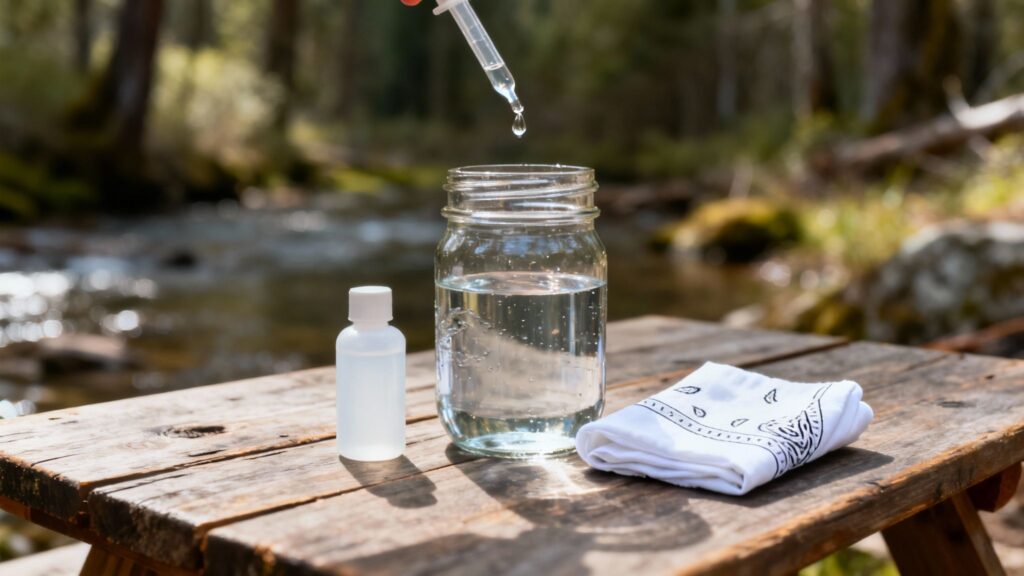
When an emergency hits, knowing how to purify water with bleach can literally be a lifesaver. It’s a proven, old-school method for killing the nasty germs that make you sick, turning questionable water sources into something safe to drink. The whole trick is using precise, tiny amounts of regular, unscented household bleach.
Why Bleach Is a Cornerstone of Emergency Water Purification
When a disaster strikes—a hurricane, an earthquake, or even just a boil water advisory from your local utility—clean drinking water is often the first thing to go. Municipal systems can get knocked offline in an instant, and whatever you’ve stored can disappear faster than you think.
For a deeper dive into the chemistry and effectiveness of this method, see our complete guide on bleach for water purification.
This is where knowing how to properly use bleach isn’t just a good idea; it’s a non-negotiable survival skill. It’s not some fringe prepper trick, either. This method is fully endorsed by major players in global health, like the Centers for Disease Control and Prevention (CDC) and the World Health Organization (WHO).
The Science Behind the Method
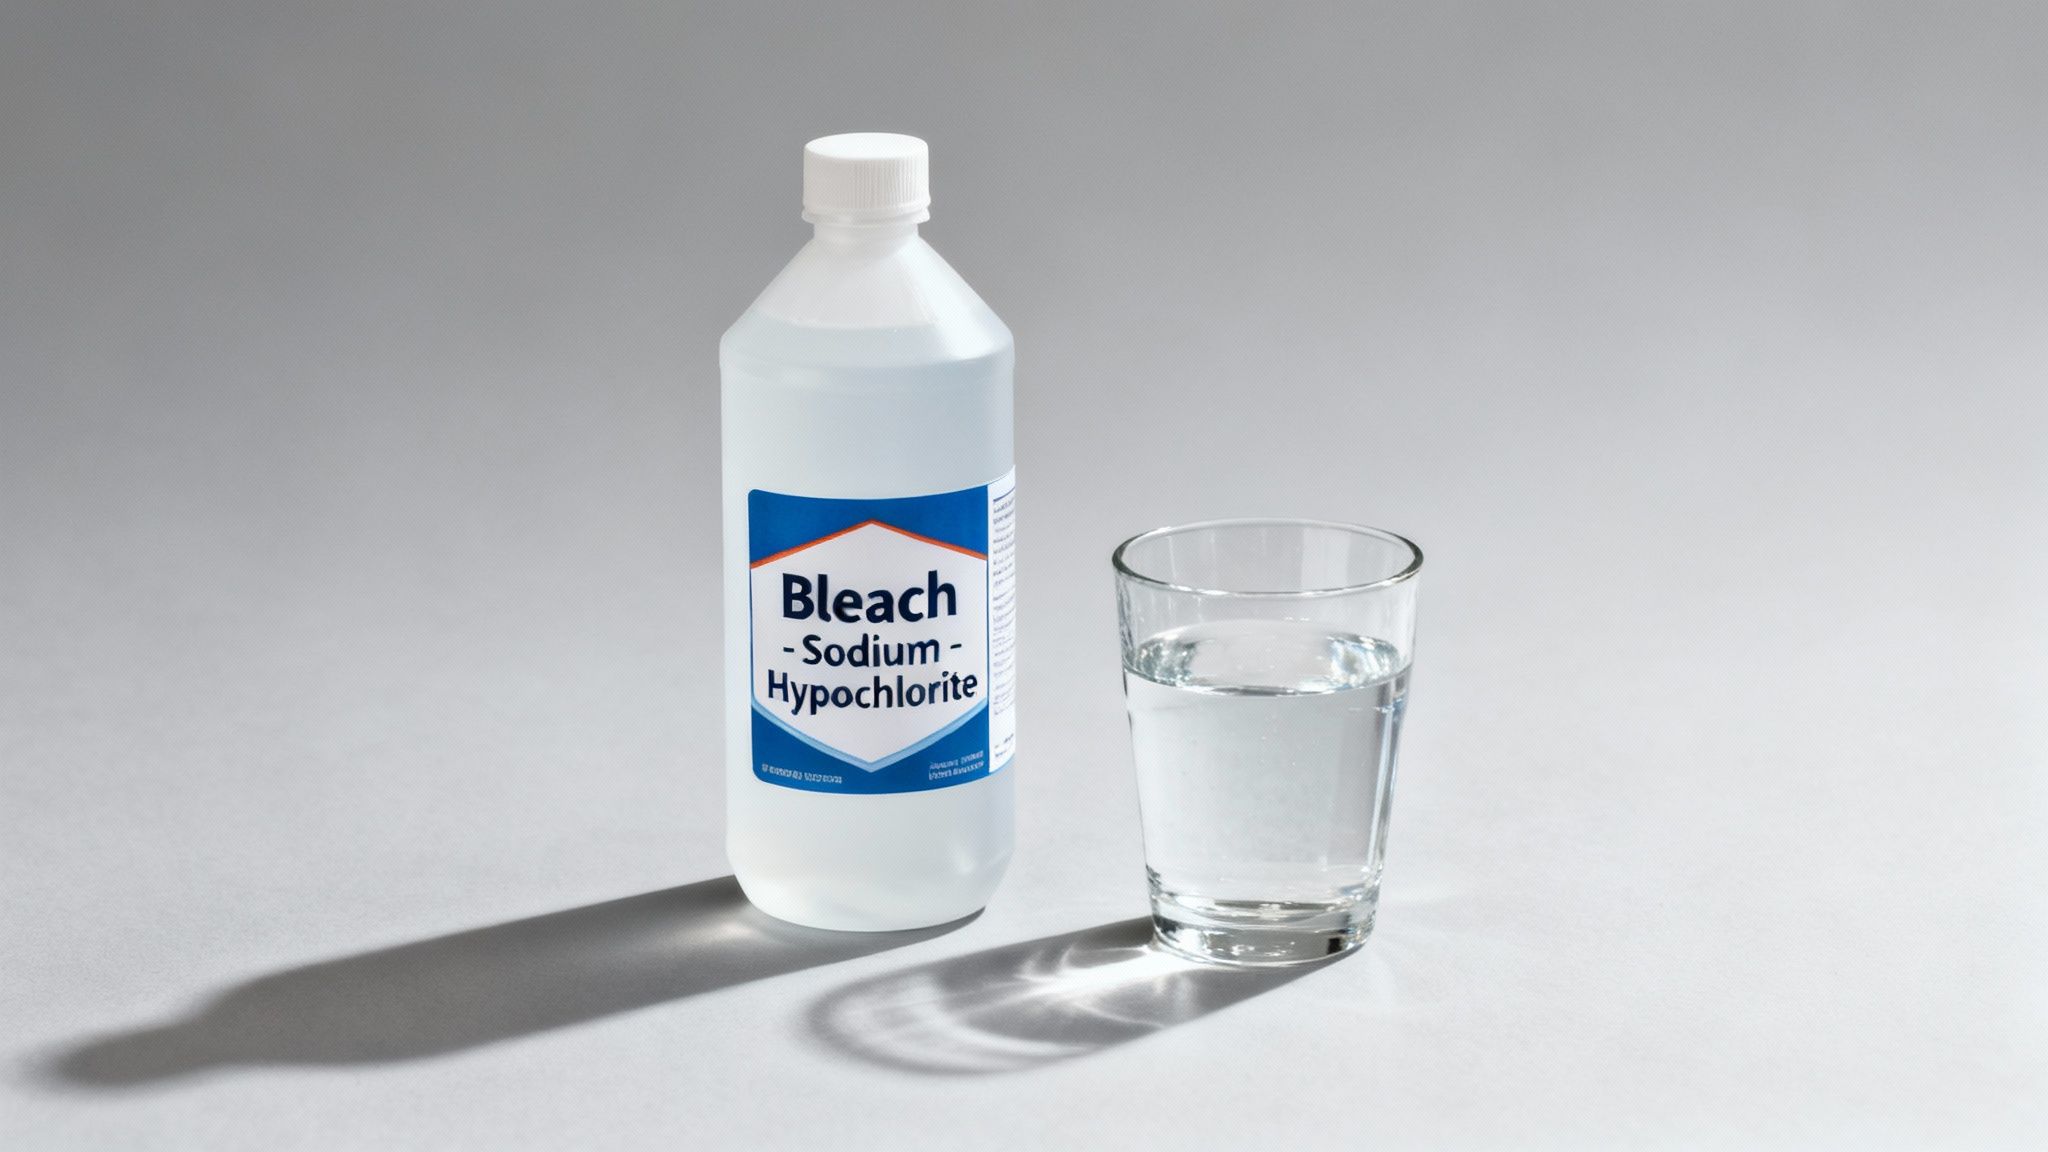
The magic in this method comes down to one active ingredient: sodium hypochlorite. When you add it to water, this chemical compound unleashes hypochlorous acid, a potent disinfectant. This acid is ruthlessly effective, tearing through the cell walls of microscopic pathogens and destroying them from the inside out.
It’s a simple but powerful chemical reaction that wipes out a whole host of dangerous microorganisms that love to hang out in untreated water. This includes:
- Bacteria: Think E. coli and Salmonella, which can cause vicious gastrointestinal illnesses.
- Viruses: Things like Norovirus and Hepatitis A, which can spread like wildfire through a contaminated water supply.
- Protozoa: Like Giardia lamblia, a nasty little parasite that causes debilitating diarrheal sickness.
By neutralizing these invisible threats, bleach helps prevent outbreaks of waterborne diseases like cholera, dysentery, and typhoid fever—all of which are massive risks in any post-disaster scenario.
A Proven Tool in Real-World Crises
Using chlorine to disinfect water isn’t some new idea; it’s been proven effective on a massive scale for over a century. Think about Hurricane Katrina back in 2005, when floodwaters contaminated everything in New Orleans. The CDC’s go-to emergency solution was bleach purification.
This method actually goes way back to World War I. The U.S. Army started using chlorine gas to treat water for the troops, and by 1918, they had slashed typhoid fever cases in military camps by 90%. Fast-forward to today, and the EPA recommends adding 8 drops of unscented household bleach (with 5.25-6% sodium hypochlorite) per gallon of water. After just 30 minutes, it kills 99.99% of bacteria, viruses, and parasites.
During the 2010 Haiti earthquake, which killed over 200,000 people and displaced 1.5 million more, UNICEF distributed bleach kits that purified water for 4 million people, drastically cutting down cholera outbreaks.
Key Takeaway: One of the biggest advantages of bleach is that it provides “residual protection.” Unlike UV purifiers or many filters, the tiny bit of chlorine left in the treated water keeps protecting it from re-contamination for up to 24 hours, as long as you keep the container sealed.
Accessibility and Cost-Effectiveness
Maybe the best thing about bleach is how cheap and easy it is to find. You can grab a bottle of regular household bleach at almost any store for just a few bucks. That one bottle has enough power to treat hundreds, if not thousands, of gallons of water, making it one of the absolute most cost-effective items you can have in your emergency preps.
This makes bleach an indispensable tool whether you’re building a bug-out bag, stocking a prepper’s pantry, or just putting together a solid home emergency plan. Sure, other tools like a Berkey Water Filter or portable options like the Sawyer Squeeze are fantastic for filtering out sediment and larger gunk, but bleach is still the gold standard for making sure viruses are dead and gone.
Understanding the power, history, and science behind this method is the first step. To see how it fits into a well-rounded approach, check out our complete guide on survivalist water purification.
Selecting the Right Bleach and Preparing Your Water Source
Getting bleach purification right starts with two critical steps: picking the correct type of bleach and making sure your water is ready for it. Messing up either step isn’t an option. Using the wrong bottle can pump dangerous chemicals into the very water you’re trying to make safe, and dirty water will stop the bleach from working effectively.
It’s true that the market for fancy water purifiers is exploding—it’s projected to jump from $45 billion in 2022 to a staggering $91.1 billion by 2030. But what happens when the power goes out? During emergencies like the 2023 Turkey-Syria earthquakes, which impacted 50 million people, all that sophisticated tech was useless. That’s where simple, reliable methods like bleach disinfection save lives. A single $2 bottle can treat up to 3,000 gallons of water, and EPA data shows chlorine wipes out 99.9% of E. coli in just one minute. This is a life-or-death difference when untreated water is linked to 829,000 deaths worldwide each year.
Decoding the Bleach Label for Safety
When you’re standing in the store aisle, you need to become a label detective. Not just any old bottle of bleach is safe for purifying water. Your health is on the line, so you have to grab the right one.
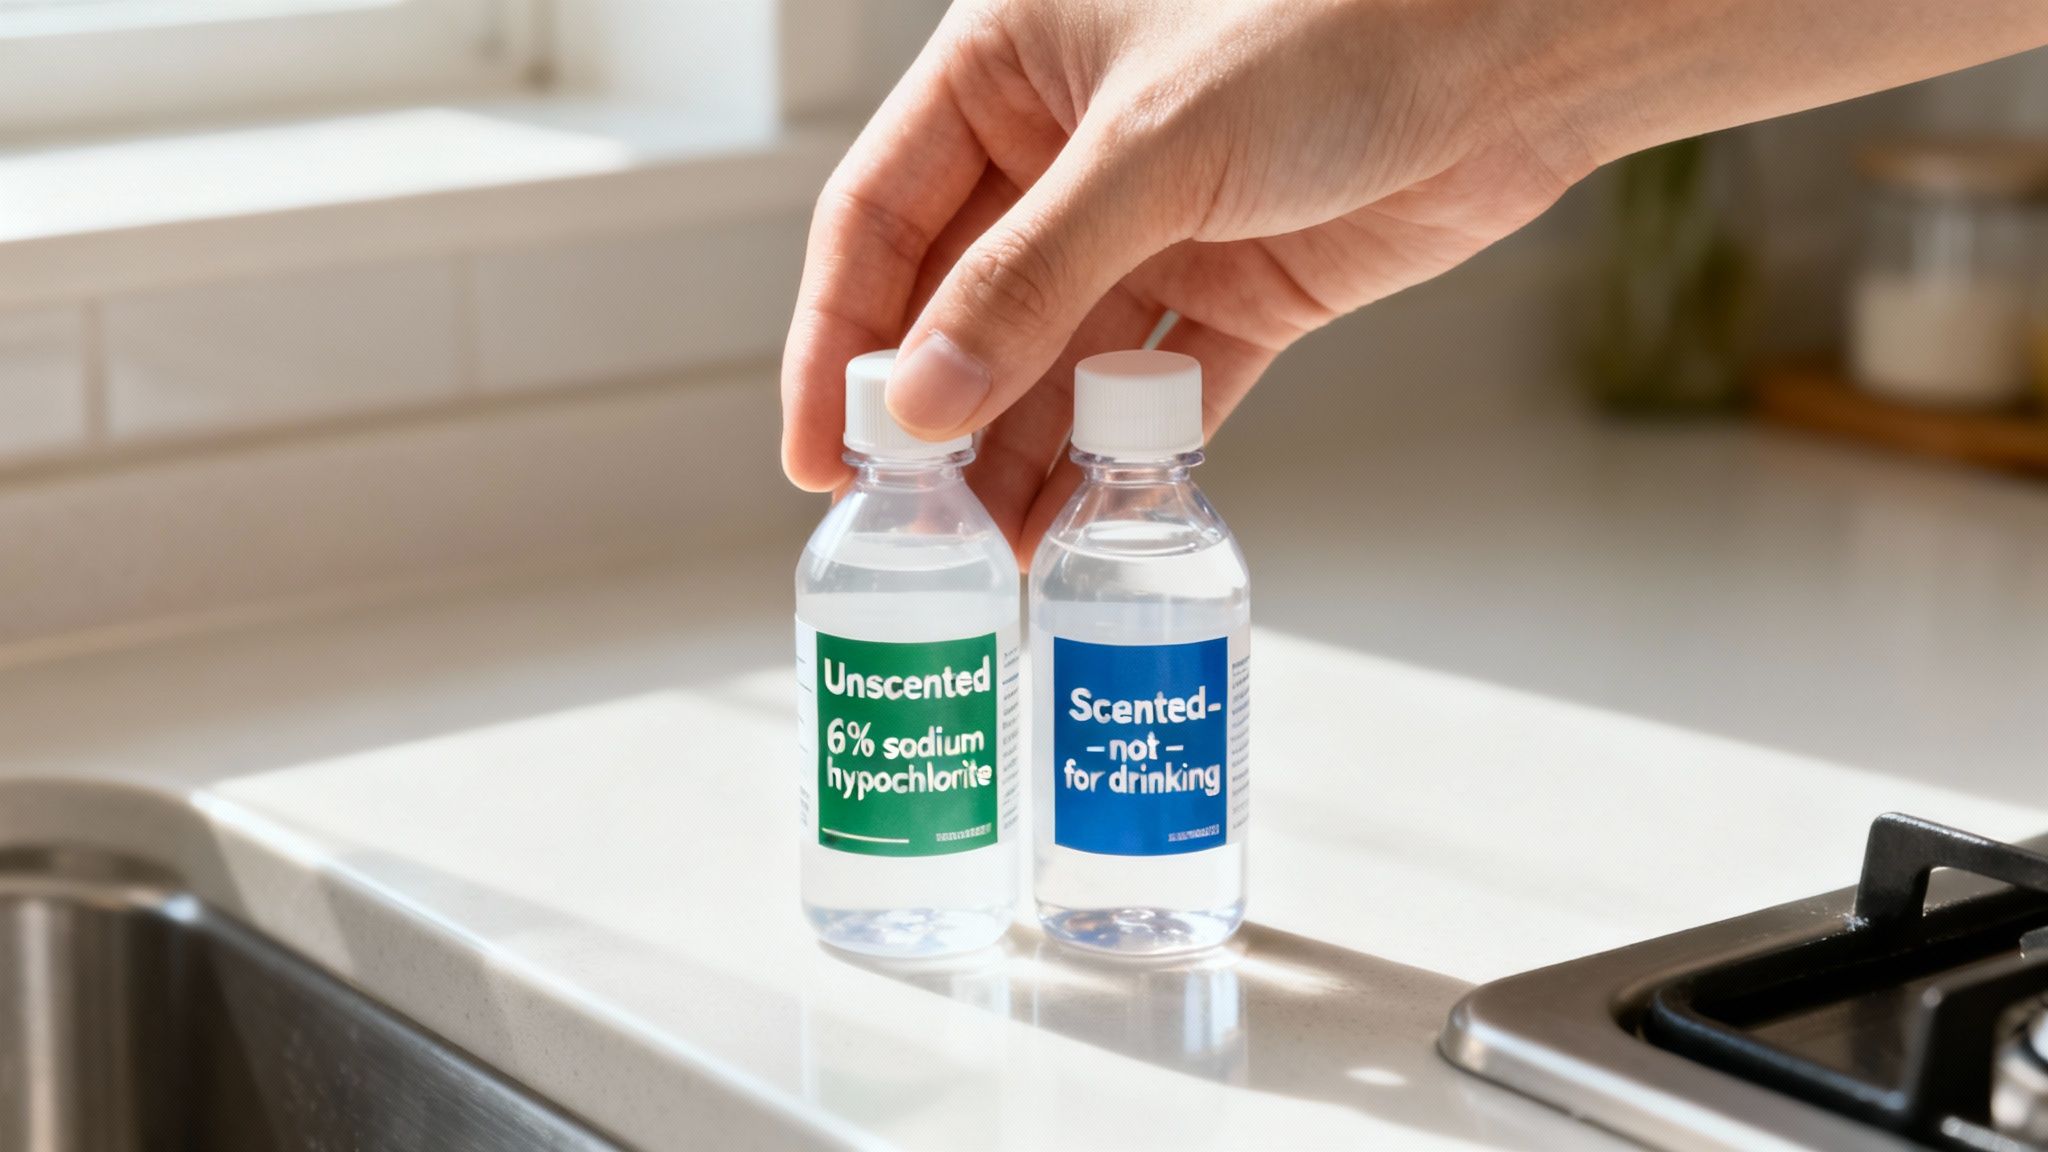
You’re looking for bottles that say “unscented,” “regular,” or “plain” bleach. The only active ingredient should be sodium hypochlorite, and the label needs to show a concentration between 5% and 9%. That’s the sweet spot for disinfecting water safely.
Stay away from anything with extra additives. Those are for laundry, not for drinking.
- Scented Bleach: Contains perfumes you absolutely do not want to ingest.
- Splash-Less or No-Splash Bleach: These have thickeners and other chemicals added.
- Color-Safe Bleach: This is a totally different chemical, usually hydrogen peroxide-based, and it won’t work.
- Gel or Concentrated Formulas: Too hard to measure accurately and full of nasty additives.
Pro Tip: The moment you get a new bottle of bleach for your prep kit, grab a permanent marker and write the purchase date right on it. Bleach gets weaker over time, and this simple trick is the best way to keep track of its shelf life.
Preparing Your Water for Treatment
Think of bleach as a disinfectant, not a filter. It’s fantastic at killing microscopic threats like bacteria and viruses, but it’s useless against dirt, leaves, silt, and other gunk floating in your water. In fact, that debris actually neutralizes the chlorine, making it less effective against the real dangers.
For bleach to do its job properly, you have to start with the clearest water you can get. If your water source is murky, pre-treatment isn’t optional—it’s mandatory. You can learn more about finding good sources in our guide on collecting water in survival situations.
Simple and Effective Pre-Filtering Techniques
Here are a couple of straightforward ways to clear up cloudy water before you add any bleach.
The Settling and Decanting Method
This is the easiest method by far. All it takes is a little patience and two containers.
- Fill a bucket or jug with your collected water.
- Let it sit completely still for a few hours, or even overnight if you have the time.
- Gravity will pull most of the sediment to the bottom.
- Gently pour the clearer water off the top into a second, clean container, being careful to leave the layer of muck behind.
Using an Improvised Filter
Need clear water faster? You can filter it through almost any porous material.
- A clean bandana, t-shirt, or even a coffee filter stretched over your container opening will catch the bigger stuff as you pour.
- For a far more effective solution, a purpose-built filter like the Sawyer Squeeze is a game-changer for any emergency kit. It removes sediment, bacteria, and protozoa before you disinfect, letting the bleach focus its full power on neutralizing any viruses left behind.
How to Properly Dose and Treat Water with Bleach
Alright, this is where the rubber meets the road. Getting the dosage right isn’t just important—it’s everything. Too little bleach, and you’re just giving dangerous pathogens a little bath. Too much, and the water becomes undrinkable or even harmful. Let’s walk through exactly how to do this safely and effectively every single time.
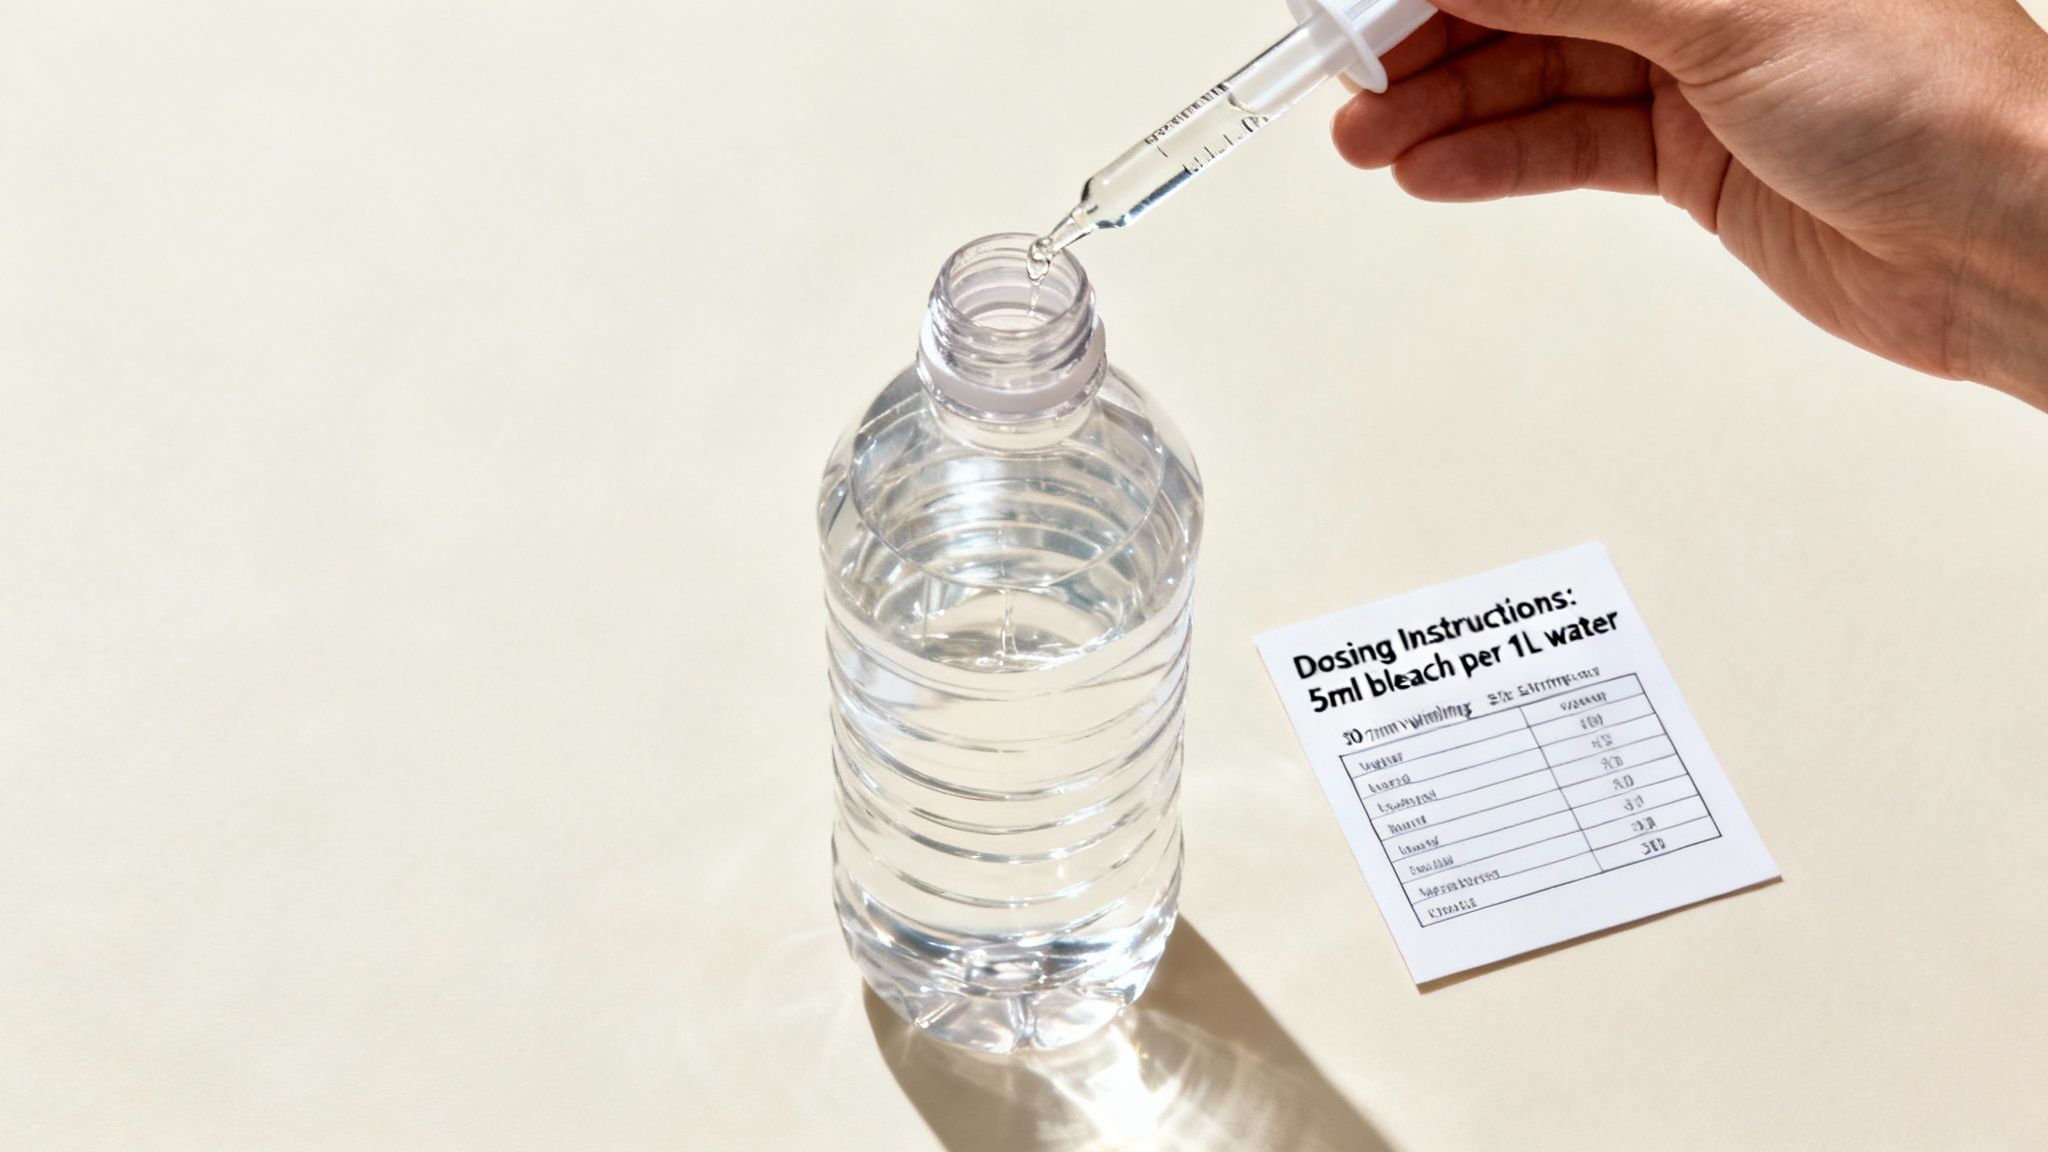
First thing’s first: you absolutely need a standard medicine dropper. Don’t even think about free-pouring from the jug. The margin for error is tiny, and guessing is a recipe for disaster. A simple glass or plastic dropper gives you the precision required to keep your water safe. You can easily find packs of glass droppers on Amazon to add to your kit.
The Critical Difference Between Clear and Cloudy Water
Before adding a single drop, take a hard look at your water. Is it crystal clear, or is it murky with floating bits of sediment? Bleach is a disinfectant, not a filter, and this distinction is crucial.
Any dirt, leaves, or other gunk in the water will essentially “soak up” the chlorine, neutralizing it before it can get to the microscopic threats like bacteria and viruses.
Because of this, the rule is simple and non-negotiable: You must double the dose of bleach for cloudy water. This ensures there’s enough chlorine to deal with the visible junk and still have enough power left over to neutralize the invisible pathogens. Skipping this step is one of the most common and dangerous mistakes people make.
The Dosing Procedure
With your pre-filtered water and medicine dropper ready, it’s time to treat. The process is simple, but precision matters.
- Add the Bleach: Using the chart below, carefully measure the exact number of drops for your container size and bleach concentration. A steady hand makes all the difference.
- Mix Thoroughly: Screw the cap on tightly and give the container a good shake for about a minute. If you’re treating water in something larger like a bucket, use a clean stick or utensil to stir it well. You want that bleach evenly distributed.
- Wait for Contact Time: Now, you wait. The chlorine needs time to work its magic. Set a timer for a minimum of 30 minutes.
Crucial Note on Water Temperature: That 30-minute wait time is for room-temperature water (around 60-70°F or 15-21°C). If your water is cold—think mountain stream cold (below 50°F or 10°C)—you need to double the contact time to at least 60 minutes. Cold temperatures slow the chemical reaction down significantly.
Your Ultimate Bleach Dosing Chart
This table is your new best friend. I recommend printing a copy, laminating it, and storing it with your water purification supplies. It covers the two most common bleach concentrations you’ll find at the store. (For reference, 20 drops from a standard medicine dropper is about 1 milliliter).
Bleach Dosing Chart for Emergency Water Purification
Use this table to find the correct amount of household bleach to add per volume of water. Dosages are provided for both clear and cloudy water, based on standard bleach concentrations. Always use a clean medicine dropper for measurement.
| Volume of Water | 6% Sodium Hypochlorite (Clear Water) | 6% Sodium Hypochlorite (Cloudy Water) | 8.25% Sodium Hypochlorite (Clear Water) | 8.25% Sodium Hypochlorite (Cloudy Water) |
|---|---|---|---|---|
| 1 Quart / Liter | 2 drops | 4 drops | 1 drop | 2 drops |
| 1 Gallon | 8 drops | 16 drops | 6 drops | 12 drops |
| 2 Gallons | 16 drops | 32 drops | 12 drops | 24 drops |
| 5 Gallons | 1/2 tsp | 1 tsp | 1/3 tsp | 2/3 tsp |
This chart is an essential tool, but remember it’s just one piece of a complete water preparedness plan. For a bigger picture on different methods, check out our full guide on how to purify water.
The Smell Test: Verifying Disinfection
Once your wait time is up, you need a quick way to confirm the treatment worked. The most reliable field method is a simple smell test.
Uncap the container and take a whiff. You should be able to smell a faint, slight odor of chlorine, kind of like a swimming pool but much weaker. That subtle smell is your indicator of success. It means the bleach has killed the pathogens and a safe residual amount is left, which helps protect the water from getting contaminated again.
Here’s how to read the results:
- Faint Chlorine Smell: Perfect. The water is disinfected and safe to drink.
- No Chlorine Smell: The dose was completely used up by whatever was in the water. You need to re-dose. Add the original amount of drops again, mix, and wait another 30-60 minutes before smelling it again.
- Strong Chlorine Smell: You probably added a little too much. The water is almost certainly safe to drink, but the taste might be unpleasant.
Improving the Taste of Treated Water
If you’ve passed the smell test but the chlorine taste is a bit strong, don’t worry. There’s an easy fix: aeration.
Just pour the water back and forth between two clean containers a few times. This introduces oxygen and helps the excess chlorine dissipate, which significantly improves the taste. You can also let the treated water sit open to the air (in a clean, protected spot) for a couple of hours. The chlorine will naturally gas off, making it much more palatable.
Safe Handling, Storage, and Critical Limitations
Knowing how to dose bleach correctly is only half the battle. To truly master water purification, you have to get real about its limitations and follow strict safety rules for handling and storage. Bleach is an incredible tool in a crisis,, but it’s not a silver bullet. Getting careless with it can ruin your efforts or, worse, create new dangers.
The first hard truth every prepper needs to accept is that bleach doesn’t last forever. The active ingredient, sodium hypochlorite, is an unstable compound that naturally breaks down over time, eventually becoming little more than salt and water. It completely loses its power to kill germs.
A factory-sealed bottle of household bleach loses about 20% of its strength in just six months. After a full year, it might be only half as effective. This is exactly why you need to get in the habit of dating every bottle of bleach the day you bring it home. It’s a small step that makes a huge difference in an emergency.
Maximizing Bleach Shelf Life
Fortunately, you can dramatically slow down this chemical breakdown with proper storage. The two biggest enemies of bleach are heat and sunlight.
To get the longest possible life out of each bottle, stick to these rules:
- Keep it Cool: Find a spot that stays consistently cool, ideally below 70°F (21°C). A basement, a cool closet, or a root cellar works perfectly. Never, ever store it in a hot garage, attic, or out in the sun.
- Keep it Dark: UV light from the sun chews through sodium hypochlorite. The original opaque bottle helps, but you should still keep it inside a dark cabinet or storage bin.
- Keep it Sealed: Make sure that cap is screwed on tight. This stops the chlorine from gassing off, which is another way it loses its punch.
Just like with food supplies, improper storage can ruin your preps—avoid common food storage mistakes that also apply to emergency water and chemical supplies.
Follow these simple guidelines, and you can be confident your bleach will work when you need it. And while you’re thinking about long-term storage, check out our guide on choosing the right collapsible water tanks for holding all that purified water.
What Bleach Cannot Do
This is probably the most important thing to burn into your memory: bleach is a disinfectant, not a purifier. It’s fantastic at killing biological threats—we’re talking bacteria, viruses, and protozoa. But it does absolutely nothing against a whole host of other dangerous contaminants.
Bleach will NOT remove:
- Chemical Pollutants: Pesticides, herbicides, industrial runoff, and fuel.
- Heavy Metals: Lead, mercury, arsenic, and cadmium.
- Radioactive Particles: If you’re dealing with a nuclear fallout scenario, bleach offers zero protection from radiological contaminants.
- Particulates: It won’t get rid of dirt, silt, or any other gunk floating in the water.
This is a huge deal if your water source is anywhere near farms, factories, or major highways. You could kill every germ in that water and still be left with a toxic chemical soup that poses a serious health risk.
Creating a Multi-Layered Water Safety Plan
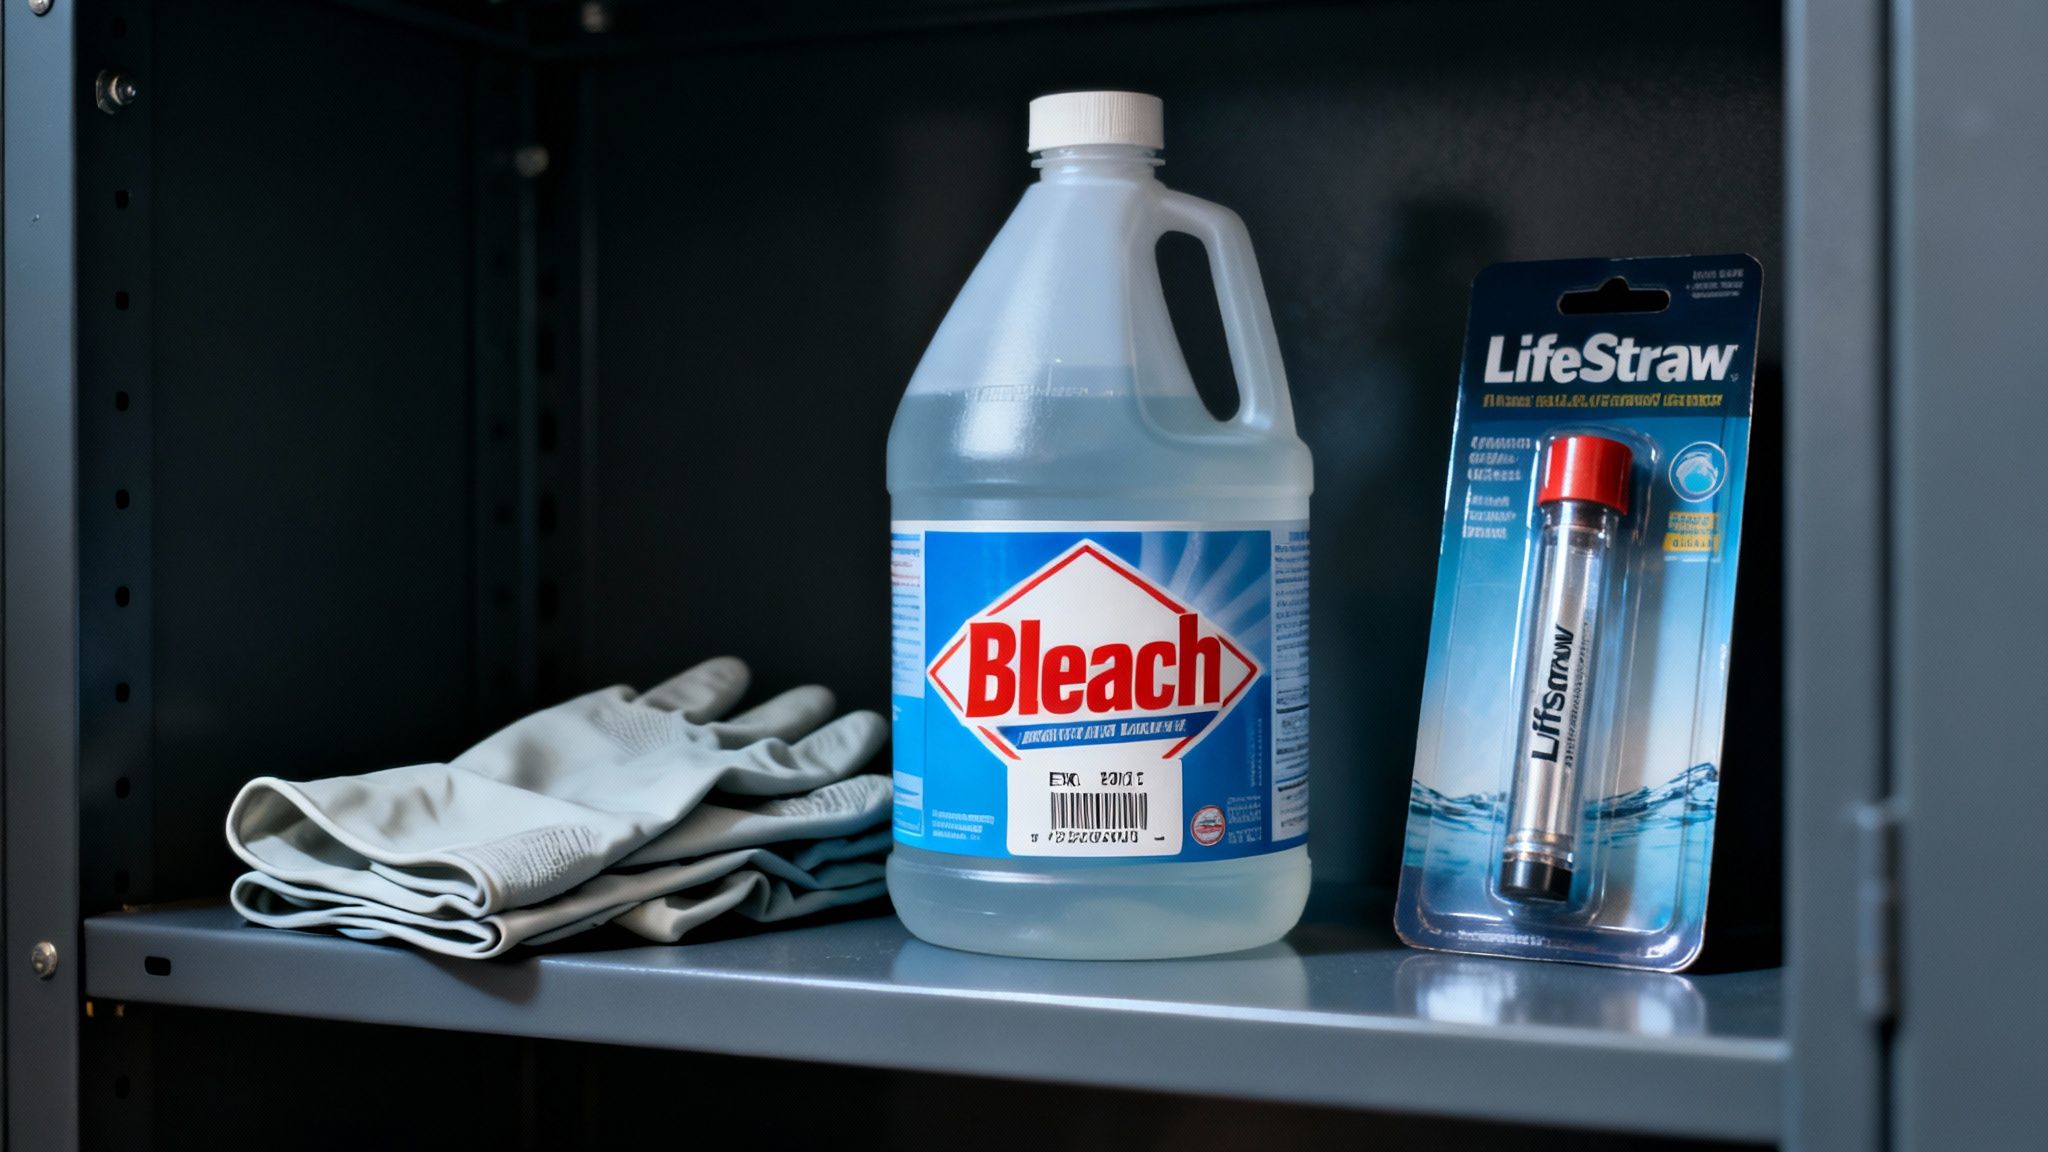
Because bleach only solves part of the problem, a truly smart water strategy always involves a physical filter. This is where tools built for survival really prove their worth. A simple device like the LifeStraw Personal Water Filter is the perfect partner for bleach.
The LifeStraw is a champ at removing bacteria, parasites, and microplastics with its internal membrane. By running your water through a filter before adding bleach, you get rid of all the suspended particles and bigger pathogens. This allows the bleach to work much more effectively on the tiny viruses that many filters can’t catch. This one-two punch—filter first, then disinfect—gives you a much higher level of confidence that your water is truly safe to drink.
Essential Handling Safety
Last but not least, always treat bleach with the respect it deserves. This is a corrosive chemical that can hurt you if you handle it wrong.
- Avoid Skin Contact: Always pull on a pair of gloves before you handle bleach. It can cause nasty chemical burns and skin irritation.
- Protect Your Eyes: A pair of safety glasses is a no-brainer. You don’t want an accidental splash to cost you your vision.
- Ensure Ventilation: Use bleach in an area with good airflow to avoid breathing in the fumes, which can mess with your respiratory system.
- Never Mix Chemicals: This is the golden rule. NEVER mix bleach with ammonia or any other cleaner. The combination creates toxic chloramine gas, which can be lethal.
Troubleshooting Common Purification Problems
Even with the best preparation, things can go wrong. Knowing how to adapt and solve common issues is what separates a good plan from a truly reliable one. Let’s walk through some real-world fixes for the most frequent problems you might run into.
Addressing Smell Test Failures
You’ve added the bleach, stirred it, and waited the full 30 minutes. You lean in for the smell test, and that’s where things get tricky. The result of this simple check tells you exactly what to do next.
What if you smell nothing at all? A complete lack of chlorine odor means the bleach was entirely used up neutralizing whatever was in the water.
- The Solution: Don’t drink it yet. You need to repeat the dose. Add the exact same number of drops you used the first time, stir it up, and wait another 30 to 60 minutes. Go in for another smell test; this time, you should pick up that faint chlorine scent.
On the flip side, what if the chlorine smell is overwhelming? A strong, pungent odor means you probably added a little too much bleach. While the water is almost certainly safe from pathogens, the taste can be pretty unpleasant.
- The Solution: You need to aerate the water. Pour it back and forth between two clean containers several times. Another easy trick is to just let it sit uncovered in a clean, secure spot for a few hours. This lets the extra chlorine dissipate into the air, making the water much more drinkable.
Improvising Measurements Without a Dropper
In a real emergency, you might not have a medicine dropper handy. Precision is always the goal, but you can use improvised methods in a pinch. Just be extremely careful.
A common backup is a standard plastic bottle cap from a soda or water bottle. A typical cap holds about 5 milliliters (mL), which is way too much for a single gallon. You can, however, use it to create a secondary, diluted stock solution that makes dosing smaller containers much easier.
Remember, a standard medicine dropper delivers about 20 drops per milliliter. This level of precision is ideal for preventing over-chlorination. Improvised methods increase the risk of adding too much bleach, so they should only be used as a last resort.
Advanced Prepping: Calcium Hypochlorite vs. Liquid Bleach
For serious preppers focused on long-term readiness, liquid bleach’s short shelf life is a major weak spot. A far better alternative is calcium hypochlorite, often sold as pool shock on Amazon. It’s a granular or tablet-form chemical that is much more stable than liquid bleach.
- Shelf Life: When stored in a cool, dark, and dry place, calcium hypochlorite can remain potent for 10 years or more. That’s a huge improvement over the one-year lifespan of liquid bleach.
- Preparation: You can’t just toss the granules directly into your drinking water. You have to first create a stock solution. You do this by dissolving a specific amount (typically one heaping teaspoon of 68% calcium hypochlorite) into two gallons of water. This creates a powerful chlorine solution that you can then use—with a dropper—to treat your drinking water, just like you would with regular bleach.
Compact Alternatives for Your Kit
Bleach is a powerful tool, but a layered strategy is always the smartest approach. Sometimes you need something more portable for your go-bag. This is where chemical treatments like Potable Aqua tablets really shine. They’re lightweight, compact, and an excellent backup to keep in a bug-out bag or get-home kit.
Of course, they come with their own set of trade-offs compared to bleach:
- Taste: Iodine gives water a distinct taste that many people don’t like.
- Effectiveness: It doesn’t work against the parasite Cryptosporidium.
- Health Considerations: Long-term use isn’t recommended, especially for anyone with thyroid conditions.
Having multiple options ensures you can adapt to any situation. Exploring the different water purification methods available will help you build a more resilient and effective preparedness plan.
Common Questions About Purifying Water With Bleach
Even when you’ve got the steps down, questions pop up. Getting truly confident with this method means knowing the little details that can make a big difference. Here are some of the most common things preppers ask, answered straight and simple.
How Long Does Bleach-Treated Water Stay Safe to Drink?
Once you’ve done the work to treat your water, the last thing you want is for it to get contaminated again. Always, and I mean always, store it in a clean, sanitized container with a tight-fitting lid. Choosing the right containers is crucial—learn more about selecting the best food storage containers that also work perfectly for storing purified water.
Having a layered approach to water safety is essential—learn more about water purification for survival and how to combine multiple methods effectively.
The tiny bit of chlorine left after disinfection gives you a protective buffer against new germs for about 24 hours.
Because of this, it’s smart to treat water in smaller batches as you need it, rather than purifying a massive 55-gallon drum you’ll be opening and closing for weeks. If you open a container, just assume it’s been exposed. To play it safe, just re-treat whatever water is left after a day or so before you drink it.
Can I Use Bleach to Purify Water from a Rain Barrel?
Absolutely, but you have to approach it with the right mindset: treat it like any other potentially dirty water source. By the time rainwater washes over your roof, through your gutters, and into your barrel, it’s picked up all sorts of contaminants—bird droppings, bacteria, and chemical residues you can’t see.
Your first step is always to pre-filter that water—for detailed techniques, check out our guide on how to filter rainwater for drinking. Get all the leaves, grit, and other visible gunk out. Then, follow the bleach purification steps. I’d recommend using the doubled dosage for cloudy or dirty water, just to be on the safe side.
If you’re setting up a more permanent system at home, a solid gravity-fed filter like a Berkey Water Filter is a fantastic investment for handling larger volumes from a rain barrel. It can do the heavy lifting of filtration, giving you a much cleaner starting point and another layer of safety before you even think about chemical disinfection. You can check out systems like the Berkey on Amazon to see how they might fit into your overall plan.
Is This Method Safe for Someone With a Thyroid Condition?
This is a critical question, and it’s smart to ask. It really comes down to weighing the immediate danger against a potential long-term one. In a true grid-down emergency, the threat from waterborne diseases like giardia or cholera is very real, very fast, and potentially deadly. That immediate risk is far greater than the theoretical risk of drinking properly dosed chlorinated water for a short time.
Both the CDC and EPA stand by bleach as a safe and effective method for emergency water disinfection. The chlorine levels are minimal and are quickly neutralized by your body.
That said, if you have a known thyroid condition, being proactive is your best defense. The time to plan is now, not during a crisis. Talk to your doctor about your emergency preps and get their personalized advice. It’s also wise to have non-chemical backups ready to go. A high-quality filter is one great option. Another is having a surefire way to boil water, like a Kelly Kettle, which can get a rolling boil going with just a handful of twigs. Having multiple options ensures you can adapt to the situation while keeping your specific health needs front and center.