
Filtering rainwater for drinking isn’t as simple as sticking a bucket outside during a storm. To get it right, you need a multi-step process that removes everything from leaves and grit to invisible pathogens. Think of it as a three-part system: pre-filtration for debris, core filtration for microscopic threats, and a final purification step like boiling or UV treatment to make it completely safe for storage and drinking.
Why You Must Filter Rainwater Before Drinking It
It’s easy to think of rain as pure, clean water falling straight from the sky. And while it starts out that way, it picks up a whole mess of contaminants on its journey to your collection barrel. Whether you’re just exploring what off-grid living entails or you’re already committed to self-sufficiency, mastering water purification is a foundational skill.
Assuming rainwater is “ready to drink” is a rookie mistake that can have serious consequences. The reality is that unfiltered rainwater is a cocktail of everything it has touched on its way down.
The Journey from Sky to Barrel
As raindrops fall, they scrub the air, absorbing atmospheric pollutants along the way. If you’re in a city or near industrial areas, that means your water could contain sulfates, nitrates, and other lovely chemicals from exhaust and emissions—what we call acid rain. Even out in the country, the air is full of dust, pollen, and other fine particles.
But the real contamination happens the moment that water hits your roof. A roof is far from a sterile surface. It’s a collection point for all sorts of nasty stuff:
- Biological Contaminants: Think bird droppings, dead bugs, and small animal waste. These can introduce harmful bacteria and parasites like E. coli, Salmonella, and Giardia into your water supply.
- Physical Debris: Dust, leaves, pollen, and soot build up on your roof and get washed directly into your collection system with the first heavy downpour.
- Chemical Leachates: The roofing material itself can be a problem. Asphalt shingles can leach petroleum compounds, and older roofs might shed asbestos or lead from flashing.
The crucial mindset shift for any prepper is to move from simply collecting rainwater to actively producing safe, potable water. This means acknowledging the inherent risks and implementing a system to mitigate them effectively.
The Multi-Barrier Approach to Safety
Since the contaminants range from big leaves to invisible viruses, no single filter can handle it all. That’s why the gold standard is a “multi-barrier” approach. Each stage in your system acts as a barrier, targeting a different type of threat. A solid basic system will include gutter screens, a first-flush diverter, a sediment filter, and finally, a carbon filter.
A perfect real-world example of this was Cape Town’s ‘Day Zero’ water crisis in 2018. When the taps for 4 million residents were about to run dry, rainwater harvesting became a lifeline. People quickly learned that raw rainwater was full of junk from roofs and the air. The first-flush diverter became an essential tool—a simple device that dumps the initial, dirtiest runoff and has been shown to remove 80-90% of accumulated debris.
Beyond Debris and Bacteria
Getting these initial steps right is everything. The goal isn’t just to make the water look clean; it’s to make it biologically and chemically safe for your family to drink long-term. Simple filtration gets rid of the visible gunk, but true purification tackles the microscopic dangers you can’t see, taste, or smell.
Understanding the why is just as important as the how. Once you grasp the risks, you can build a system that truly protects you. If you’re looking for more general strategies, you might be interested in our guide on collecting water in survival situations, which covers more than just rainfall. Every layer of defense you add reduces the risk and gets you closer to having a reliable, independent water source you can trust.
The Four Pillars of Rainwater Purification
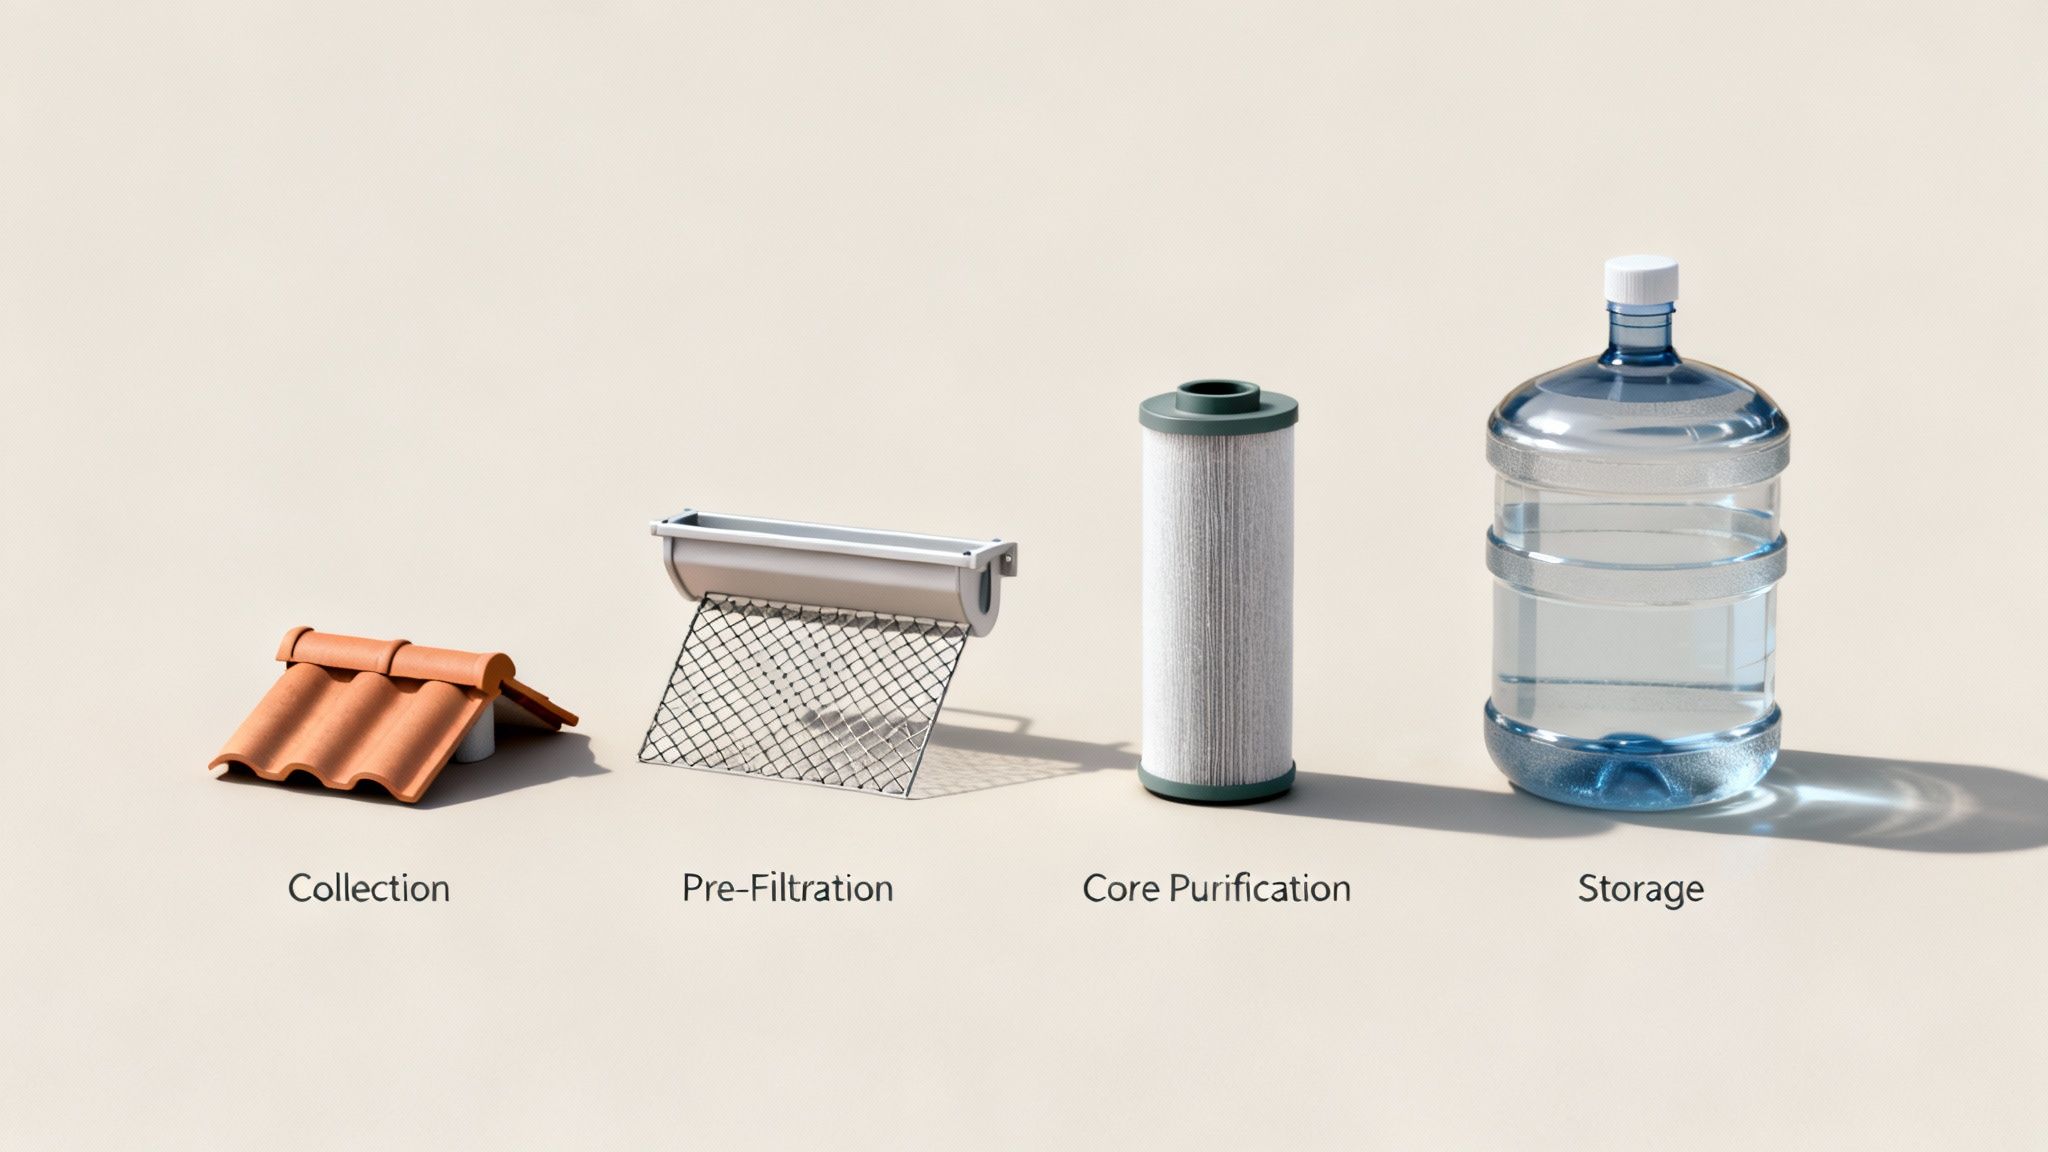
To consistently turn rainfall into safe, drinkable water, you need a solid system. Just winging it leaves way too much to chance. A reliable setup is built on four essential pillars: Collection, Pre-Filtration, Core Purification, and Safe Storage.
Think of this less as a simple checklist and more as a strategic process. Each pillar shores up the next, creating a tough, multi-layered defense against any contaminants that might find their way into your water.
Getting the “why” behind each stage is just as important as the “how.” Nailing the fundamentals from the get-go will save you major headaches down the road and make your entire system more efficient and easier to keep running.
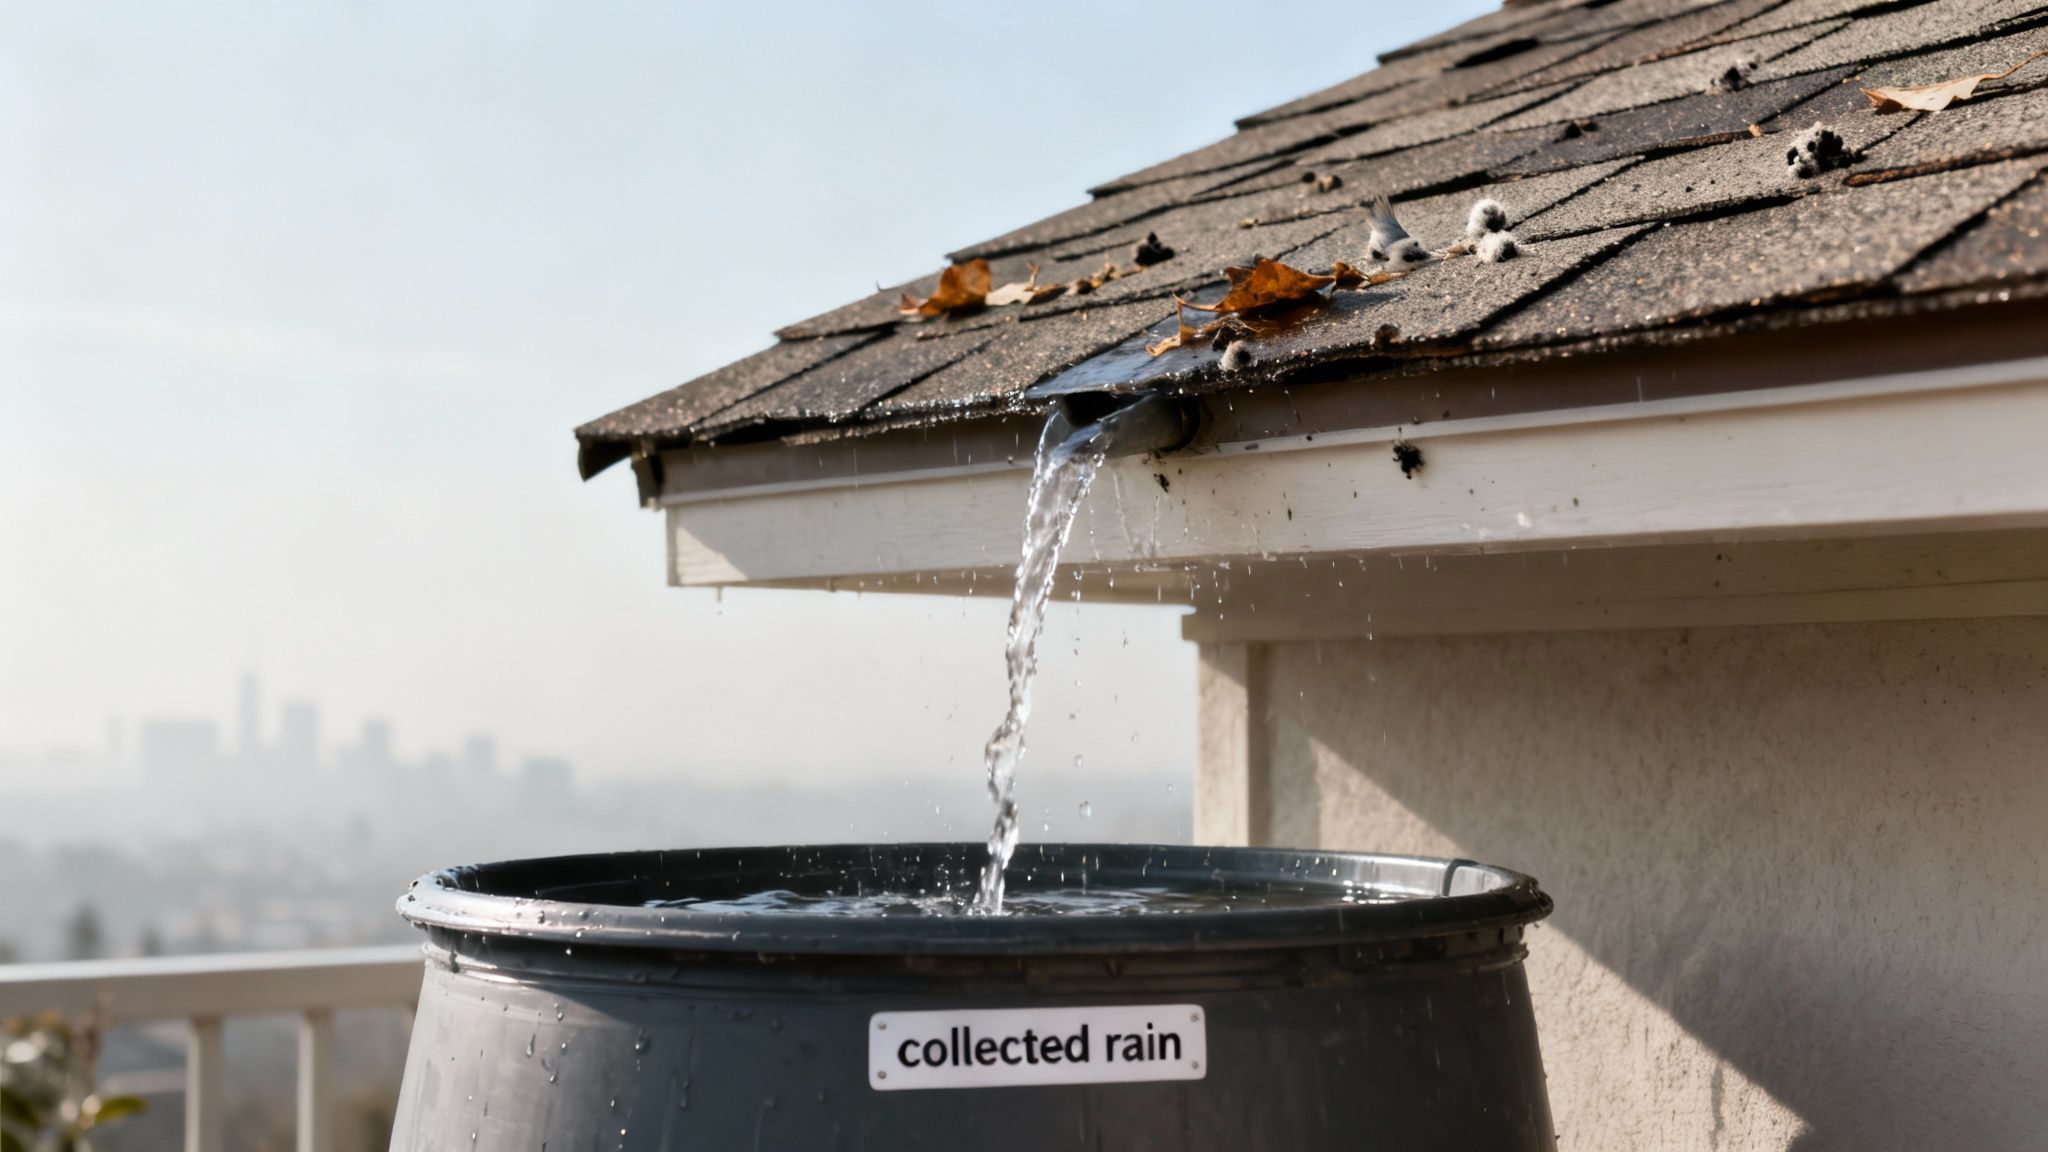
Pillar 1: Safe Collection
The journey to clean drinking water starts long before you ever hook up a filter. It begins with your collection surface—usually, your roof. The material your roof is made of acts as the very first gatekeeper for water quality, and it’s a critical one.
The best surfaces are non-porous and inert, which means they won’t leach chemicals or other junk into the water as it runs off. Selecting the right roofing material is just one of many off-grid living essentials that work together to create a truly self-reliant homestead. Your top choices are:
- Metal Roofs: Steel or aluminum is great, especially with a factory-applied, food-grade coating.
- Clay or Slate Tiles: These are natural, durable materials that won’t add contaminants to your water.
On the flip side, some common roofing materials are a definite no-go for collecting drinking water. You absolutely have to avoid any roofs made with asbestos or those treated with chemical moss retardants.
And while they’re everywhere, traditional asphalt shingles aren’t ideal. Over time, they can leach petroleum compounds, adding a chemical burden that forces your filters to work that much harder.
Pillar 2: Essential Pre-Filtration
Pre-filtration is the unsung hero of your system. Its job is to get rid of all the big stuff—leaves, twigs, bugs, and coarse sediment—before it has a chance to clog up your more expensive and sensitive purification gear.
Skipping this stage is like trying to mop a muddy floor without sweeping first. It’s messy, inefficient, and you’ll just make more work for yourself.
Two key pieces of equipment make for an effective pre-filtration setup. First, simple gutter mesh or leaf guards physically block large debris from ever getting into your downspouts.
Second, and maybe even more important, is a first-flush diverter. This clever device automatically routes the first few gallons of rainfall away from your main tank. That initial runoff is loaded with the highest concentration of dust, pollen, and bird droppings that have built up on your roof. By ditching this “roof wash,” you drastically improve the quality of the water that makes it into your storage.
Think of pre-filtration as triage. It handles the most obvious problems quickly and efficiently, allowing your advanced purification methods to focus on the microscopic threats they were designed to eliminate.
Pillar 3: Core Purification
This is where the real heavy lifting happens. Core purification is all about targeting the invisible threats: bacteria, protozoa, viruses, and dissolved chemical contaminants.
A good setup almost always involves multiple stages, with each one tackling a specific type of contaminant. A common and effective sequence is a sediment filter followed by a carbon filter.
The sediment filter, which is rated in microns, pulls out fine particles like silt and sand. After that, an activated carbon filter adsorbs chemicals, pesticides, and the organic compounds that cause funky tastes and smells.
For truly bulletproof protection against microbial threats, many in the prepping and off-grid community rely on high-performance gravity filters. Systems like those from Berkey or ProOne are popular choices because their filter elements are engineered to remove an incredibly broad range of contaminants, giving you real peace of mind. The ultimate goal here is to make the water biologically and chemically safe.
Pillar 4: Safe Storage
Your work isn’t over once the water is clean. How you store that purified water is just as important as how you filtered it in the first place. Bad storage practices can lead to recontamination, wasting all your effort.
The foundation of safe storage is using containers specifically designed for potable water.
This means using food-grade, opaque plastic tanks, like the common blue or black polyethylene barrels you might see branded by companies like the ECO Rain Barrel. The opacity is a non-negotiable feature—it blocks sunlight, which is crucial for preventing algae from growing inside your tank. These containers also need to be sealed up tight to keep out insects, rodents, and airborne contaminants.
This four-pillar strategy is something you can scale up or down, from massive national projects all the way to a single family’s off-grid homestead. These same principles are used globally to fight water scarcity, but success always comes down to doing the filtration right. For example, unfiltered rainwater in urban areas can be contaminated with lead and sulfates from acid rain, making a multi-stage approach absolutely essential for safety.
If you want to dig deeper into the nitty-gritty of purification, our complete guide on how to purify water has you covered.
Building a DIY Rainwater Filter in an Emergency
When a crisis hits and the water stops flowing, your ability to adapt becomes your most valuable asset. Commercial filters are great, but what happens when you can’t get one or your cartridges are spent? This is where knowing how to make rainwater drinkable with common materials can be a true lifesaver.
These DIY methods aren’t just theoretical exercises. They’re proven, field-tested techniques you can assemble with items you probably already have. Resourcefulness is the heart of preparedness, and building a working water filter from scratch is a fundamental skill.
Simple Sedimentation and Cloth Filtration
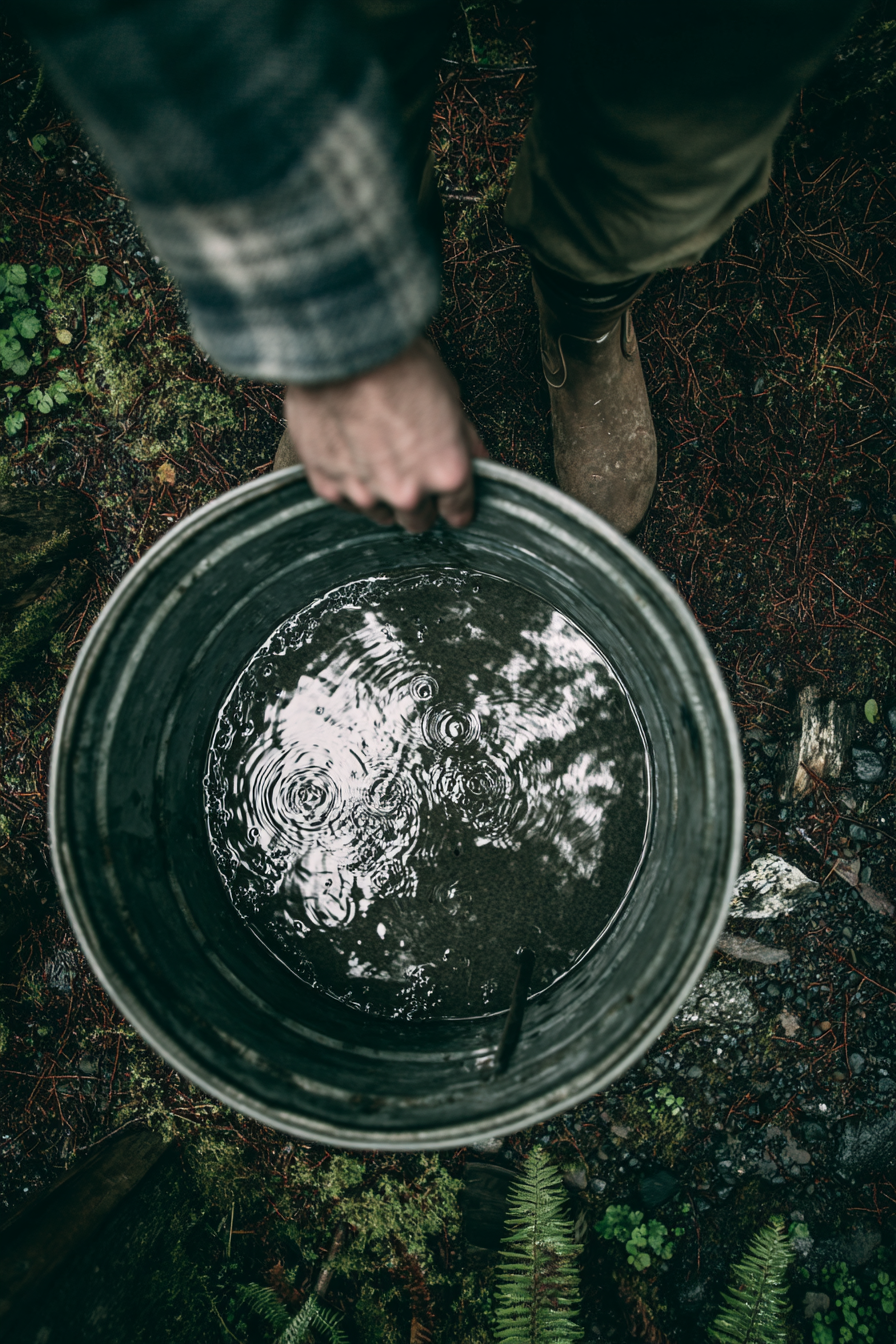
First things first: get the big stuff out. Your collected rainwater will be full of leaves, insects, and grit from your roof. Trying to run this “chunky” water through a finer filter will clog it almost immediately.
The solution is a two-part pre-filtration process. To start, let the water sit completely still in a large container for several hours. This allows the heavier gunk to settle to the bottom through a process called sedimentation.
Once it has settled, carefully ladle or siphon the water from the top, trying not to stir up the sludge at the bottom. Then, pour this clearer water through a tightly woven piece of cloth—a clean t-shirt, bandana, or even a coffee filter works well. This step removes the remaining suspended particles, leaving you with much cleaner water that’s ready for the next stage of purification.
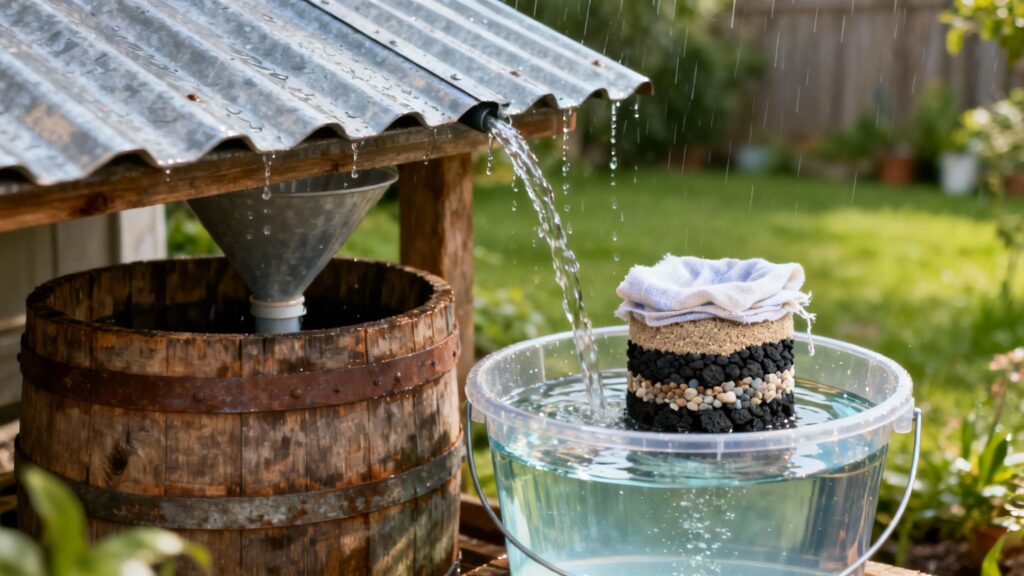
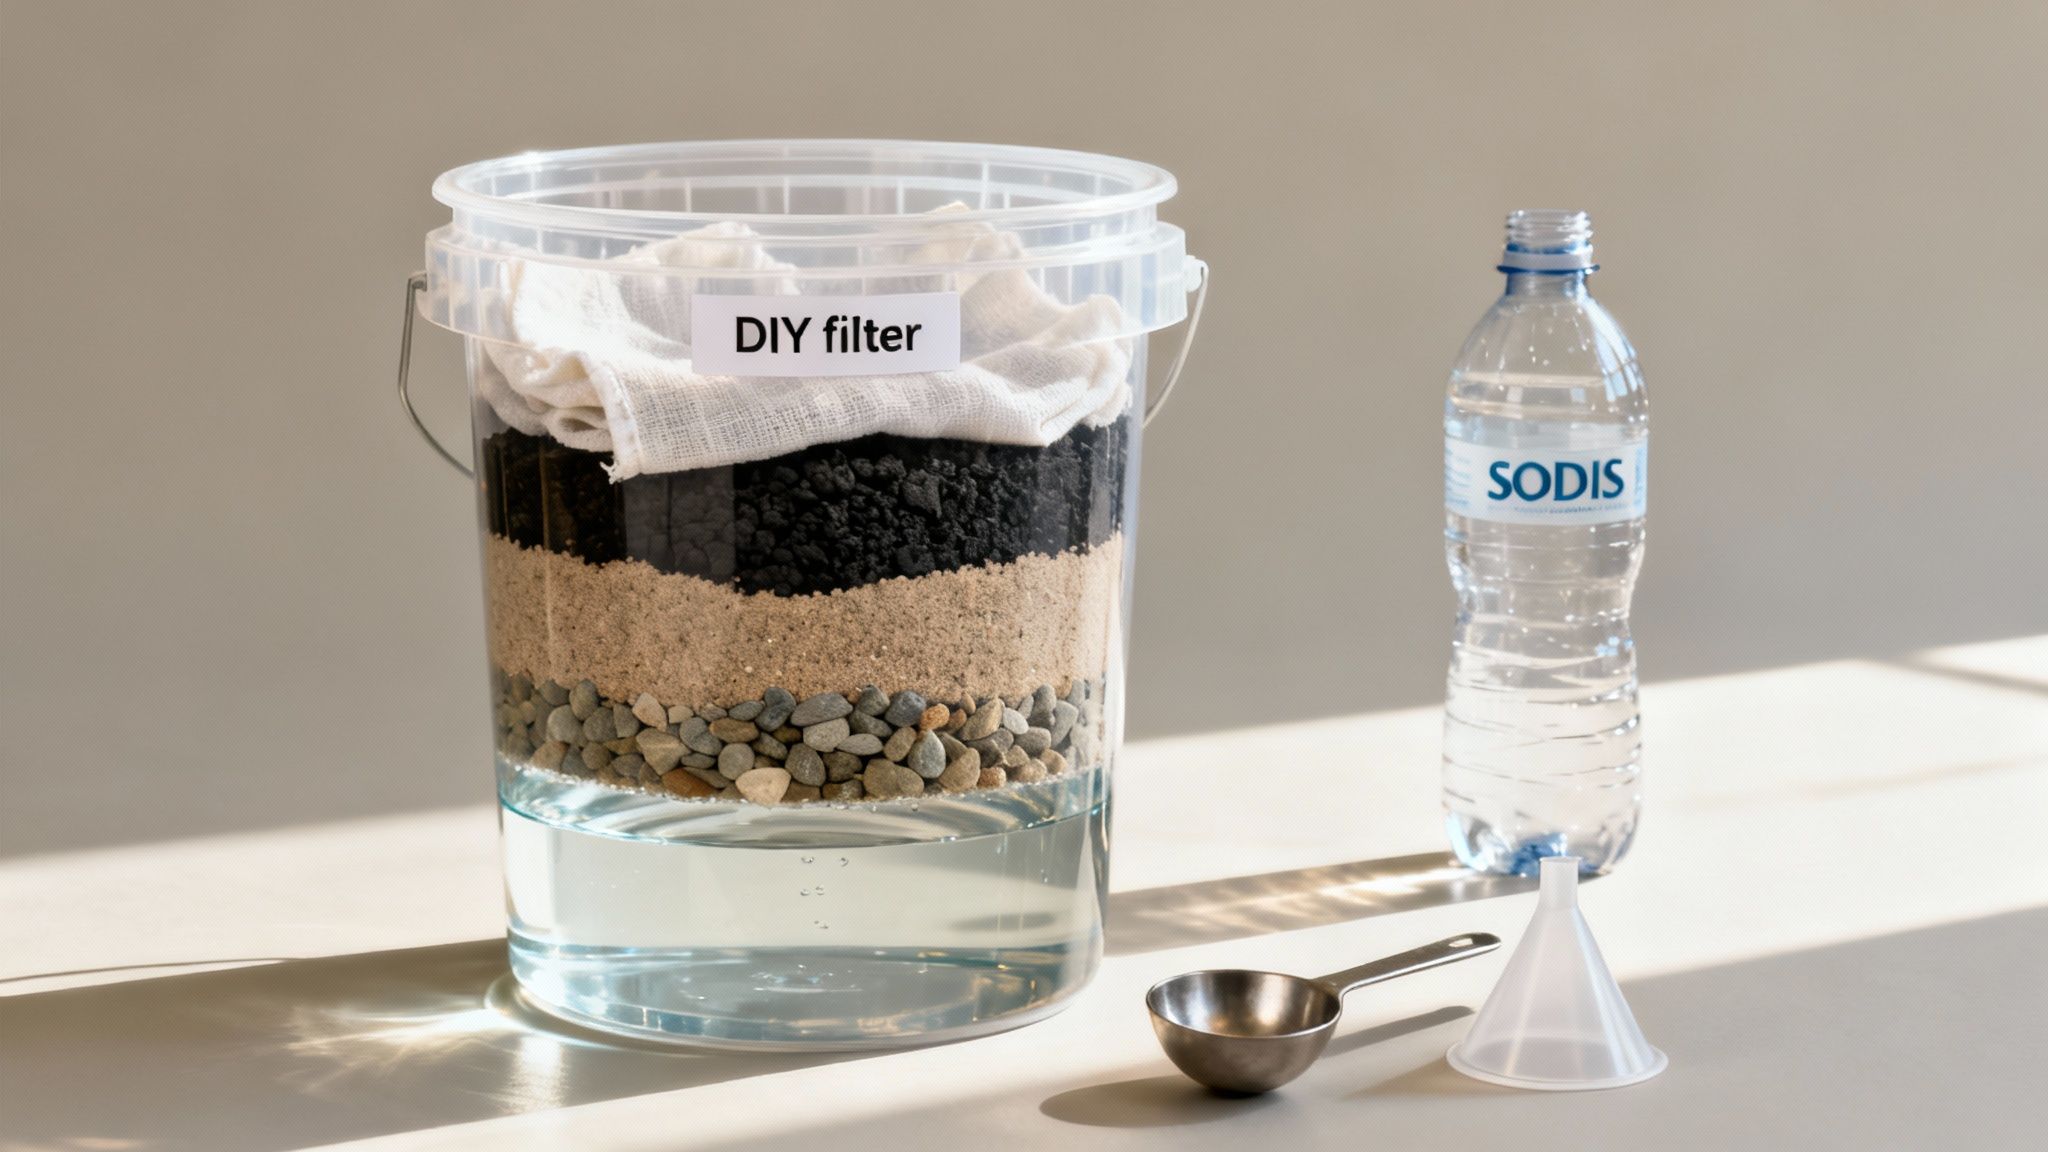
Building a Layered Bio-Sand Filter
For a more robust system, you can build a layered bio-sand filter using a bucket and natural materials. This method mimics how the earth purifies groundwater and is remarkably effective at removing murkiness and many pathogens.
You’ll need a food-grade bucket, some gravel, coarse sand, fine sand, and activated charcoal (if you can get it). Drill a small hole near the bottom of the bucket and fit it with a spigot or a small tube. To keep it from clogging, place a piece of cloth over the inside of the hole.
From there, you build your layers from the bottom up:
- Coarse Gravel: Start with a few inches at the bottom. This lets water flow freely toward the outlet.
- Fine Gravel: Add a smaller layer on top of the coarse gravel to keep the sand from washing down.
- Coarse Sand: This next layer acts as another transitional barrier.
- Activated Charcoal: If you have it, a layer of crushed activated charcoal is fantastic for absorbing chemicals, pesticides, and compounds that cause bad tastes and smells. You can even make your own by charring hardwood until it’s black all the way through.
- Fine Sand: This is your primary filtration layer. It needs to be the thickest—at least 6-12 inches.
- Top Gravel: A final thin layer of gravel on top keeps the sand from getting disturbed when you pour water in.
When you first use the filter, a biological layer called a schmutzdecke will start to form on top of the sand. This living layer of beneficial microorganisms is the most critical part of the filter, as it actively consumes pathogens in the water.
This exact principle is transforming communities all over the world. In places like Tanzania, gravity-fed slow-sand filters, which depend on that crucial schmutzdecke biofilm, have achieved 99% bacteria removal in WHO-validated field trials. Knowing how to build a basic version could be a critical skill.
Solar Water Disinfection (SODIS)
After filtering, you still need to deal with the microscopic threats—viruses and bacteria—that might have slipped through. An incredibly simple, scientifically-backed method for this is Solar Water Disinfection, or SODIS.
This technique uses the sun’s ultraviolet (UV) radiation to destroy pathogens. The process is dead simple:
- Fill clear, plastic PET bottles (like standard soda or water bottles) with your filtered rainwater.
- Seal them tightly and lay them on their side on a dark or reflective surface to maximize heat and UV exposure.
- Leave them in direct, strong sunlight for at least 6 hours. If the day is overcast, you’ll need to extend this to two full days.
The combination of UV-A radiation and heat is highly effective at killing or inactivating microbial life, making the water safe to drink. The CDC even endorses this method for emergency situations, making it a powerful final step in your DIY purification process.
These hands-on techniques are the backbone of self-reliance. While a commercial filter is convenient, mastering these DIY methods ensures you’re never without options. If you want to broaden your knowledge, check out our guide on water purification for survival for more advanced strategies.
Choosing the Right Commercial Filtration System
While knowing how to build your own filter is a crucial survival skill, sometimes you just need the plug-and-play reliability of a commercial system. These things are engineered to tackle a huge range of contaminants with impressive efficiency, giving you real peace of mind when your water source is questionable. Knowing how to filter rainwater for drinking with the right tool can make or break a long-term grid-down situation.
Your gear needs to match your mission. A stationary filter for the homestead is a totally different beast than a lightweight one you’d throw in a bug-out bag. Let’s dig into the main options so you can figure out what makes sense for you.
Gravity-Fed Systems for Off-Grid Reliability
For a solid, set-it-and-forget-it setup that doesn’t need power or water pressure, gravity-fed systems are the undisputed champs. These countertop units are about as simple as it gets: pour water in the top, and let gravity do the work, pulling it through powerful filter elements into a clean storage tank below.
The Berkey line is practically legendary in preparedness circles for a reason. These purifiers are known for their ability to yank an incredible list of contaminants out of water, using a mix of micro-porous ceramic and special carbon elements. They’ll handle pathogenic bacteria, cysts, and parasites, and they also reduce nasty stuff like herbicides, pesticides, and heavy metals. Their filters last for thousands of gallons, making them a smart investment for a family’s primary water supply.
The real beauty of a good gravity system is its total independence. If you’ve got a water source and the laws of physics are still working, you can make safe drinking water. That makes it a cornerstone for any serious off-grid or emergency plan.
Portable Filters for Bug-Out Bags and Mobility
When you’re on the move, every ounce and every inch of pack space counts. This is where portable hollow-fiber membrane filters really come into their own. These little guys are compact, feather-light, and designed to filter water straight from a creek into your water bottle.
Two of the most trusted names you’ll see everywhere are the Sawyer Squeeze and the Lifestraw. Both use a maze of microscopic hollow fibers with pores around 0.1 microns wide. That’s tiny enough to physically block 99.99999% of bacteria like E. coli and 99.99% of protozoa like Giardia and Cryptosporidium.
- How They Work: You simply suck the water through the straw or squeeze it through the filter. All the nasty bugs get trapped on the outside of the fibers, and clean water passes right through.
- Best Use Case: These are non-negotiable items for a bug-out bag, hiking pack, or the emergency kit in your vehicle. They’re dead simple and they just work.
It’s critical to remember, though, that your standard hollow-fiber filter won’t stop viruses—they’re just too small to get caught in the pores. For a deeper dive on this, our guide on survivalist water purification is a good place to start.
UV Purifiers for Viral Threats
To knock out viruses, you need to switch up your tech. Ultraviolet (UV) light purifiers are a great battery-powered solution that zaps microscopic threats without adding any chemicals. These devices essentially scramble the DNA of microorganisms, making it impossible for them to reproduce and make you sick.
A popular tool for this is the SteriPEN. It’s a handheld wand you stick in your water bottle and stir for about a minute. When the light goes off, the water’s safe. Just know that UV light needs clear water to work; it can’t blast through silt and sediment. That’s why it’s best used as a final kill step after you’ve pre-filtered your water. It’s the perfect partner for a hollow-fiber filter.
Chemical Treatments The Ultimate Backup
Finally, never, ever underestimate the value of a simple chemical backup. They’re lightweight, have a crazy-long shelf life, and are pretty much foolproof. Modern chlorine dioxide tablets or drops, like those from Potable Aqua or Katadyn Micropur, are a world away from the nasty-tasting iodine tablets we used to have.
These treatments are effective against bacteria, protozoa, and viruses, making them a complete purification method in a tiny package. Sure, you have to wait a bit (usually 30 minutes to 4 hours), but their reliability makes them an essential piece of gear for any kit, whether as your main plan or just a final safety net for water you’ve already filtered.
How to Test and Maintain Your Water System
Successfully filtering your first batch of rainwater is a huge win, but the job isn’t over. A water purification system is not a “set it and forget it” appliance; it’s a living system that demands consistent attention to keep your family safe.
Think of it like tending a garden. Neglect it, and things will quickly go wrong. Regular maintenance is the only thing that guarantees the water coming out of your spigot tomorrow is as safe as the water you filtered today.
This ongoing commitment ensures your entire setup—from the roof to the tap—remains a reliable source of clean drinking water, especially when you need it most.
Your Routine Maintenance Checklist
Creating a simple, repeatable maintenance schedule is the key to preventing problems before they start. A little bit of work on a regular basis is far easier than dealing with a contaminated tank or a failed filter during an emergency.
Here’s a practical checklist to keep your system in top shape:
- Clean Gutters and Roof: At least twice a year (or more if you live under heavy tree cover), clear all leaves, twigs, and debris from your roof and gutters. This is your first line of defense against organic contamination.
- Inspect Screens and Mesh: Check your gutter guards and the inlet screen on your barrel for any rips or damage. These are critical for keeping insects, rodents, and larger debris out of your water supply.
- Check the First-Flush Diverter: After a few rainfalls, ensure your diverter is draining correctly and not clogged with sediment. A malfunctioning diverter will dump the dirtiest water directly into your storage tank.
- Replace Filter Cartridges: This is non-negotiable. Every filter has a lifespan, rated in either gallons or months. Mark your calendar and replace sediment, carbon, or other filter cartridges exactly as the manufacturer recommends. Pushing a filter past its limit is a gamble you don’t want to take.
Keeping Stored Water Safe
Your storage tank itself requires attention. Even in a sealed, opaque barrel, problems can arise over time. Regular visual inspections are a simple but effective habit.
When checking your tank, look for any signs of algae growth (green or black discoloration) or the development of a biofilm—a slimy layer on the interior surfaces. If you see either, it’s time to drain, scrub, and sanitize the tank thoroughly. Our guide on using bleach for water purification explains how to do this safely and effectively.
An ounce of prevention is worth a pound of cure. A monthly visual check of your stored water can catch a small issue like algae before it blooms and contaminates your entire supply, saving you hundreds of gallons of precious water.
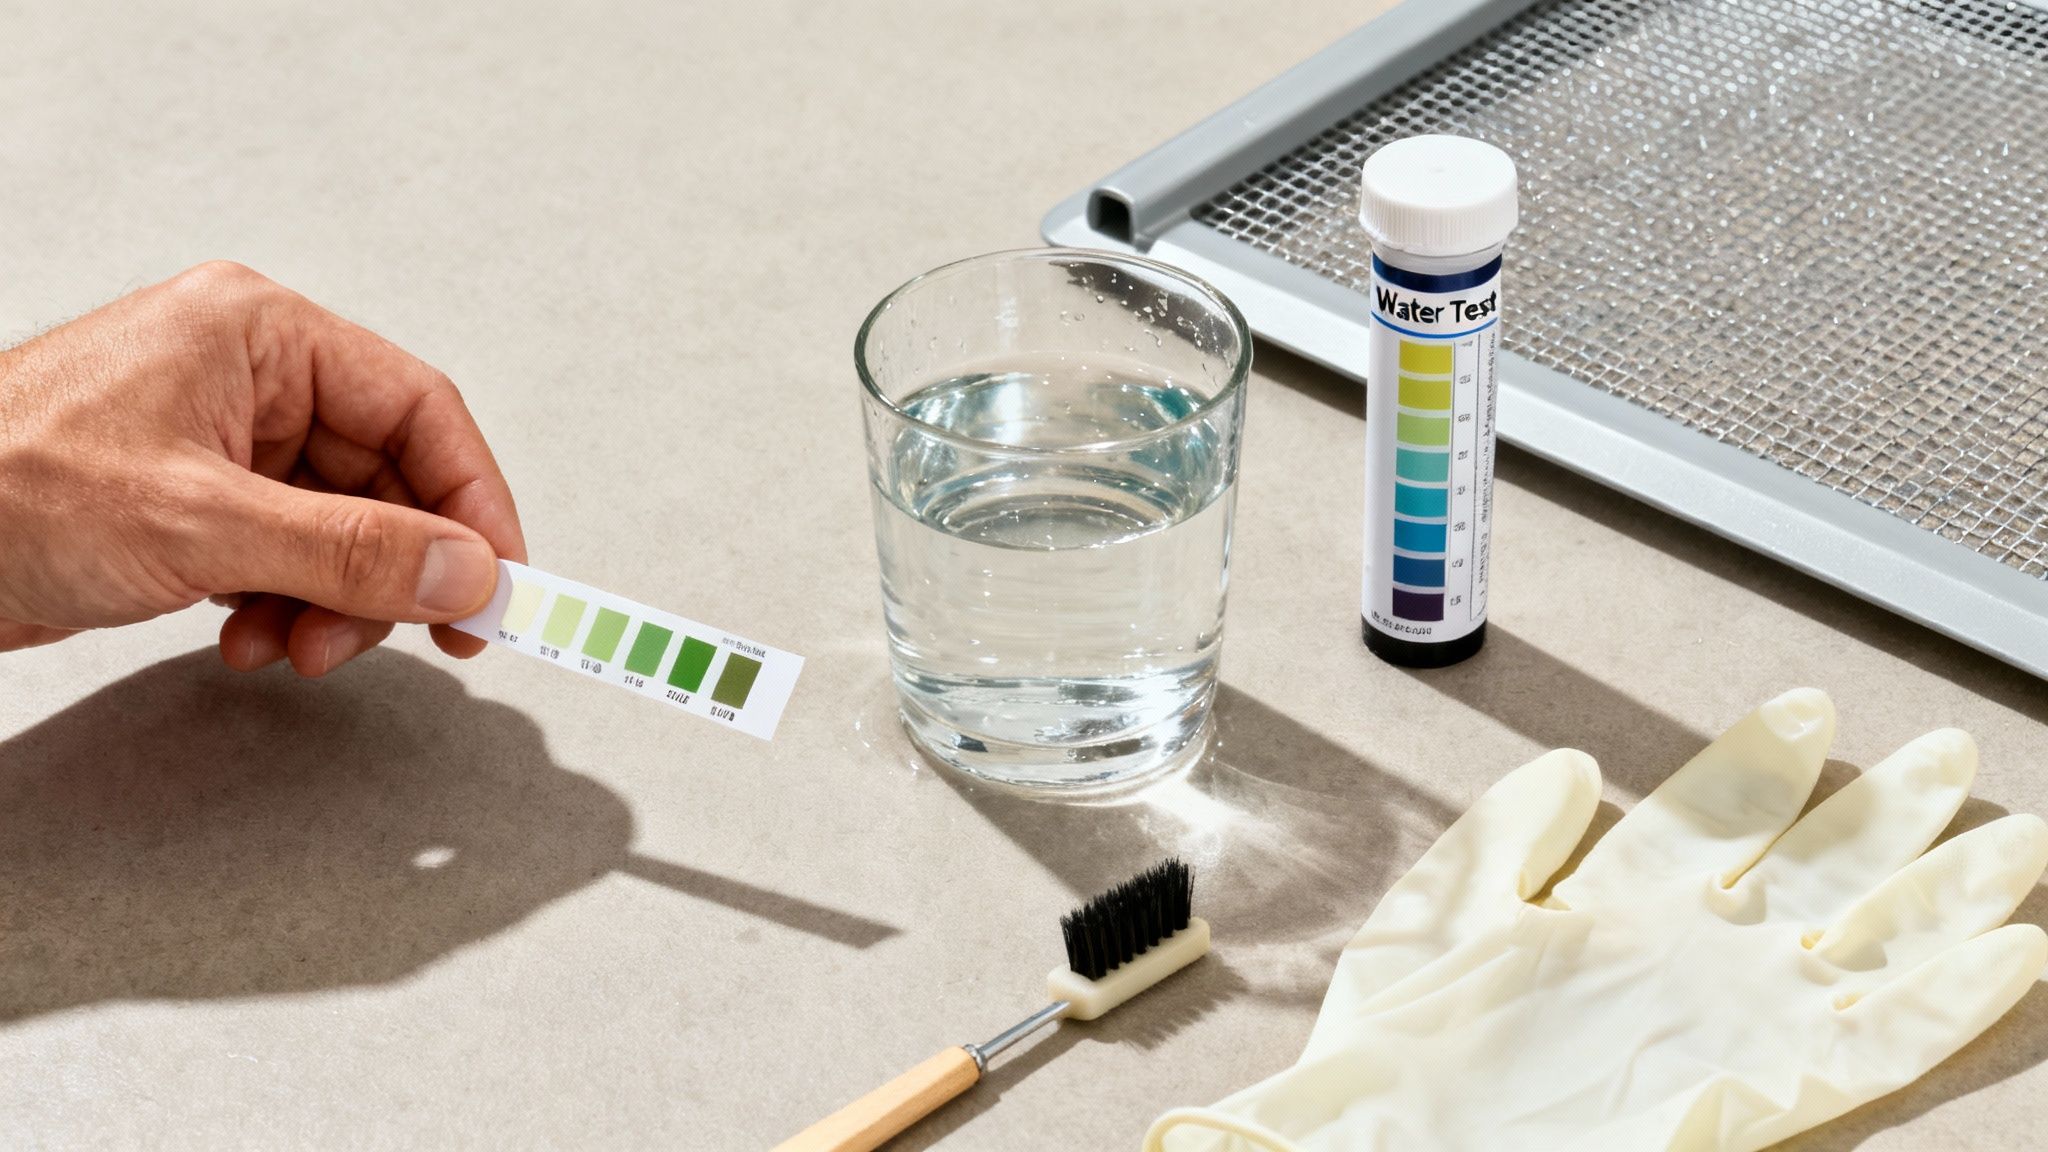
How to Test Your Rainwater at Home
Visual checks are great, but they can’t spot microscopic threats. The only way to have complete confidence in your filtered rainwater is to test it. You don’t need a science lab; affordable at-home water testing kits give you the power to verify your water’s safety.
A good basic kit will allow you to check for the most important safety indicators. One of the most common and user-friendly options is the WaterSafe Drinking Water Test Kit, which can be found online and provides results for several key parameters in minutes.
Look for a kit that tests for at least the following:
- Bacteria: Specifically, you want to test for coliform bacteria, including E. coli. A positive result here is a major red flag that your filtration system has failed or your water has been contaminated post-treatment.
- pH Level: Rainwater is naturally slightly acidic. Knowing your water’s pH helps you monitor for any significant changes that could indicate contamination or affect the taste.
- Turbidity: This is a measure of water clarity. High turbidity can suggest that your sediment filters aren’t working effectively and can interfere with the performance of UV purifiers.
- Heavy Metals: If you have an older roof or metal components in your system, testing for lead and copper is a wise precaution.
Regularly testing your water—perhaps quarterly and after any major system maintenance—provides the ultimate verification that your efforts to filter rainwater for drinking are truly paying off.
Your Rainwater Filtering Questions, Answered
Jumping into rainwater harvesting can feel a little overwhelming. It’s totally normal to have questions about everything from safety and legality to the nitty-gritty details of keeping a system running. Getting good answers is the first step to feeling confident about relying on your own water source when it counts.
Let’s tackle some of the most common questions that pop up for folks learning how to make rainwater safe to drink.
Is It Actually Legal to Collect Rainwater Where I Live?
This is a big one for a lot of people, but the news is mostly good. In most states, collecting rainwater is perfectly legal and even encouraged. The tricky spots are usually in the arid Western states, where complex, historical water rights laws can sometimes come into play.
Even then, many of those older, more restrictive laws have been updated to allow for residential collection, sometimes just with a cap on how much you can store. Your best bet is to do a quick search for “[Your State] rainwater harvesting laws.” Stick to official state government or university extension websites—they’ll have the most accurate info to make sure you’re on the right side of the law.
What Kind of Roof Is a No-Go for Collecting Drinking Water?
Think of your roof as the very first stage of your filtration system. Getting it right is non-negotiable. Some materials are an absolute deal-breaker for collecting water you plan to drink.
Steer clear of collecting drinking water from these surfaces:
- Roofs that have been treated with chemical moss retardants.
- Older roofs that might contain asbestos materials.
- Any roof with lead flashing or tar-based sealants.
And while they’re incredibly common, traditional asphalt shingle roofs aren’t ideal either. Over time, they can leach petroleum compounds into your runoff. The safest choices are inert, non-porous surfaces like factory-coated metal, clay tiles, or slate. They just don’t add much junk to the water in the first place.
Your roof is the gatekeeper for your entire system. The cleaner the water you start with, the easier every other filtration step will be, and the longer your expensive filters will last.
How Often Do I Really Need to Replace My Filters?
There’s no one-size-fits-all answer here. It all comes down to the type of filter you’re using and how much gunk is in your water to begin with.
A high-quality ceramic filter, like the ones you find in a Berkey, can process thousands of gallons and can be cleaned over and over again. On the other end of the spectrum, something like a portable Sawyer Squeeze is rated for an incredible 100,000 gallons, but it can clog up much faster if you’re pushing murky, sediment-heavy water through it.
Carbon filters, which are your go-to for removing chemicals and bad tastes, usually have a lifespan measured in months (typically 3-6) or a set number of gallons. Always read and follow the manufacturer’s directions. My rule of thumb for prepping? Always have at least two full sets of replacement filters for your primary system ready to go.
Can’t I Just Boil Rainwater Instead of Filtering It?
Boiling is a fantastic tool for disinfection. It’s a rock-solid way to kill biological bad guys like bacteria, viruses, and protozoa. Simple and effective.
But here’s the catch: boiling does absolutely nothing to remove physical debris, chemical contaminants like pesticides, or heavy metals that might have leached off your roof.
The best way to think of it is this: boiling is a final purification step, not a substitute for filtration. The safest approach is to filter the water first to get all the physical and chemical contaminants out. Then, if you still have any doubt about microscopic bugs—especially if your filter isn’t rated for viruses—go ahead and boil it. That multi-barrier approach gives you the highest possible confidence in the water you’re about to drink.