Learning how to store food for the long haul is more than a hobby—it’s a foundational skill for anyone serious about self-reliance. It’s your buffer against a shaky supply chain, a sudden job loss, or any other curveball life throws your way.
The whole game plan boils down to one thing: defeating the three enemies of stored food. Get a handle on oxygen, moisture, and temperature, and you can stretch the shelf life of your food from a few months to many years.
Building a Foundation for Long-Term Food Security
True food security isn’t just about grabbing a few extra cans on your grocery run. It’s a deliberate strategy to build a resilient household that can weather any storm, literal or economic. This shift in mindset is why the long-term food storage market is booming—people are realizing they need to be prepared.
It all starts by understanding a few core principles.
Core Principles for Storing Food Long Term
This table breaks down the essential rules of the road for anyone looking to build a reliable food supply. Internalize these, and you’re already ahead of the game.
| Principle | Why It Matters | Real-World Example |
|---|---|---|
| Control Oxygen | Oxygen causes oxidation, which makes food go stale, destroys nutrients, and turns fats rancid. It also fuels the growth of mold and bacteria. | Vacuum sealing a bag of rice or adding an oxygen absorber to a Mylar bag before sealing it. |
| Control Moisture | Moisture is a breeding ground for microorganisms like bacteria, mold, and yeast. Keeping dry goods truly dry is non-negotiable. | Storing flour or sugar in an airtight bucket with a desiccant pack in a dry basement, not a damp garage. |
| Control Temperature | Heat is an accelerator. It speeds up the chemical reactions that break food down, destroying its quality and nutritional value over time. | Keeping your canned goods in a cool, dark pantry that stays below 70°F instead of a hot attic. |
| Block Light | Sunlight, especially UV rays, degrades vitamins, fats, and food color. It’s a silent killer of your food’s nutritional value. | Storing cooking oil in a dark cabinet or using opaque Mylar bags for light-sensitive items like dried herbs. |
| Prevent Pests | Rodents and insects can contaminate and destroy an entire food supply in a surprisingly short amount of time. | Using rodent-proof containers like sealed 5-gallon buckets or glass jars instead of original paper or plastic packaging. |
Mastering these five principles is the key to turning your pantry from a short-term stockpile into a long-term asset for your family’s security.
How to Start Your Food Supply the Right Way
Getting started doesn’t have to be overwhelming or expensive. The smart move is to begin with the basics: foods that are cheap, packed with calories, and last forever on their own.
For some great ideas on where to begin, check out our guide on essential items you should be stockpiling.
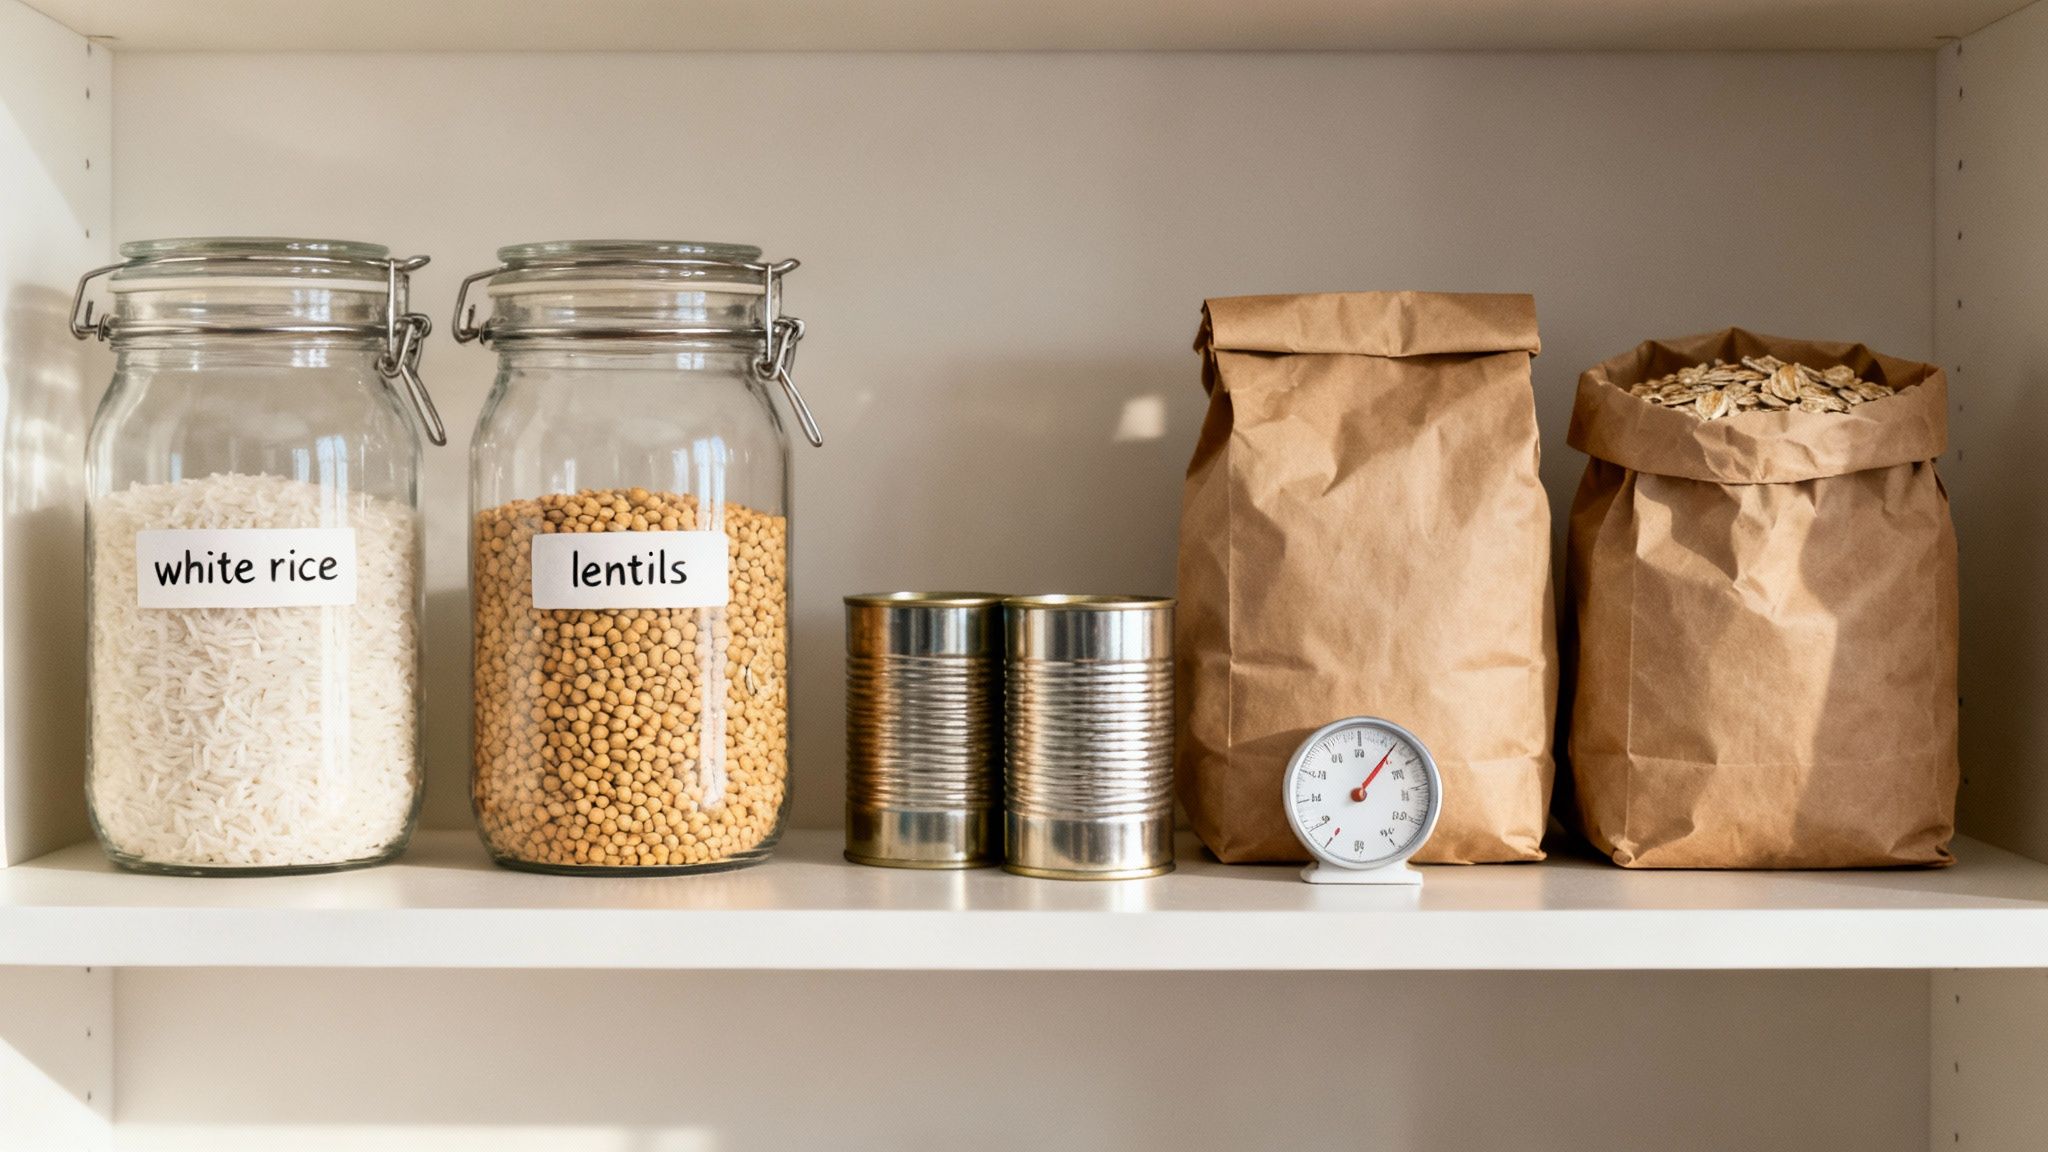
Focus on foundational staples like white rice, pinto beans, rolled oats, and pasta. These are the workhorses of any serious food supply. Once you have a solid base of these essentials, you can start adding canned goods, dehydrated fruits, and other things your family actually likes to eat. This slow-and-steady approach builds both your pantry and your confidence.
Selecting Foods for a Resilient Pantry
A resilient pantry isn’t built by accident; it’s built with intention. The first step in learning how to store food long term is choosing the right foods from the very beginning. Your goal should be to stock up on items that are shelf-stable, nutritionally dense, and versatile enough to create a supply that is both practical and reliable.
Think of your food supply as a pyramid. The wide base should be made of calorie-dense staples, with smaller layers of nutrient-rich and morale-boosting foods on top. This isn’t just about a list of items—it’s about a strategy.
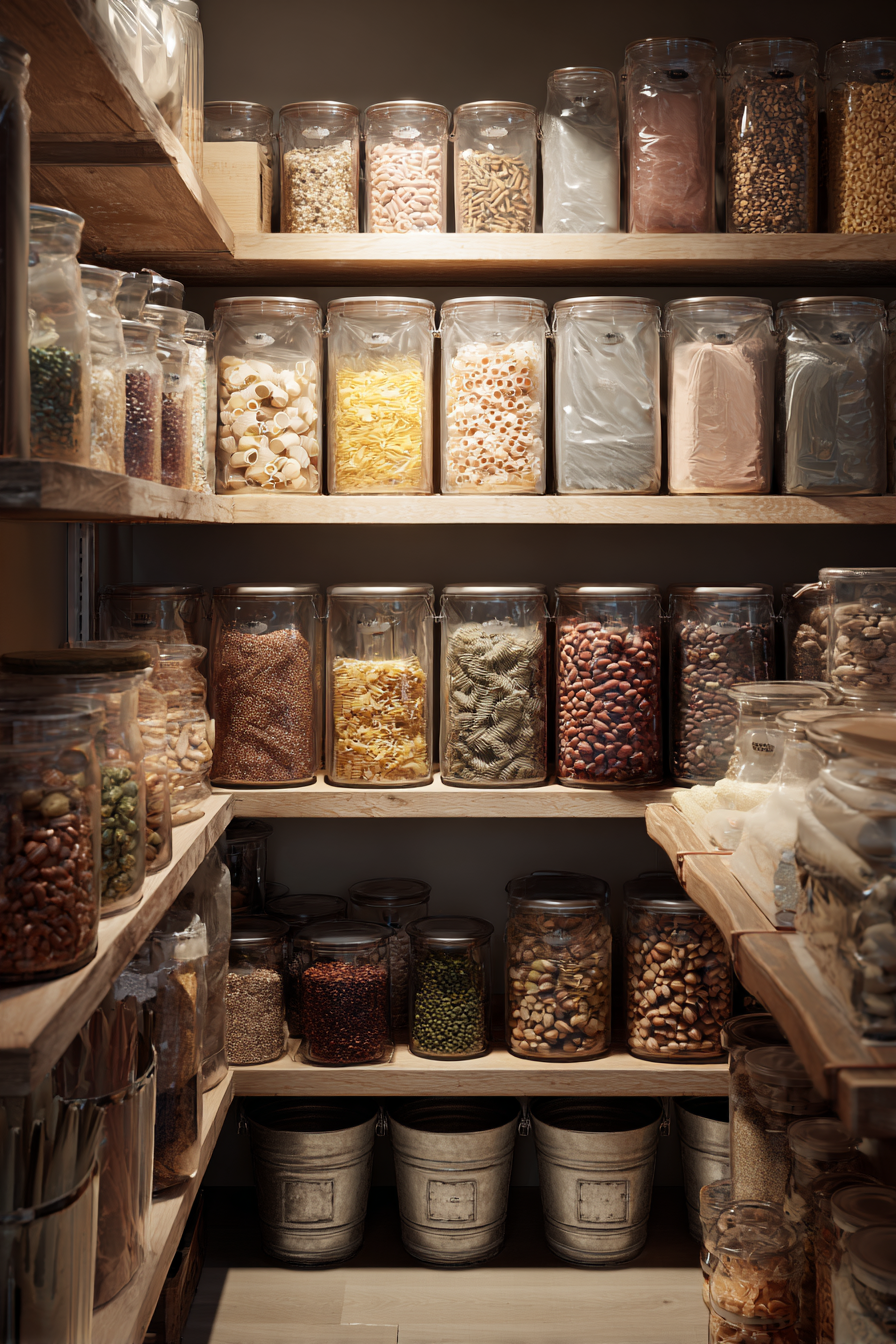
Building Your Foundation with Core Staples
The backbone of any long-term food supply is always going to be bulk dry goods. These are the workhorses that provide the calories your body needs to maintain energy. Best of all, they’re affordable, easy to store, and last an incredibly long time when packaged correctly.
I find it helpful to think of these items in their distinct nutritional roles:
- Grains for Energy: White rice is the undisputed king here. Its extremely low oil content gives it a shelf life of up to 30 years. On the other hand, brown rice, with its healthy oils, will go rancid in less than a year. Other fantastic choices include rolled oats, pasta, and hard red winter wheat.
- Legumes for Protein: Dried beans and lentils are absolute protein powerhouses. Pinto beans, black beans, and lentils are cheap, packed with nutrients, and can last for decades. When you pair them with rice, they form a complete protein, making them an essential combo.
- Healthy Fats for Satiety: Fats are critical for calorie density and that feeling of fullness, but they’re also the most likely to spoil. Solid fats like coconut oil and ghee have a much longer shelf life than liquid vegetable oils. Another great option for longevity is powdered fats, like powdered butter.
- Sugars for Preservation and Morale: While not a nutritional staple in the same way, sugars are vital. Pure honey is famous for literally never expiring. White sugar and salt also last indefinitely when kept dry, and they’re crucial for preserving other foods and, of course, making things taste good.
Remember the golden rule of food storage: “Store what you eat, and eat what you store.” A pantry filled with unfamiliar foods you dislike is a wasted investment. The best supply is one your family will actually consume, ensuring nothing expires and your cooking skills with these staples stay sharp.
Balancing Staples with Comfort and Nutrition
Let’s be honest, a diet of only rice and beans would get old fast, especially during a stressful time. This is where the next layer of your pantry comes in—balancing those foundational staples with foods that offer varied nutrition and a much-needed morale boost.
Consider adding these to your supply:
- Canned Goods: Meats, fish, vegetables, and fruits are perfect for adding variety and essential vitamins. They’re ready to eat and have a shelf life of several years.
- Dehydrated Foods: Things like dried fruits, vegetables, and jerky are lightweight, compact, and hold on to most of their nutritional value.
- Comfort Items: Never underestimate the power of comfort. Coffee, tea, cocoa powder, spices, and even hard candies can make a difficult situation feel much more bearable.
Integrating these items turns a basic survival stash into a functional kitchen pantry. You can explore a ton of great options by checking out our detailed guide on foods that last 25 years, which dives deeper into some of the most durable choices out there.
Integrating Commercially Prepared Meals
While building your supply from bulk ingredients is the most cost-effective way to go, commercially prepared long-term food offers unmatched convenience and peace of mind. These meals are professionally packaged for maximum shelf life, often lasting 25 years or more.
Brands like Augason Farms are fantastic for bulk ingredients like freeze-dried vegetables and powdered eggs, which are perfect for supplementing your core staples. They let you add complex flavors and nutrients to your meals with almost no effort.
For complete, ready-to-eat meals, companies like Mountain House are a go-to choice for many. Their freeze-dried entrees, from beef stroganoff to lasagna, just need a bit of hot water. In minutes, you have a quick, familiar meal. These are excellent for emergencies when time and resources are scarce. By integrating a supply of these meals alongside your bulk goods, you create a flexible, multi-layered approach to food security that prepares you for just about any scenario.
Proven Methods for Packaging and Preservation
Choosing the right foods is only half the battle. To really get a handle on long-term food storage, you have to get good at packaging and preservation. This is where you actively stop the clock on spoilage, turning everyday groceries into shelf-stable assets that can last for years, sometimes even decades.
The methods we’re about to cover aren’t just theory; they are practical, hands-on skills that give you real control over your food supply. From sealing dry goods away from oxygen to safely canning your garden harvest, these techniques are the bedrock of a resilient pantry.
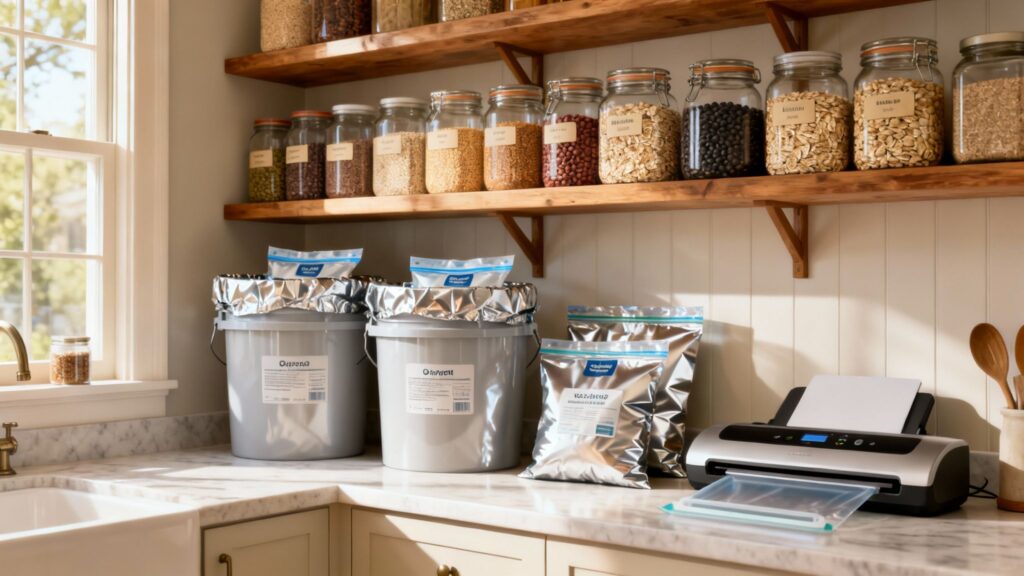
The Gold Standard: Mylar Bags and Oxygen Absorbers
When it comes to dry goods like grains, beans, pasta, and flours, nothing beats the combination of mylar bags and oxygen absorbers. It’s the gold standard for a reason. This duo creates a fortress against the primary enemies of food: oxygen, light, and moisture. Mylar itself is a remarkable material, providing a near-perfect barrier.
But the oxygen absorbers are the real magic here. These little packets contain iron powder that chemically reacts with oxygen, pulling it right out of the sealed bag. This process stops oxidation in its tracks, prevents spoilage from aerobic bacteria, and keeps insect eggs from ever hatching.
Let’s walk through a real-world example using a bulk staple like white rice:
- First, get a food-grade 5-gallon bucket and line it with a large mylar bag. Make sure the bag is opened up and sitting flush against the bucket walls.
- Next, pour your rice directly into the mylar bag. A 5-gallon bucket will hold about 35 pounds of rice quite comfortably.
- Toss in the right amount of oxygen absorbers. For a 5-gallon bag, a 2000cc oxygen absorber is the standard (or you can use several smaller ones that add up to 2000cc). Just place it right on top of the rice.
- Now, squeeze as much air out of the bag as you can, then use a hot iron or a hair straightener to heat-seal the mylar shut. You’ll hear a little sizzle as the layers melt together—that’s how you know you’ve got a good seal.
- Finally, pop the lid securely on the bucket. Over the next 24 hours, you’ll see the mylar bag shrink and tighten around the food. That’s the oxygen absorber doing its job.
This method is incredibly effective. With the growing threat of climate-driven food insecurity, these skills are more vital than ever. Beans stored in mylar-lined buckets with 300cc oxygen absorbers can remain viable for 25-30 years, holding onto over 90% of their viability. Compare that to just a single year on a regular shelf.
The Versatility of Vacuum Sealing
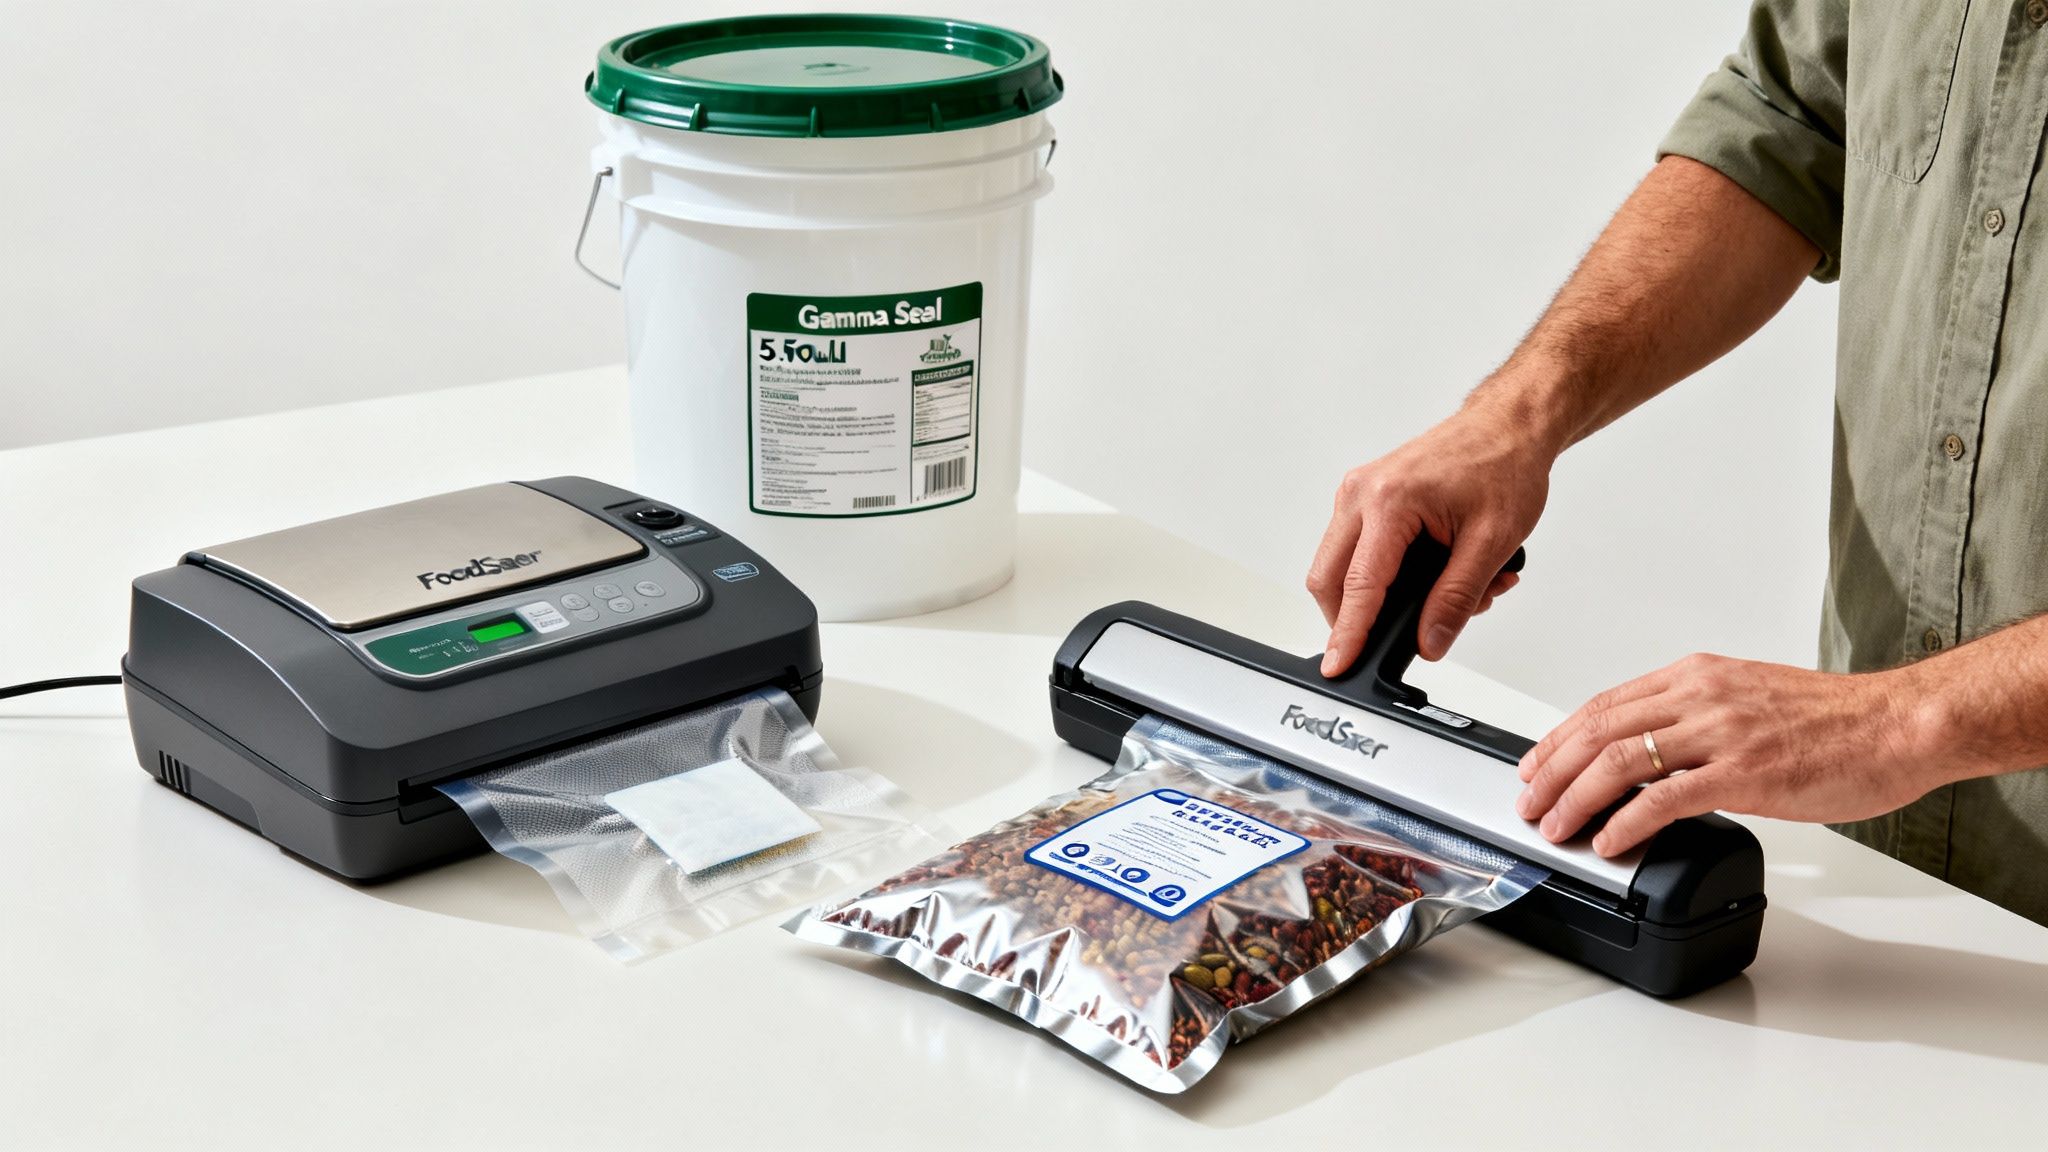
Vacuum sealing is another fantastic technique, especially for mid-term storage of one to five years. By pulling the air out of a package, a vacuum sealer dramatically slows down the degradation process. It doesn’t get 100% of the oxygen like absorbers do, but it’s more than effective enough for a huge range of foods.
A reliable machine like a FoodSaver vacuum sealer is a true workhorse in any preparedness kitchen. It’s perfect for sealing up smaller, meal-sized portions of rice, dehydrated fruits, or homemade jerky. It’s also an absolute champ at preventing freezer burn.
A common mistake I see people make is trying to vacuum seal powdered goods like flour or cake mix directly. The fine powder gets sucked right into the machine’s motor and can ruin it. The easy fix? Put the powder in a paper bag or coffee filter first, then place that inside the vacuum seal bag before sealing.
If you want a more detailed breakdown of the techniques, our guide on how to properly vacuum seal food for storage is a great next step.
Time-Tested Canning for Preserving Harvests
Canning is a time-honored skill for a reason. It’s how our grandparents and great-grandparents preserved fresh produce, meats, and entire meals. The process involves heating food in glass jars to destroy microorganisms and create a solid, airtight vacuum seal. There are two main methods, and picking the right one is a non-negotiable matter of safety.
- Water Bath Canning: This method is only safe for high-acid foods. Think fruits, jams, jellies, and pickles. Their natural acidity is high enough to stop Clostridium botulinum spores from growing. Jars are simply submerged in boiling water (212°F) for a specific amount of time.
- Pressure Canning: This is the only safe method for low-acid foods. That includes all vegetables, meats, poultry, and fish. A pressure canner, like a trusty Presto model, gets up to 240-250°F—a temperature needed to kill botulism spores that can otherwise thrive in low-acid, oxygen-free environments.
Always, always follow tested recipes from reliable sources like the National Center for Home Food Preservation. Never cut corners on processing times or pressure levels. Your family’s safety is on the line. A properly canned jar of green beans can last for years, giving you that garden-fresh taste long after the season has passed.
Dehydration for Nutrient-Dense Storage
Dehydration is one of the oldest food preservation methods known to man. By removing most of the water content from food, you create an environment where bacteria, yeast, and mold simply can’t survive. What you’re left with is lightweight, compact food that retains a surprisingly high percentage of its original nutrients.
You can dehydrate just about anything—fruits, vegetables, herbs, and you can even make your own jerky. While you can technically use an oven on its lowest setting, a dedicated food dehydrator like an Excalibur gives you much better air circulation and temperature control for consistent results. Once your food is fully dried and brittle, store it in airtight containers immediately. Vacuum-sealed bags or mason jars are perfect for keeping moisture out.
Designing Your Ideal Storage Space
You can perfectly package your food, but it’ll all be for nothing if you store it in a bad environment. Where you keep your investment is just as critical as how you seal it, making the right storage space a non-negotiable part of the plan. Your goal is simple: create a stable, protected area that shields your supply from its enemies—heat, light, moisture, and pests.
Don’t worry, this doesn’t mean you need to build a custom root cellar. You can find an effective storage space in almost any home. Think about a dedicated pantry, a cool basement corner, a spare closet, or even the space under a bed. It’s all about understanding what degrades your food and actively fighting back in whatever space you have.
Controlling Temperature and Light
Heat is the single biggest enemy of shelf life. It’s a simple but brutal rule of thumb: for every 18°F (10°C) rise in temperature, the shelf life of most foods gets cut in half. The ideal spot should stay consistently cool, preferably below 70°F (21°C). That means attics and garages are almost always out.
Sunlight is another silent killer. Its UV rays degrade vitamins and fats, stripping your food of its nutritional value and color over time.
- Cool Basements: These are often the best choice, thanks to their natural temperature stability.
- Interior Closets: A closet on an inside wall is buffered from the temperature swings of the outside world.
- Under Beds: This is a surprisingly good spot. It’s cool, dark, and perfect for flat containers or Mylar bags.
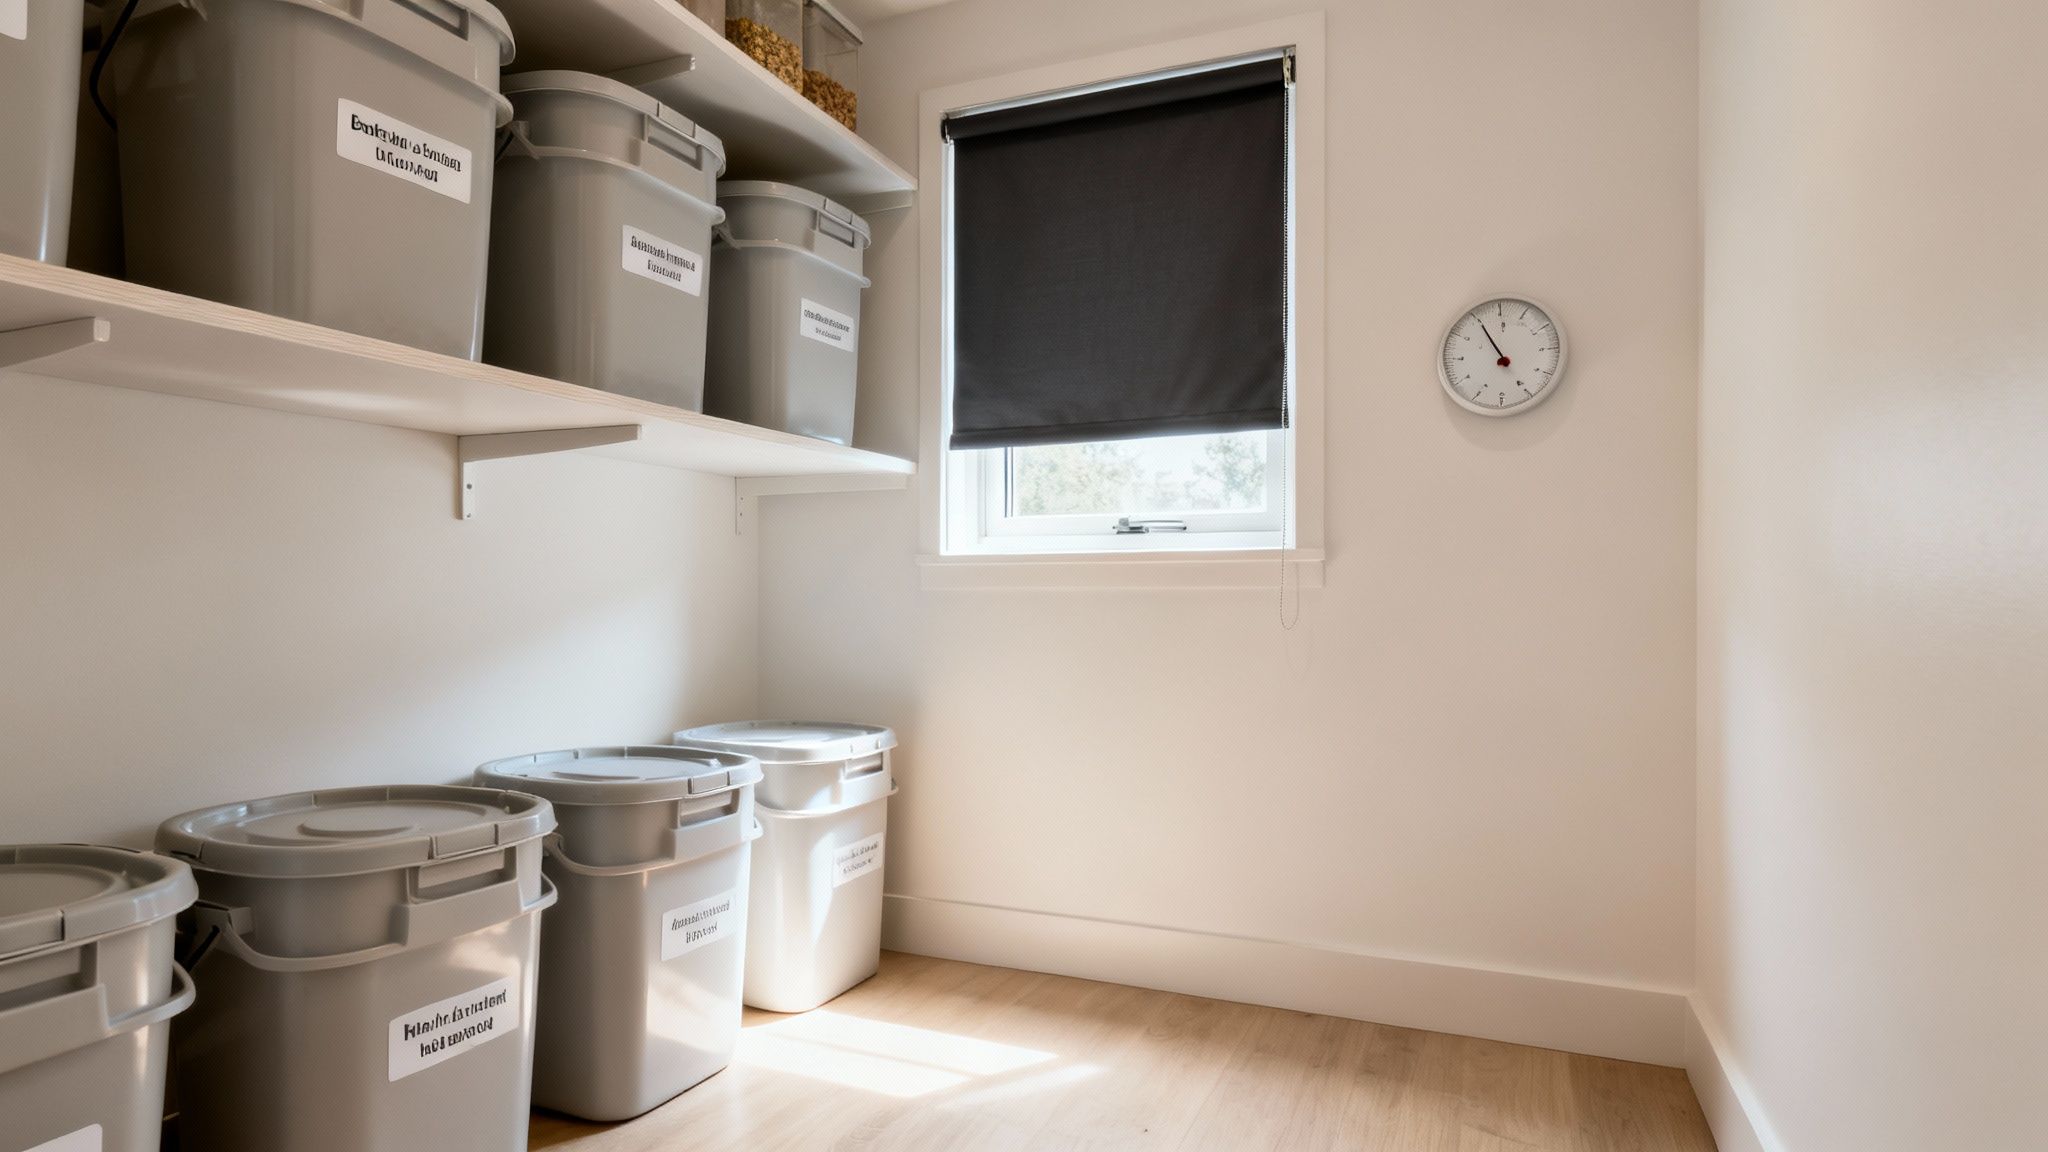
If your only option is a room with a window, get yourself some blackout curtains. It’s a small investment that blocks degrading sunlight and helps keep the room’s temperature far more stable.
Managing Moisture and Humidity
Moisture is a magnet for disaster. It invites mold, mildew, and bacteria, and it will quickly compromise cardboard boxes and rust out your metal cans. Your storage area absolutely has to be dry. A cheap hygrometer can help you keep an eye on things—you want humidity levels below 15%.
Always store your food containers directly off the floor. Even a concrete floor that looks bone-dry can wick moisture upwards over time. Use wooden pallets, wire shelving, or even a few 2x4s to create an air gap. This simple step protects your investment from moisture and improves air circulation.
If you’re dealing with a chronically damp basement, a good dehumidifier is worth every penny. Keeping the air dry is one of the most important things you can do to protect your entire supply.
Creating a Fortress Against Pests
Rodents and insects can wipe out a food supply faster than you can imagine. Your storage plan must include a robust defense against them. While paper bags and cardboard boxes are fine on a grocery store shelf, they offer zero protection for the long haul.
This is where durable, pest-proof containers become non-negotiable. Food-grade 5-gallon buckets are a prepper’s best friend because they create a nearly impenetrable barrier. Fit one with an airtight Gamma Seal Lid, and you’ve got a fortress that locks out pests, moisture, and oxygen. To dive deeper into your options, check out our guide on the best food storage containers for a full breakdown.
This isn’t just theory. USDA guidelines have long recommended storing food in cool, dry conditions below 70°F for maximum longevity. Big commercial operations use nitrogen flushing to remove oxygen, which stops both oxidation and pest growth. You can replicate this at home with simple oxygen absorbers. For example, wheat stored in a bucket with oxygen absorbers can retain 95% of its nutritional value after 20 years. The same wheat in its original paper sack might be useless in just one or two. You can find more details on these long-term food storage findings.
Smart Inventory and Rotation Strategies
Having a pantry full of food is a fantastic start, but without a system, it’s really just a collection of cans and boxes slowly marching toward their expiration dates. This is where a little bit of planning makes all the difference.
Smart inventory and rotation are the secret weapons that turn a static stockpile into a living, working pantry. These habits actively fight waste, keep your supply fresh, and ensure nothing gets lost in the back of a dark shelf.
The whole game plan boils down to one simple concept: First-In, First-Out (FIFO). All this means is you use the oldest stuff first. This common-sense trick prevents that can of beans you bought three years ago from being forgotten until it’s way too late.
Mastering FIFO in Your Pantry
Putting FIFO into practice is easier than it sounds. It starts the moment you get home with new groceries. When you buy a new bag of rice, don’t just shove it in the front. Take a second to slide it to the back of the shelf, pulling the older bag forward. That one simple move is the core of a successful rotation system.
Clear labeling is your other best friend. Trust me, your future self will thank you for taking a few seconds to do this.
- Mark Everything: Grab a Sharpie and write the purchase date directly on cans, bags, and boxes. I also like to write the expiration date in big, bold numbers so I can see it at a glance.
- Repackaged Goods: For anything you’ve sealed in Mylar bags or buckets, make sure the label is crystal clear. Something like “White Rice – Sealed 10/2024” works perfectly.
- Group by Date: If you have the shelf space, try storing items with similar expiration dates together. This makes it incredibly easy to see what you need to start working into your meal plan.
This tiny bit of effort up front pays off big time. It saves you from the frustrating and costly mistake of having to toss out perfectly good food that just got forgotten.
Simple Inventory Tracking That Actually Works
You don’t need a fancy app or complicated software to know what you’ve got. A straightforward inventory list is one of the most powerful tools for managing your food stores. It stops you from accidentally buying a dozen cans of corn when you already have twenty, and it instantly shows you where the real gaps are.
For most of us, a simple spiral notebook or a basic spreadsheet does the job just fine. All you need are columns for the item, the quantity, and its expiration date. A quick update once a month or after a big shopping trip is all it takes to stay on top of things.
This habit doesn’t just help with rotation; it’s a huge boost for meal planning and budgeting, too. If you want to explore this further, you can find more great tips for managing a food stockpile rotation system and figure out a method that clicks for you.
Key Takeaway: The single most important thing you can do is integrate your stored food into your weekly meals. Cook with your staples. This ensures your supply is always being refreshed and, just as crucially, makes your family comfortable and skilled at using the very foods you’d rely on in an emergency.
A well-managed pantry isn’t just about survival; it’s about peace of mind. By making these simple strategies a habit, you transform your food supply from a passive collection into an active, resilient resource ready for whatever comes next.
Common Questions About Long Term Food Storage
When you first start thinking about long-term food storage, a ton of questions pop up. That’s completely normal. Getting solid, practical answers is the best way to build your confidence and make sure you’re starting off on the right foot.
Let’s clear up the confusion around some of the most common questions I hear. We’ll cover everything from how much food you really need to the rookie mistakes that can cost you time and money.
How Much Food Should I Actually Store for My Family?
This is the big one, and honestly, the answer is different for everyone. A fantastic and totally achievable starting point is a three-month supply of the foods your family already eats every week. Nail that, and you’ll build some serious momentum.
Once you have that foundation, you can aim higher—maybe a six-month or even a one-year supply. Some people try to calculate this by tracking a week’s worth of meals and multiplying it out, but a much better way is to think in terms of calories.
- Plan for 2,000-2,500 calories per person, per day.
- Start with the calorie-dense, affordable workhorses: white rice, pinto beans, rolled oats.
- After you’ve got that base covered, you can start adding variety with canned goods and other favorites.
Starting with the basics makes the whole process feel less overwhelming and guarantees you have a solid calorie foundation to build on.
What Are the Biggest Mistakes People Make?
Learning from the mistakes of others is one of the smartest things you can do. It can save you a world of frustration and a lot of wasted cash. When it comes to how to store food long term, I see the same few slip-ups time and time again.
Avoiding these is half the battle:
- Storing Food Nobody Will Eat: A pantry full of stuff your family hates is just a waste of space and money. The golden rule is simple: store what you eat, and eat what you store.
- Using Improper Packaging: Just dumping a bag of flour into a bucket won’t cut it. A huge, critical error is forgetting to add oxygen absorbers to mylar bags. It’s a small step that makes a massive difference in shelf life.
- Neglecting the Storage Environment: Shoving your food supply into a hot attic or a damp garage is a recipe for disaster. Cool, dark, and dry isn’t a suggestion—it’s a requirement.
- Forgetting to Rotate Stock: Without a “First-In, First-Out” (FIFO) system, your older food gets pushed to the back and forgotten. Eventually, it expires, and all that effort goes to waste.
- Overlooking Water: Food is only one piece of the puzzle. You absolutely must have a water plan. A common recommendation is to have a WaterBOB or similar bladder for emergency bathtub water storage, in addition to bottled water. The standard is at least one gallon per person, per day for drinking and basic hygiene.
Can I Store Cooking Oils and Fats for the Long Term?
Yes, but you have to be smart about it. Fats are notorious for going rancid, and the type of fat you choose makes all the difference.
Solid fats almost always outlast liquid oils. Things like shortening and coconut oil can last for several years in their original sealed containers, as long as they’re kept in a cool, dark place. Most liquid cooking oils, on the other hand, start to degrade after just a year or two.
If you want maximum longevity, powdered fats are the way to go. Products like powdered butter or shortening can last for over 10 years when they’re sealed up properly. No matter what you store, always give it a quick sniff before you use it—your nose knows when a fat has gone bad.
Are Mylar Bags and Oxygen Absorbers Really Necessary?
If you’re serious about true long-term storage—we’re talking 10 to 30 years for dry goods like grains, beans, and pasta—then the answer is an absolute, unequivocal yes. They are essential.
Think of it this way: Mylar creates an unbeatable fortress against light, moisture, and oxygen. The oxygen absorbers are the special forces inside that fortress. They chemically scrub the oxygen out of the bag, which does two crucial things: it stops oxidation in its tracks and prevents any nasty insect eggs from hatching.
For shorter-term storage (a few years), a good vacuum sealer like a FoodSaver can do the job for certain foods in a stable environment. But for the ultimate protection and genuine peace of mind, the mylar bag and oxygen absorber combo is still the undisputed gold standard in the preparedness community.